How to Log In to Your Cloud for WordPress Dashboard
There are a few different ways to get logged in to your Cloud for WordPress hosting admin panel so you can make changes to your website. We'll show you how!
How to Log In to WordPress
1
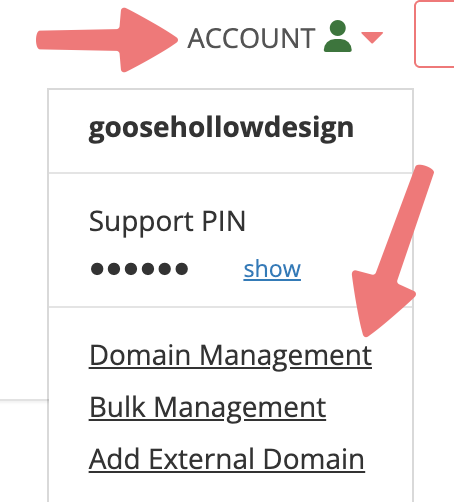
Log in. This should take you to the Domain Management screen. If you're already logged in, click on ACCOUNT in the top right, and select Domain Management.
2
Locate the domain you're accessing the WordPress dashboard on. To the right of the domain name is a row of icons. Click the first icon with the WordPress logo, under the "WEBSITE" column.
3
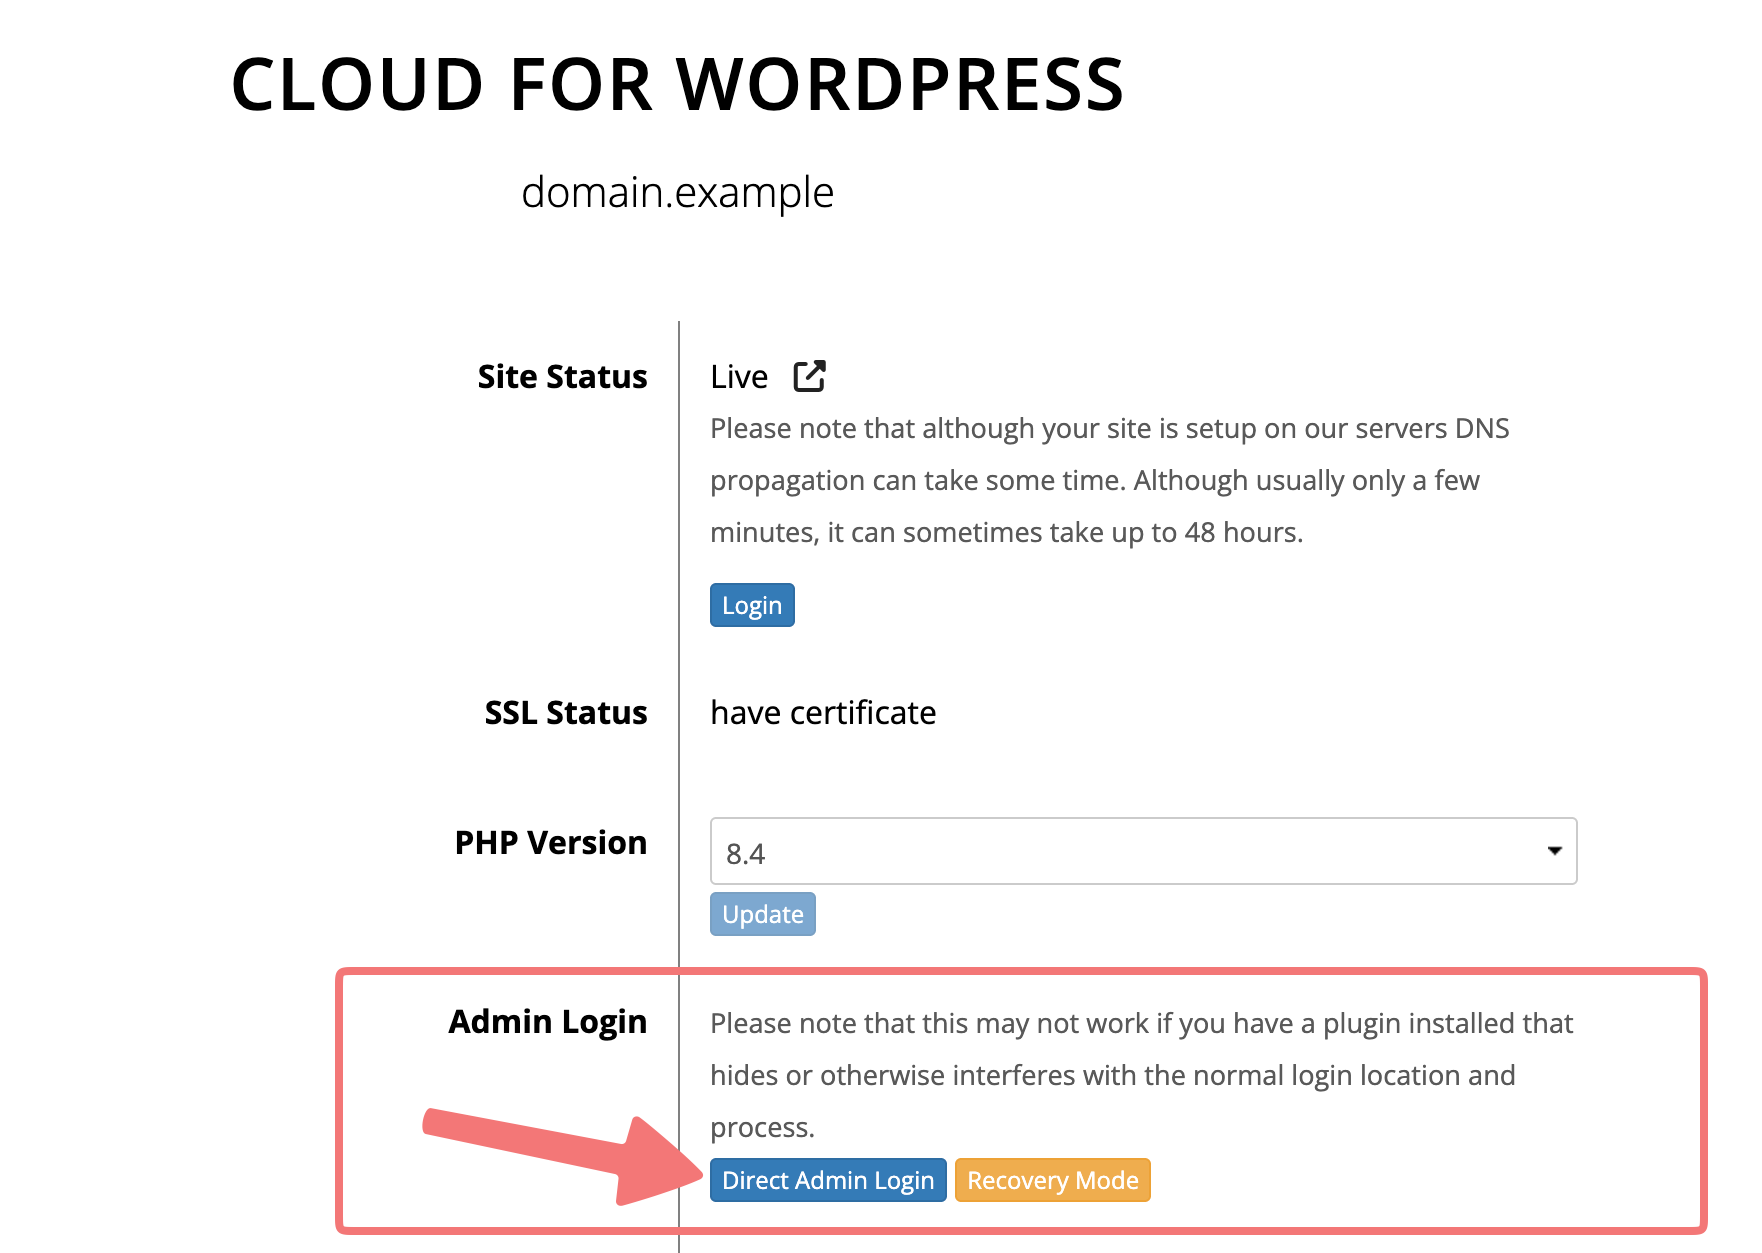
You'll be taken to the Cloud for WordPress hosting page with a number of different options. To log in to your WordPress admin panel immediately, click on the "Direct Admin Login" button.
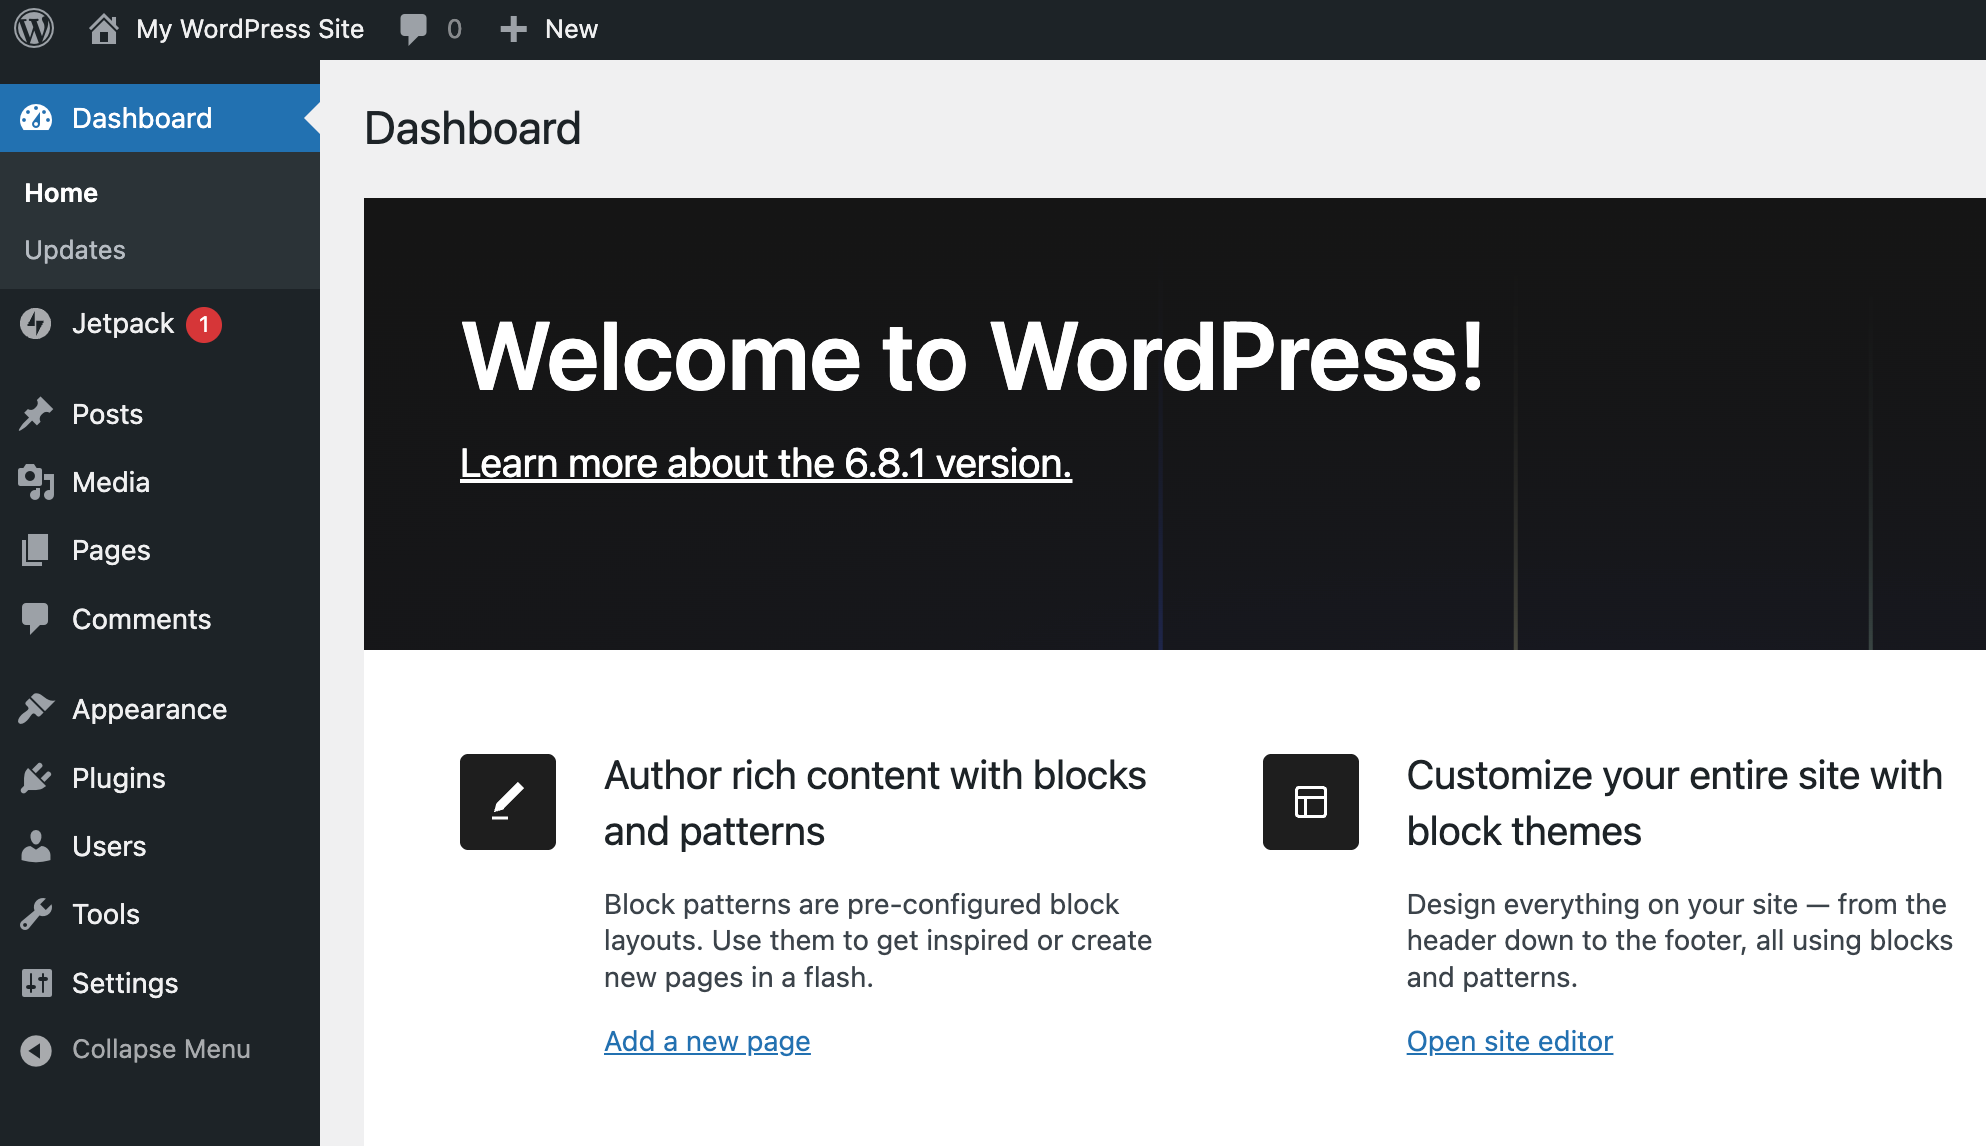
This will take you directly to your WordPress Dashboard, where you can start to build and manage your WordPress site!
The "Direct Admin Login" method is great for when you're logged in to your Porkbun account, but you also have the option to use the standard WordPress "wp-login.php" page to access your dashboard. Here's how:
4
Navigate to the Cloud for WordPress hosting page for your domain. If you closed out of the page, refer to steps 1 and 2 of this guide to see how to get back to that page.
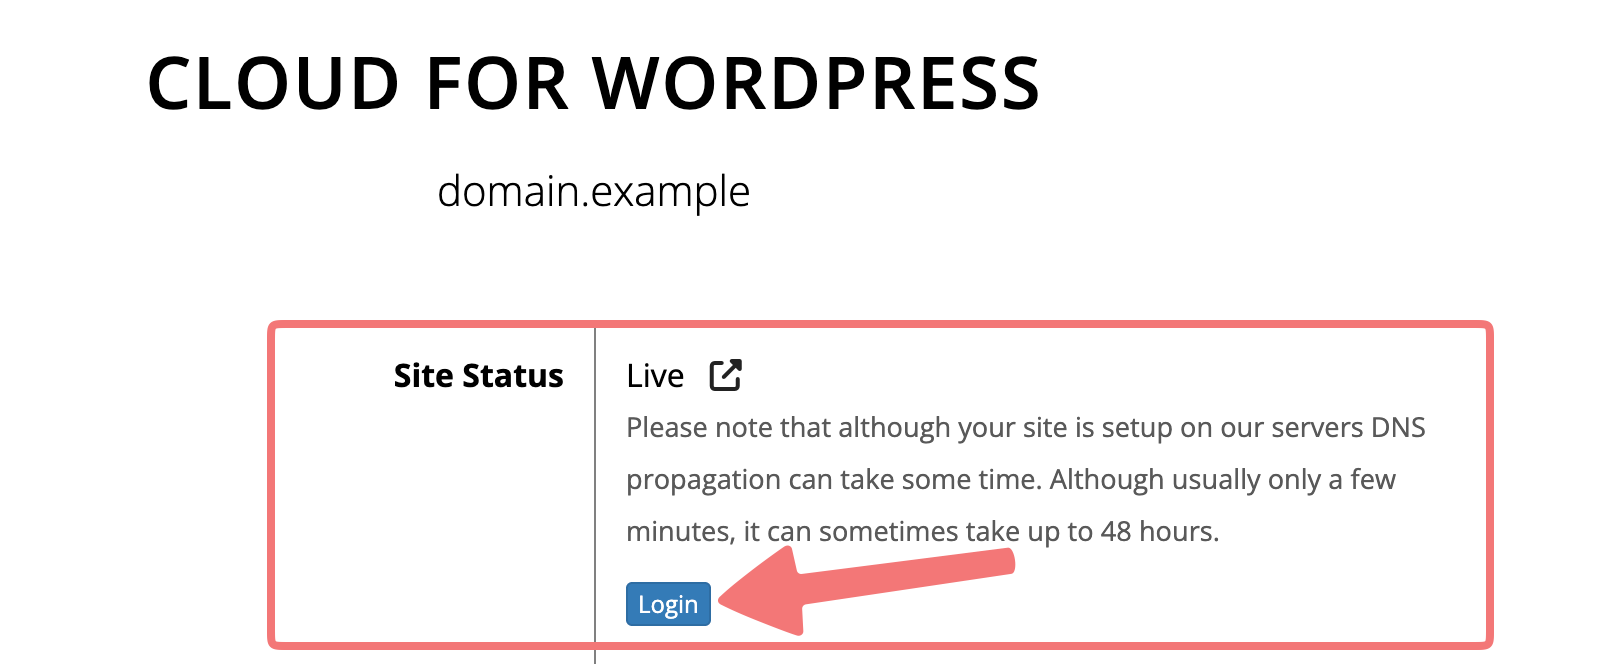
Click on the "Login" button next to the "Site Status" section. This will open up the standard WordPress login page.
5
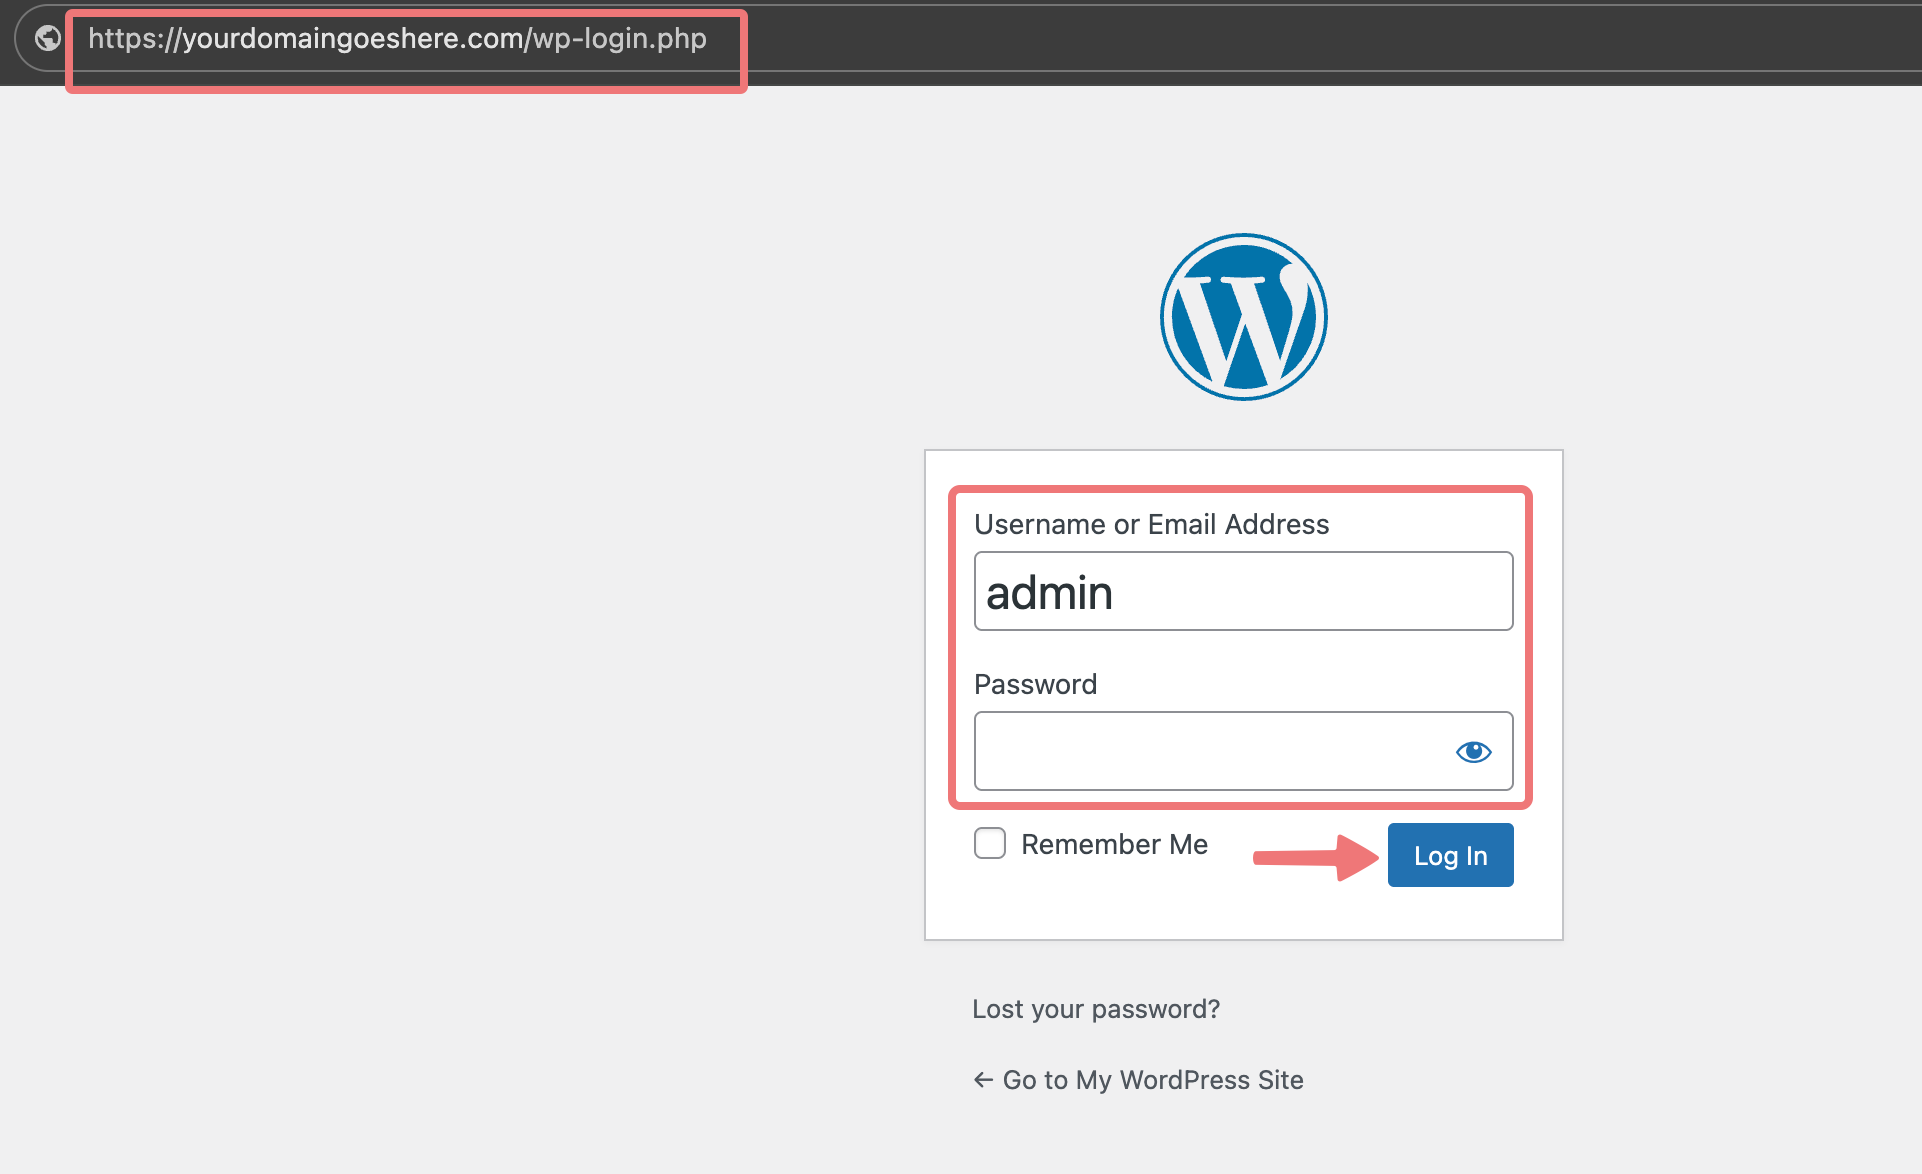
Take note of the URL that displays in your browser on this page. You can bookmark this for later, so you can access your WordPress admin panel without having to log in to Porkbun first.
Enter your WordPress username and password, then click "Log In".
After doing so, you'll be taken to your WordPress admin panel where you can edit your website! We hope it's a pig-themed website.
How to Reset Your WordPress Password
We generate a strong password for your WordPress account automatically when you first set up the hosting plan. If you've lost that password, here's how you can reset it.
1
Log in to your Porkbun account. This should take you to the Domain Management screen. If you're already logged in, click on ACCOUNT in the top right, and select Domain Management.
2
Locate the domain you're resetting the WordPress password on. To the right of the domain name is a row of icons. Click the first icon with the WordPress logo, under the "WEBSITE" column.
3
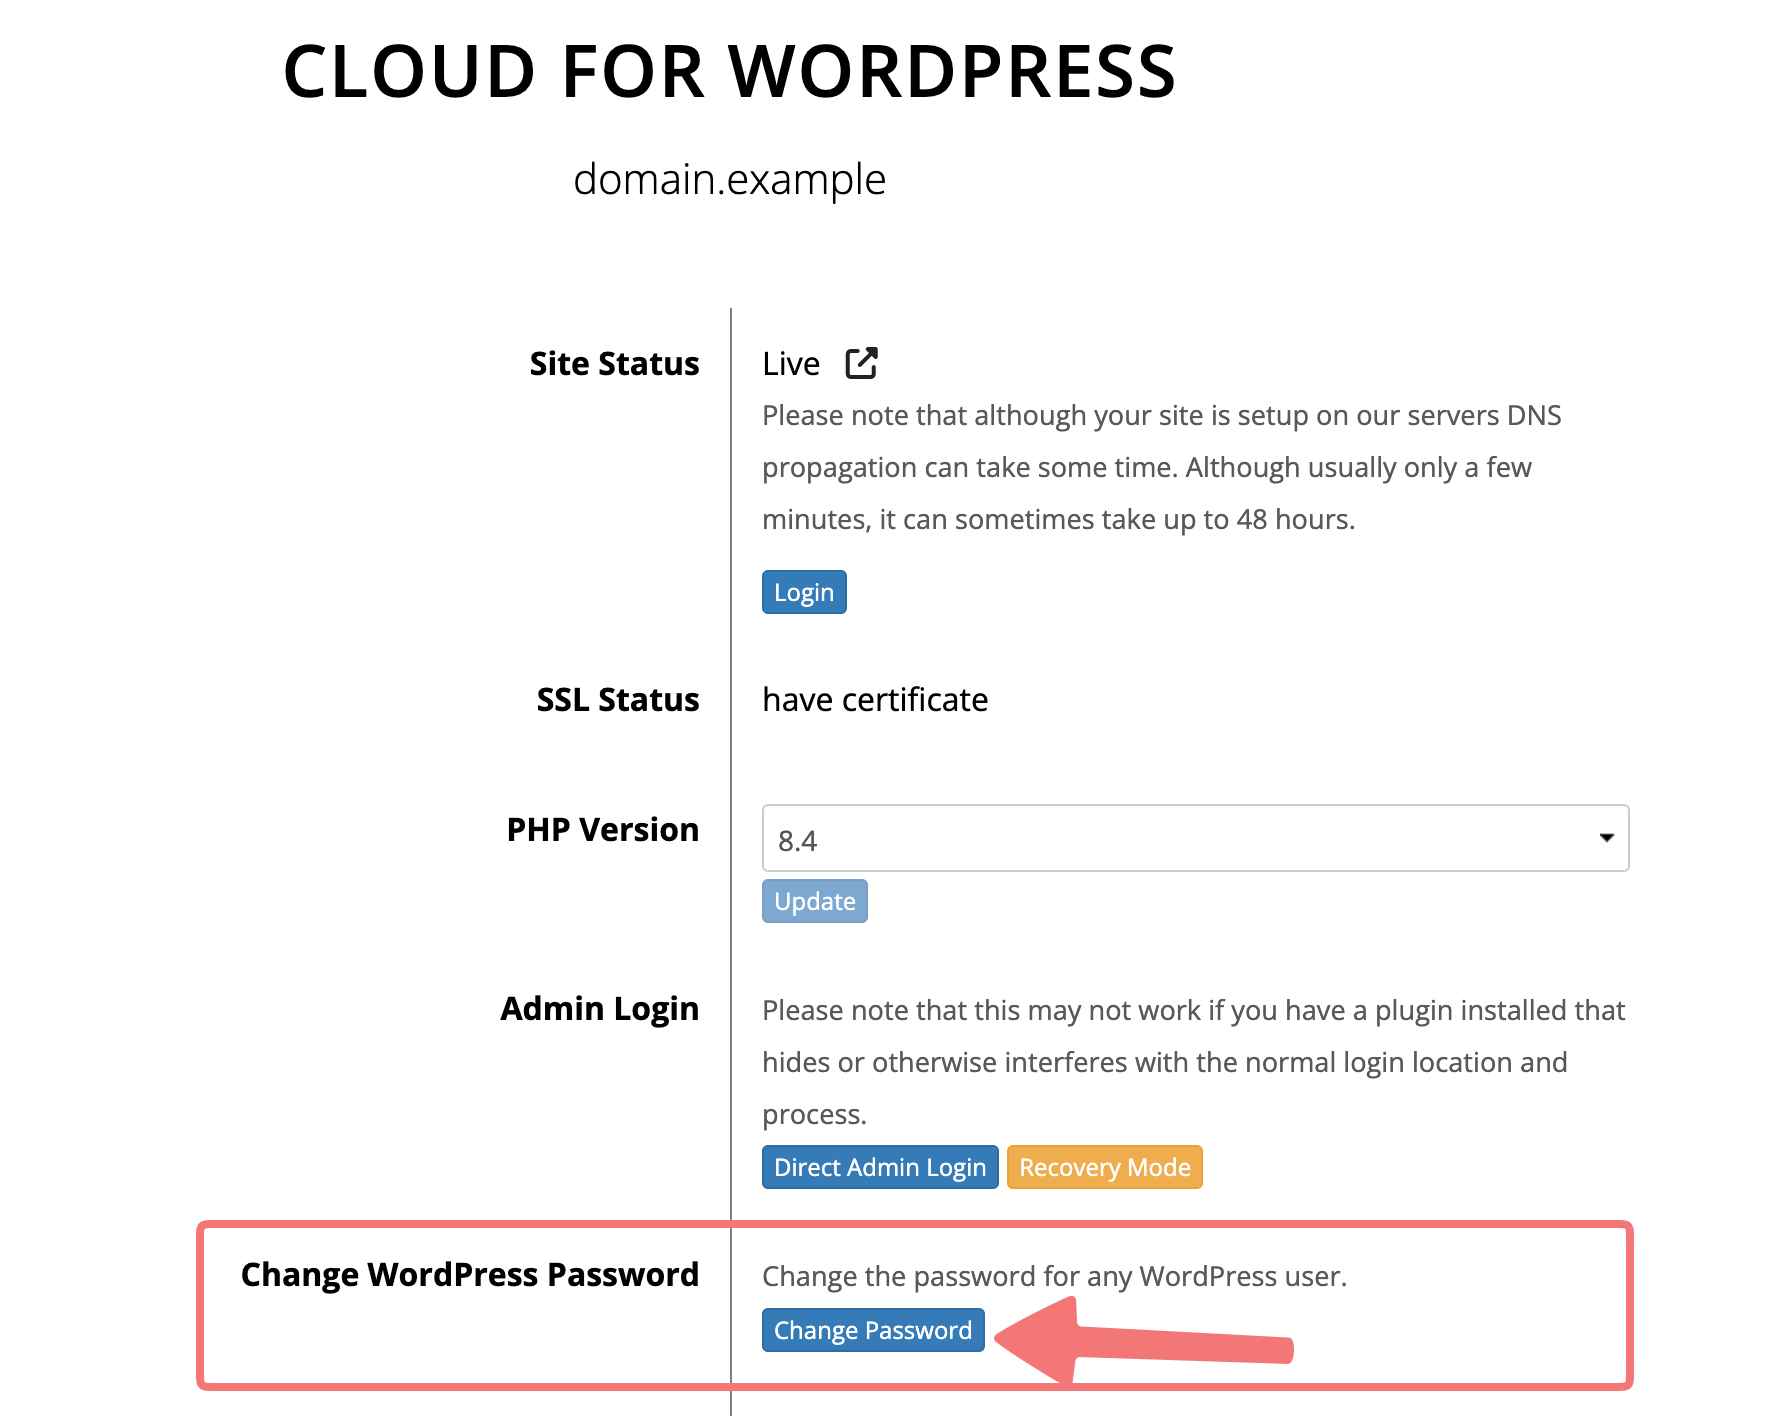
You'll be taken to the Cloud for WordPress hosting page. Scroll down until you see the "Change WordPress Password" section, then click the "Change Password" button next to it.
4
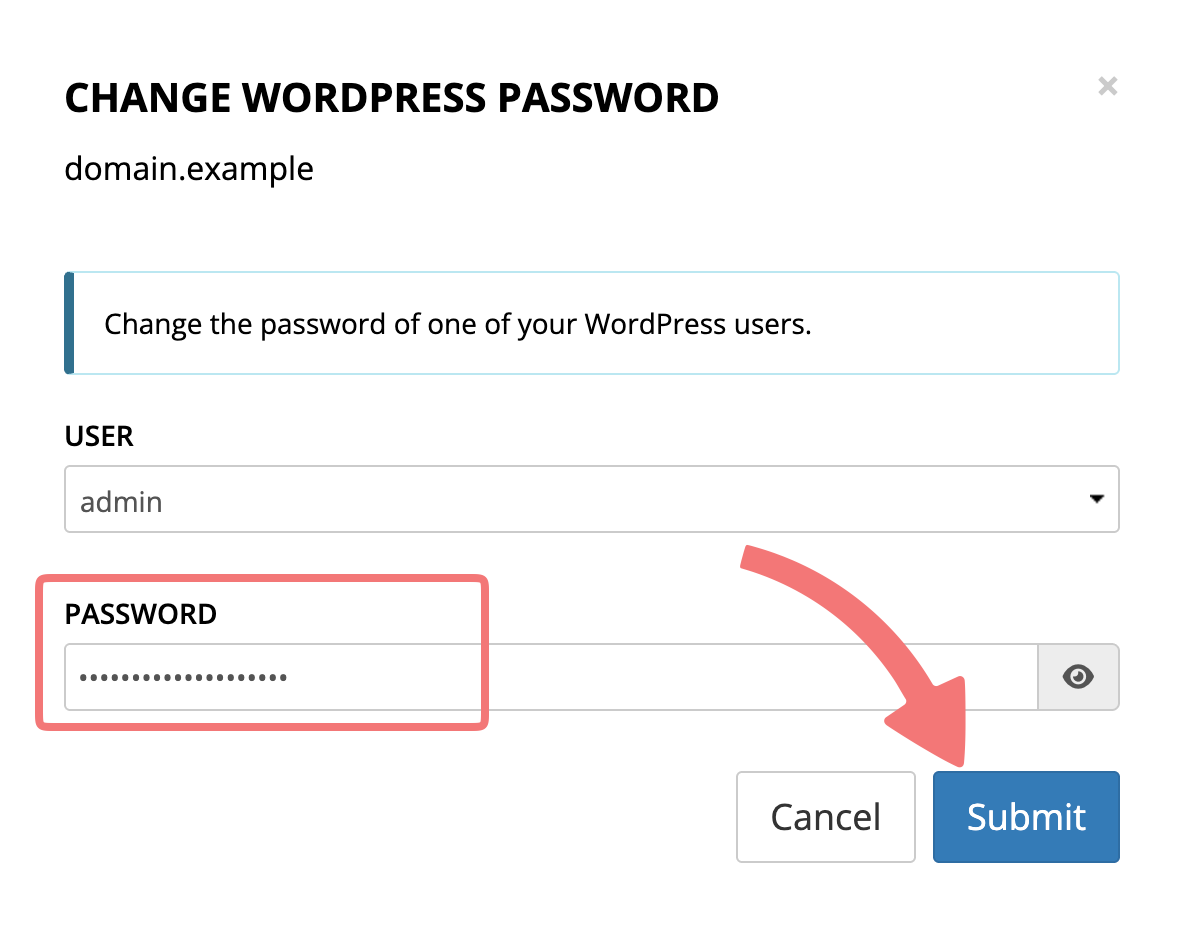
A window will appear that allows you to specify which WordPress user you're changing the password for (this is set to "admin" by default) and allows you to create a new password. Type in your new WordPress password, then click "Submit".
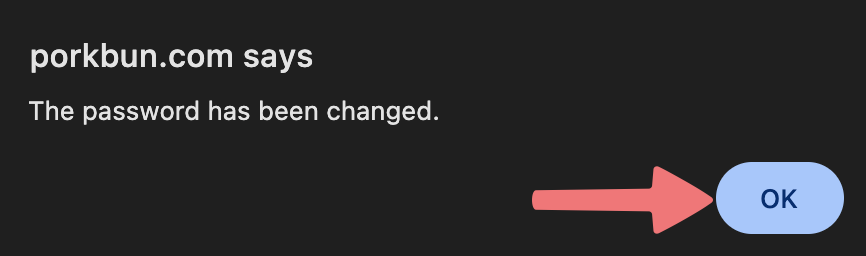
A pop-up will appear confirming the WordPress password has been changed. Press "OK" to close it.
That's it! You can now use that password to get logged in to your WordPress admin panel, or you can always use the "Direct Admin Login" method that's outlined in the first section of this guide. There are also plugins available that let you set your own custom URL for getting logged in to WordPress, such as WPS Hide Login.
If you need any assistance accessing and managing your WordPress hosting, feel free to reach out to our support team.