How to set up Cloud Hosting for WordPress
A third of the web uses WordPress, from hobby blogs to the biggest news sites online. We offer a robust custom hosting environment for WordPress, with security and performance as our number one priority. Here's how to get started:
How to set up Cloud for WordPress
- 1
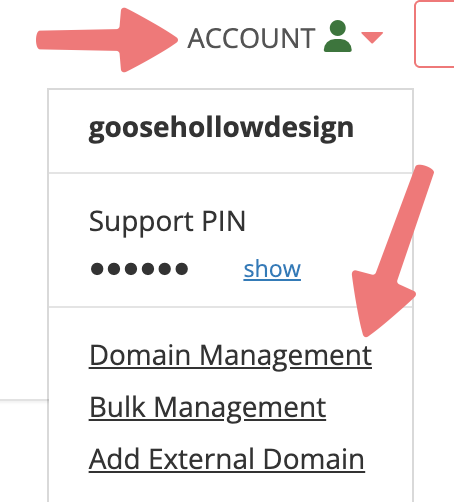
- Log in. You should arrive at the Domain Management screen. If you're already logged in, click on ACCOUNT in the top-right corner and select Domain Management.
- 2
- Locate the domain you're adding hosting for WordPress to. To the right of that domain name, click on the house icon under the "Website" column.
- 3
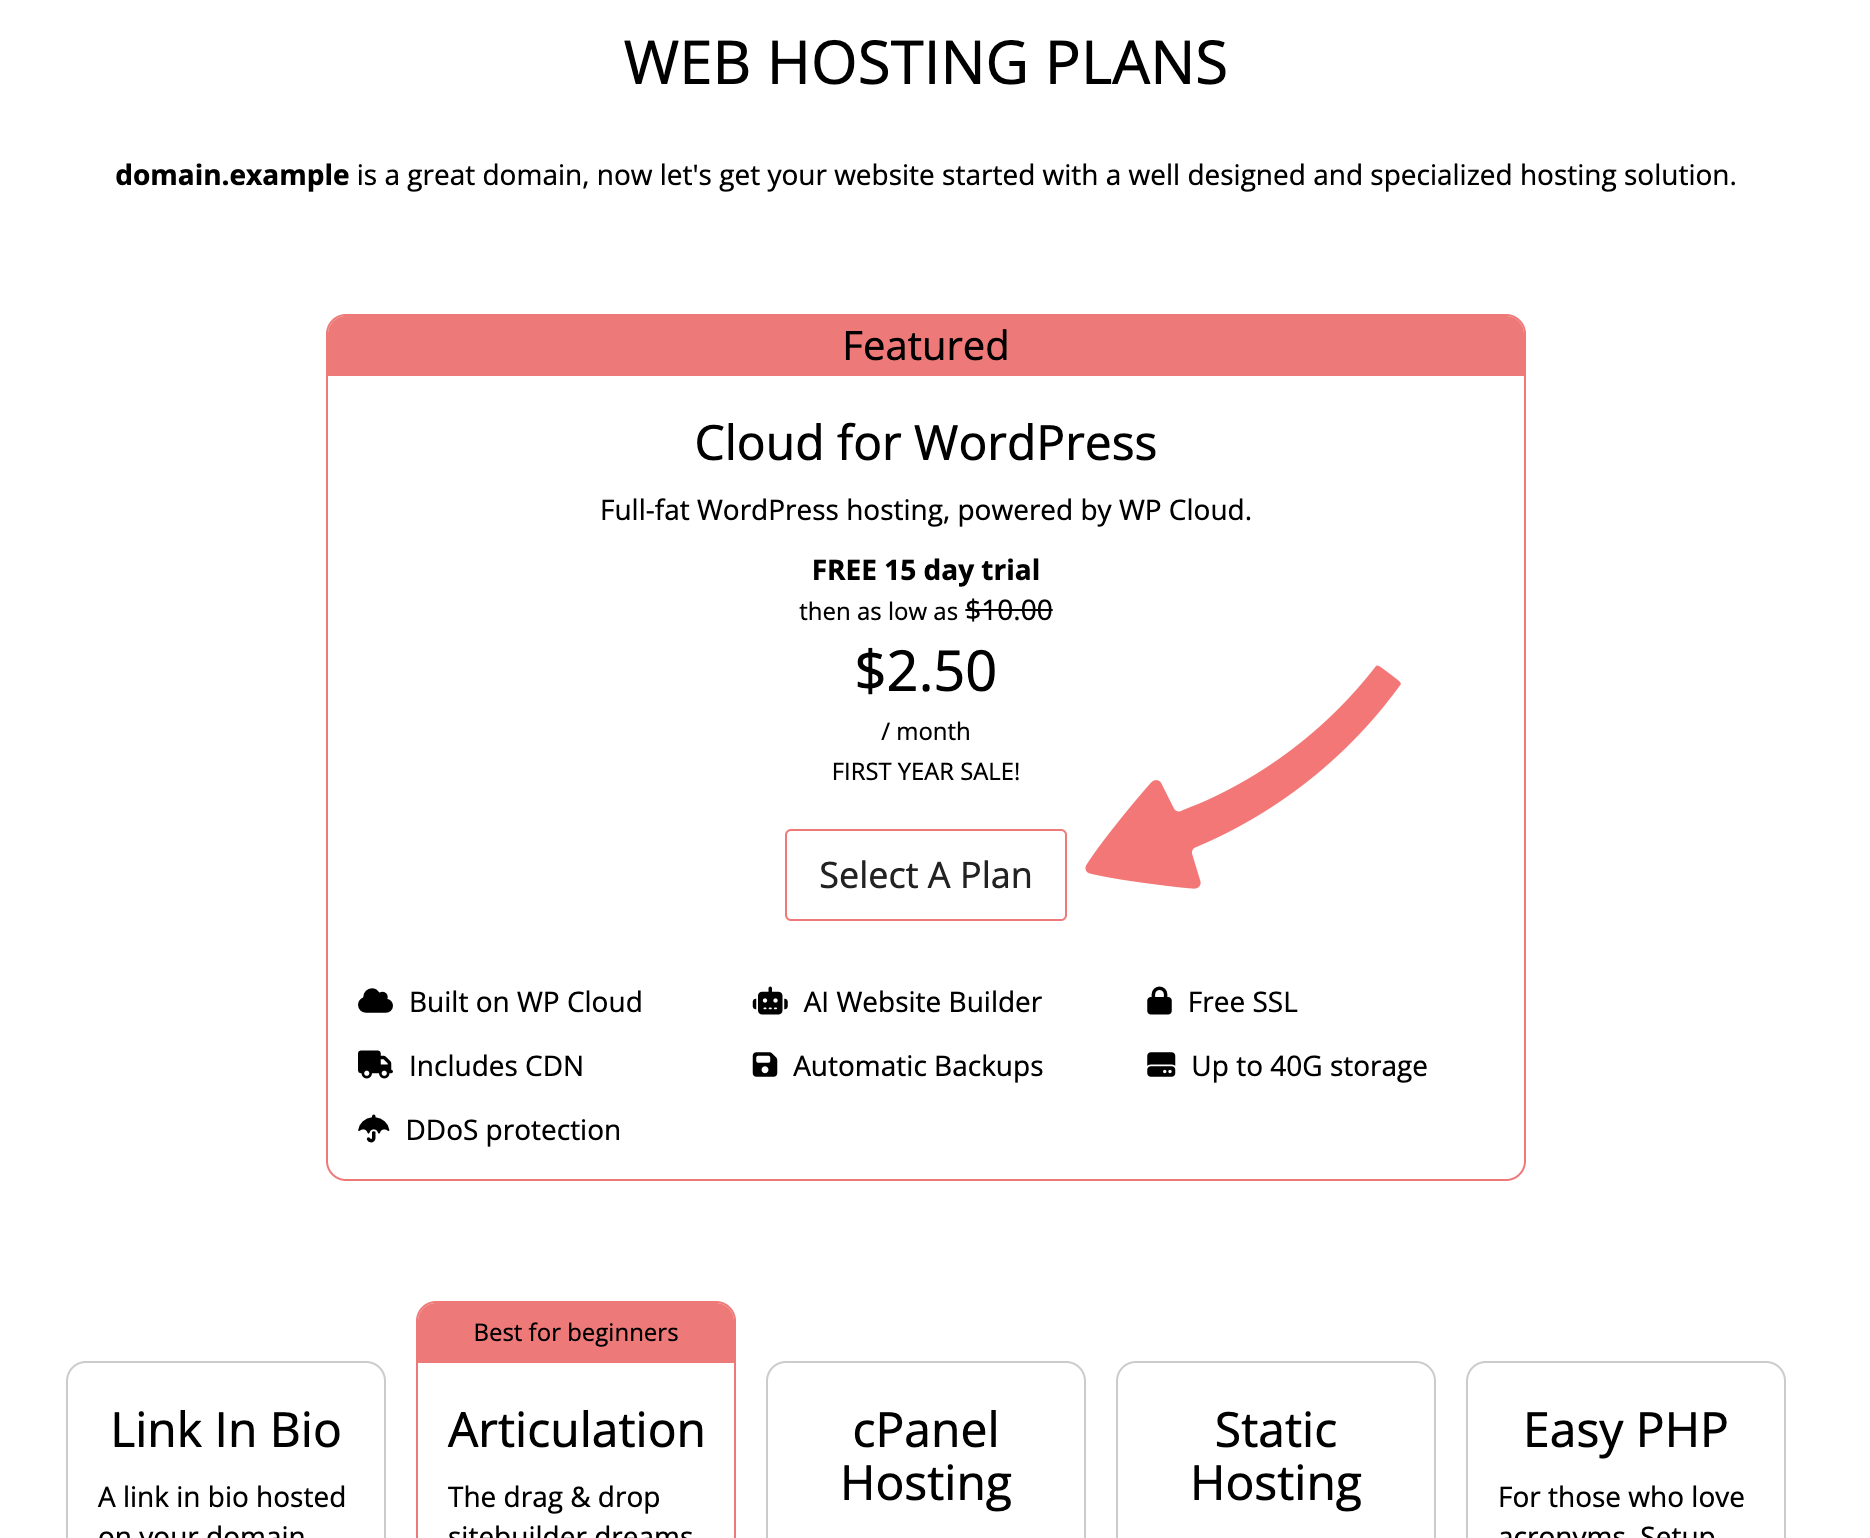
- Look for the "Cloud for WordPress" hosting plan and click on "Select A Plan":
- 4
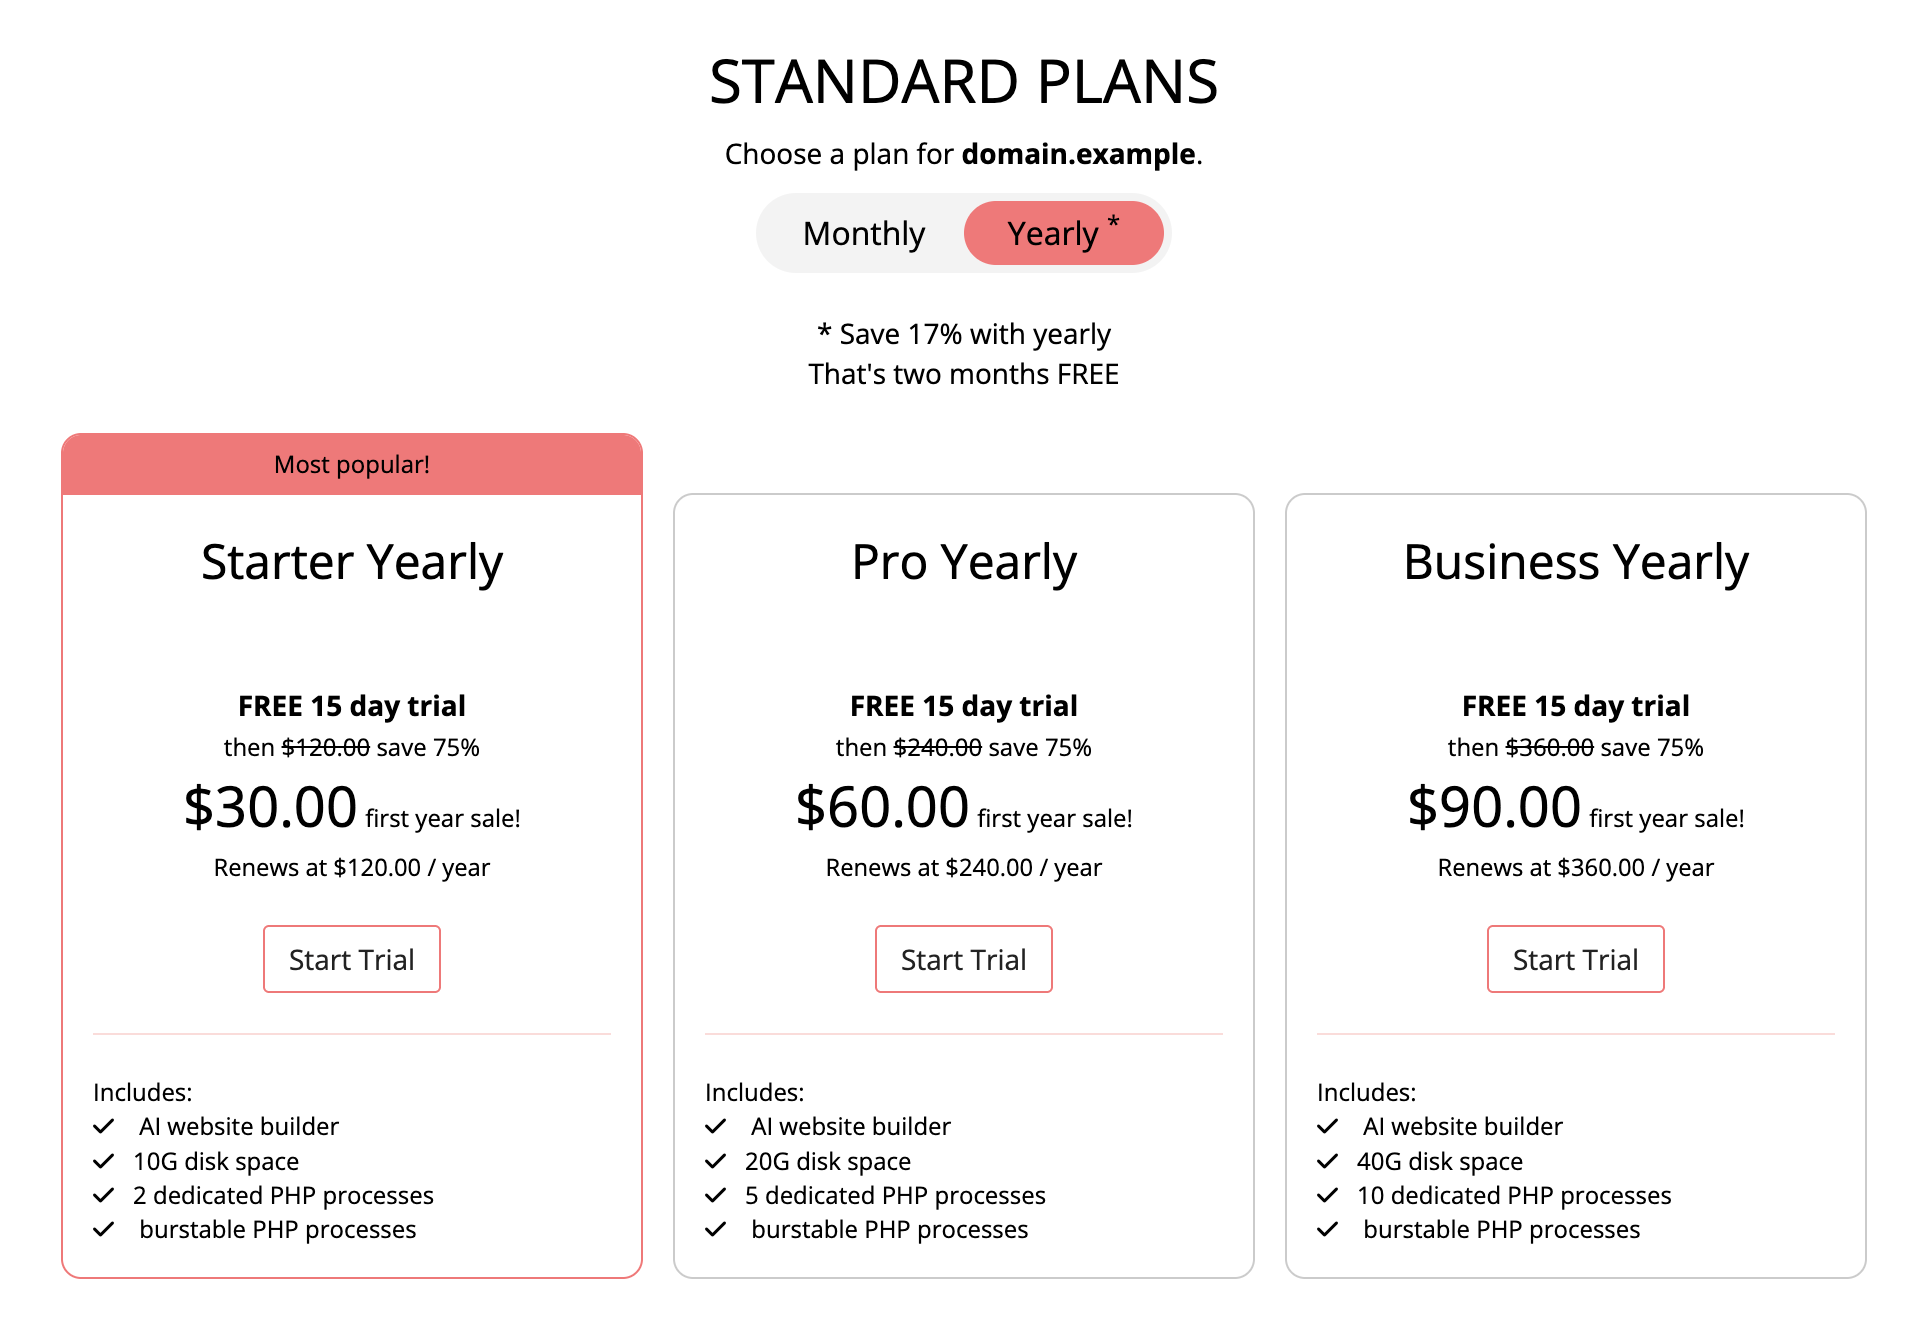
- On the next page, scroll down to the section with the available plans, and choose how you would like to be billed. You'll save some money if you choose annual billing. Regardless of the plan you choose, clicking the "Start Trial" link will automatically begin a 15-day free trial.
- 5
-
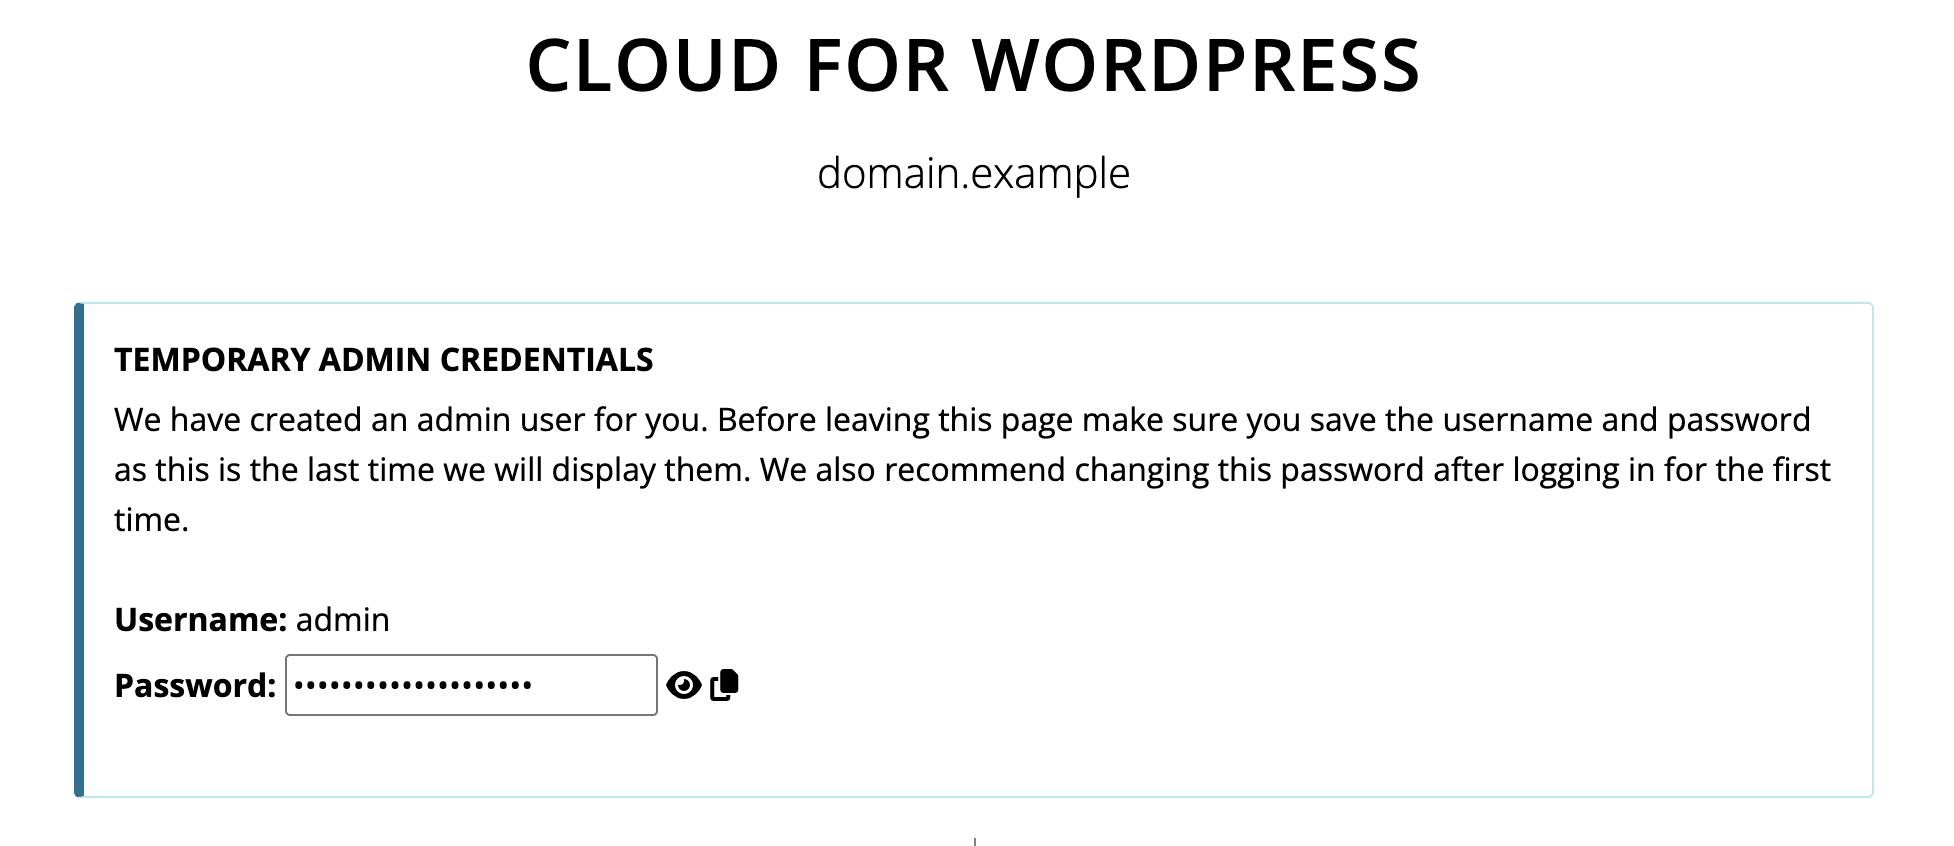
Once the Cloud Hosting for WordPress account is created you'll be taken to an account details page. You may access the WordPress admin panel, change your subscription tier, or cancel the hosting service from this page.
You'll be given default credentials you can use to log in. We'll only display these to you once, so take note of them. You can also change the WordPress password on the same page if needed.
- 6
- To access your WordPress admin panel and begin building your site, you just need to click on "Login" then enter your username and password from the previous step.
7
You can also use the "Direct Admin Login" button to bypass the username and password and just get logged in directly from your Porkbun account!
How to start building your website with Extendify
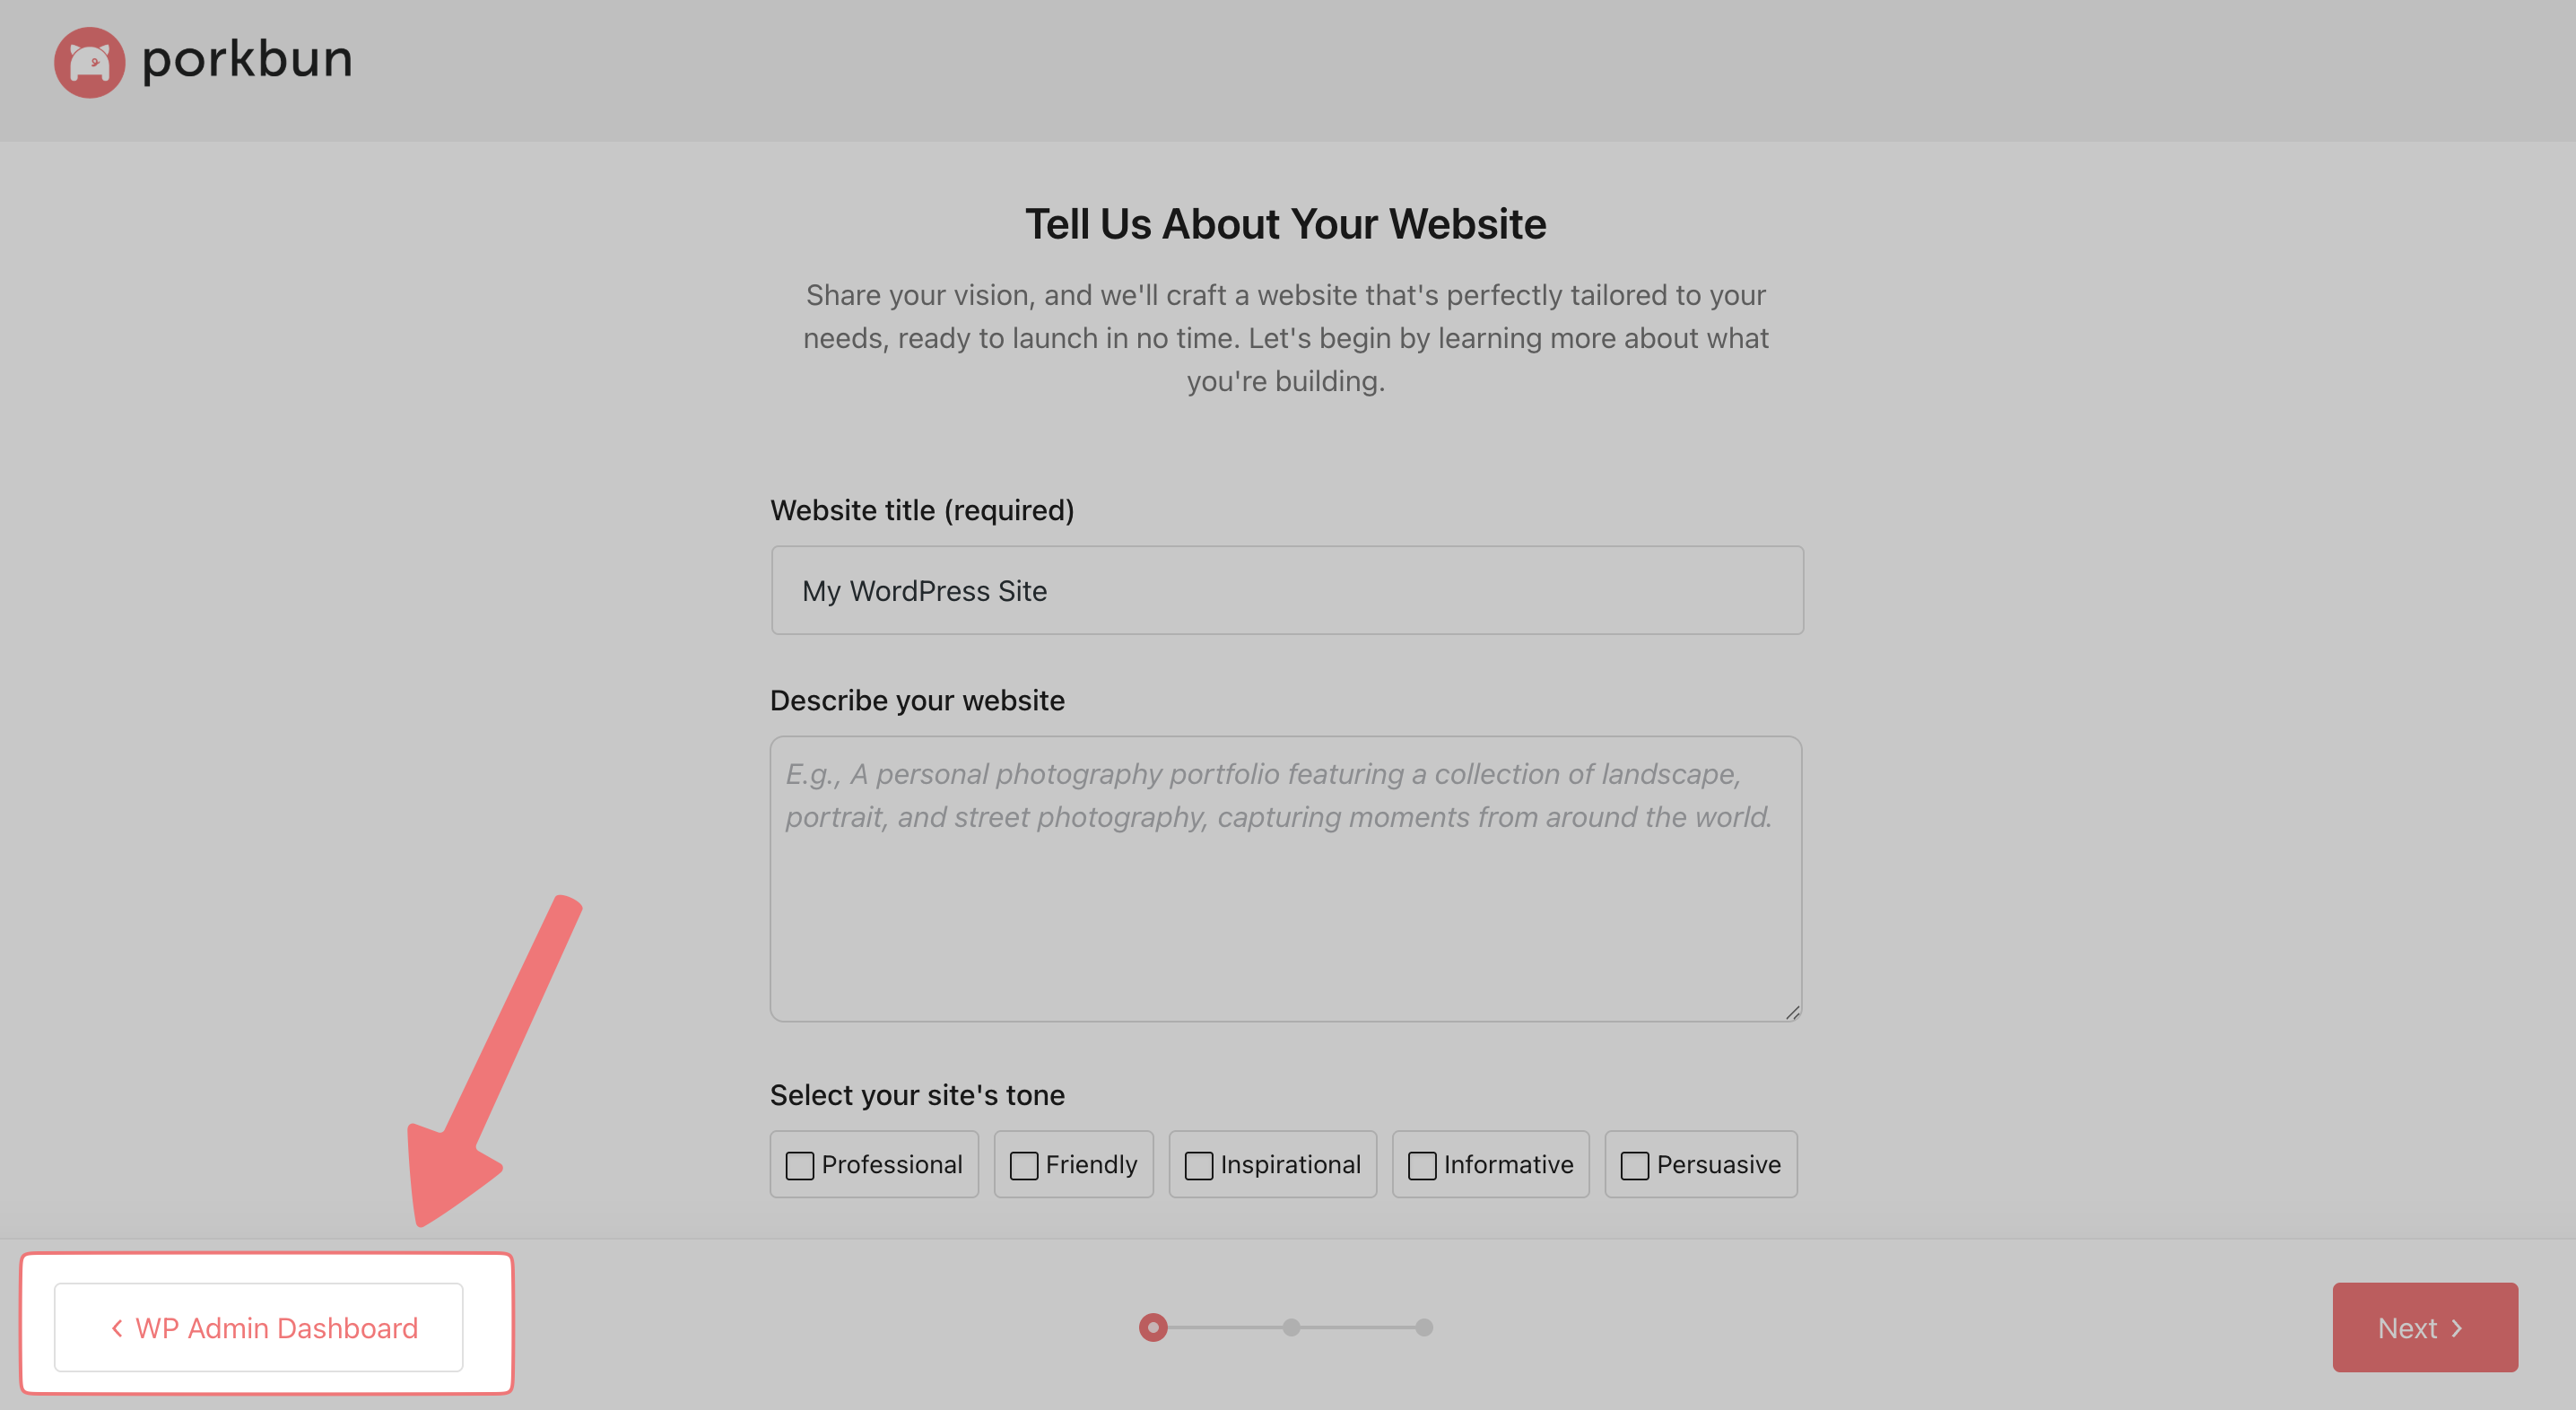
The first time you log in to your new WordPress site, you'll see a screen with an optional setup process that you can use to build a website quickly and easily. This is done via Extendify, an AI-powered WordPress plugin that comes packaged with Porkbun's Cloud for WordPress hosting at no extra cost.
If you're an experienced WordPress user and don't need to use Extendify, you can click on the "WP Admin Dashboard" button to opt out of Extendify and begin working on your site normally:
Otherwise, if you want to take advantage of Extendify to get your website up and running in minutes, keep reading and we'll show you how!
1
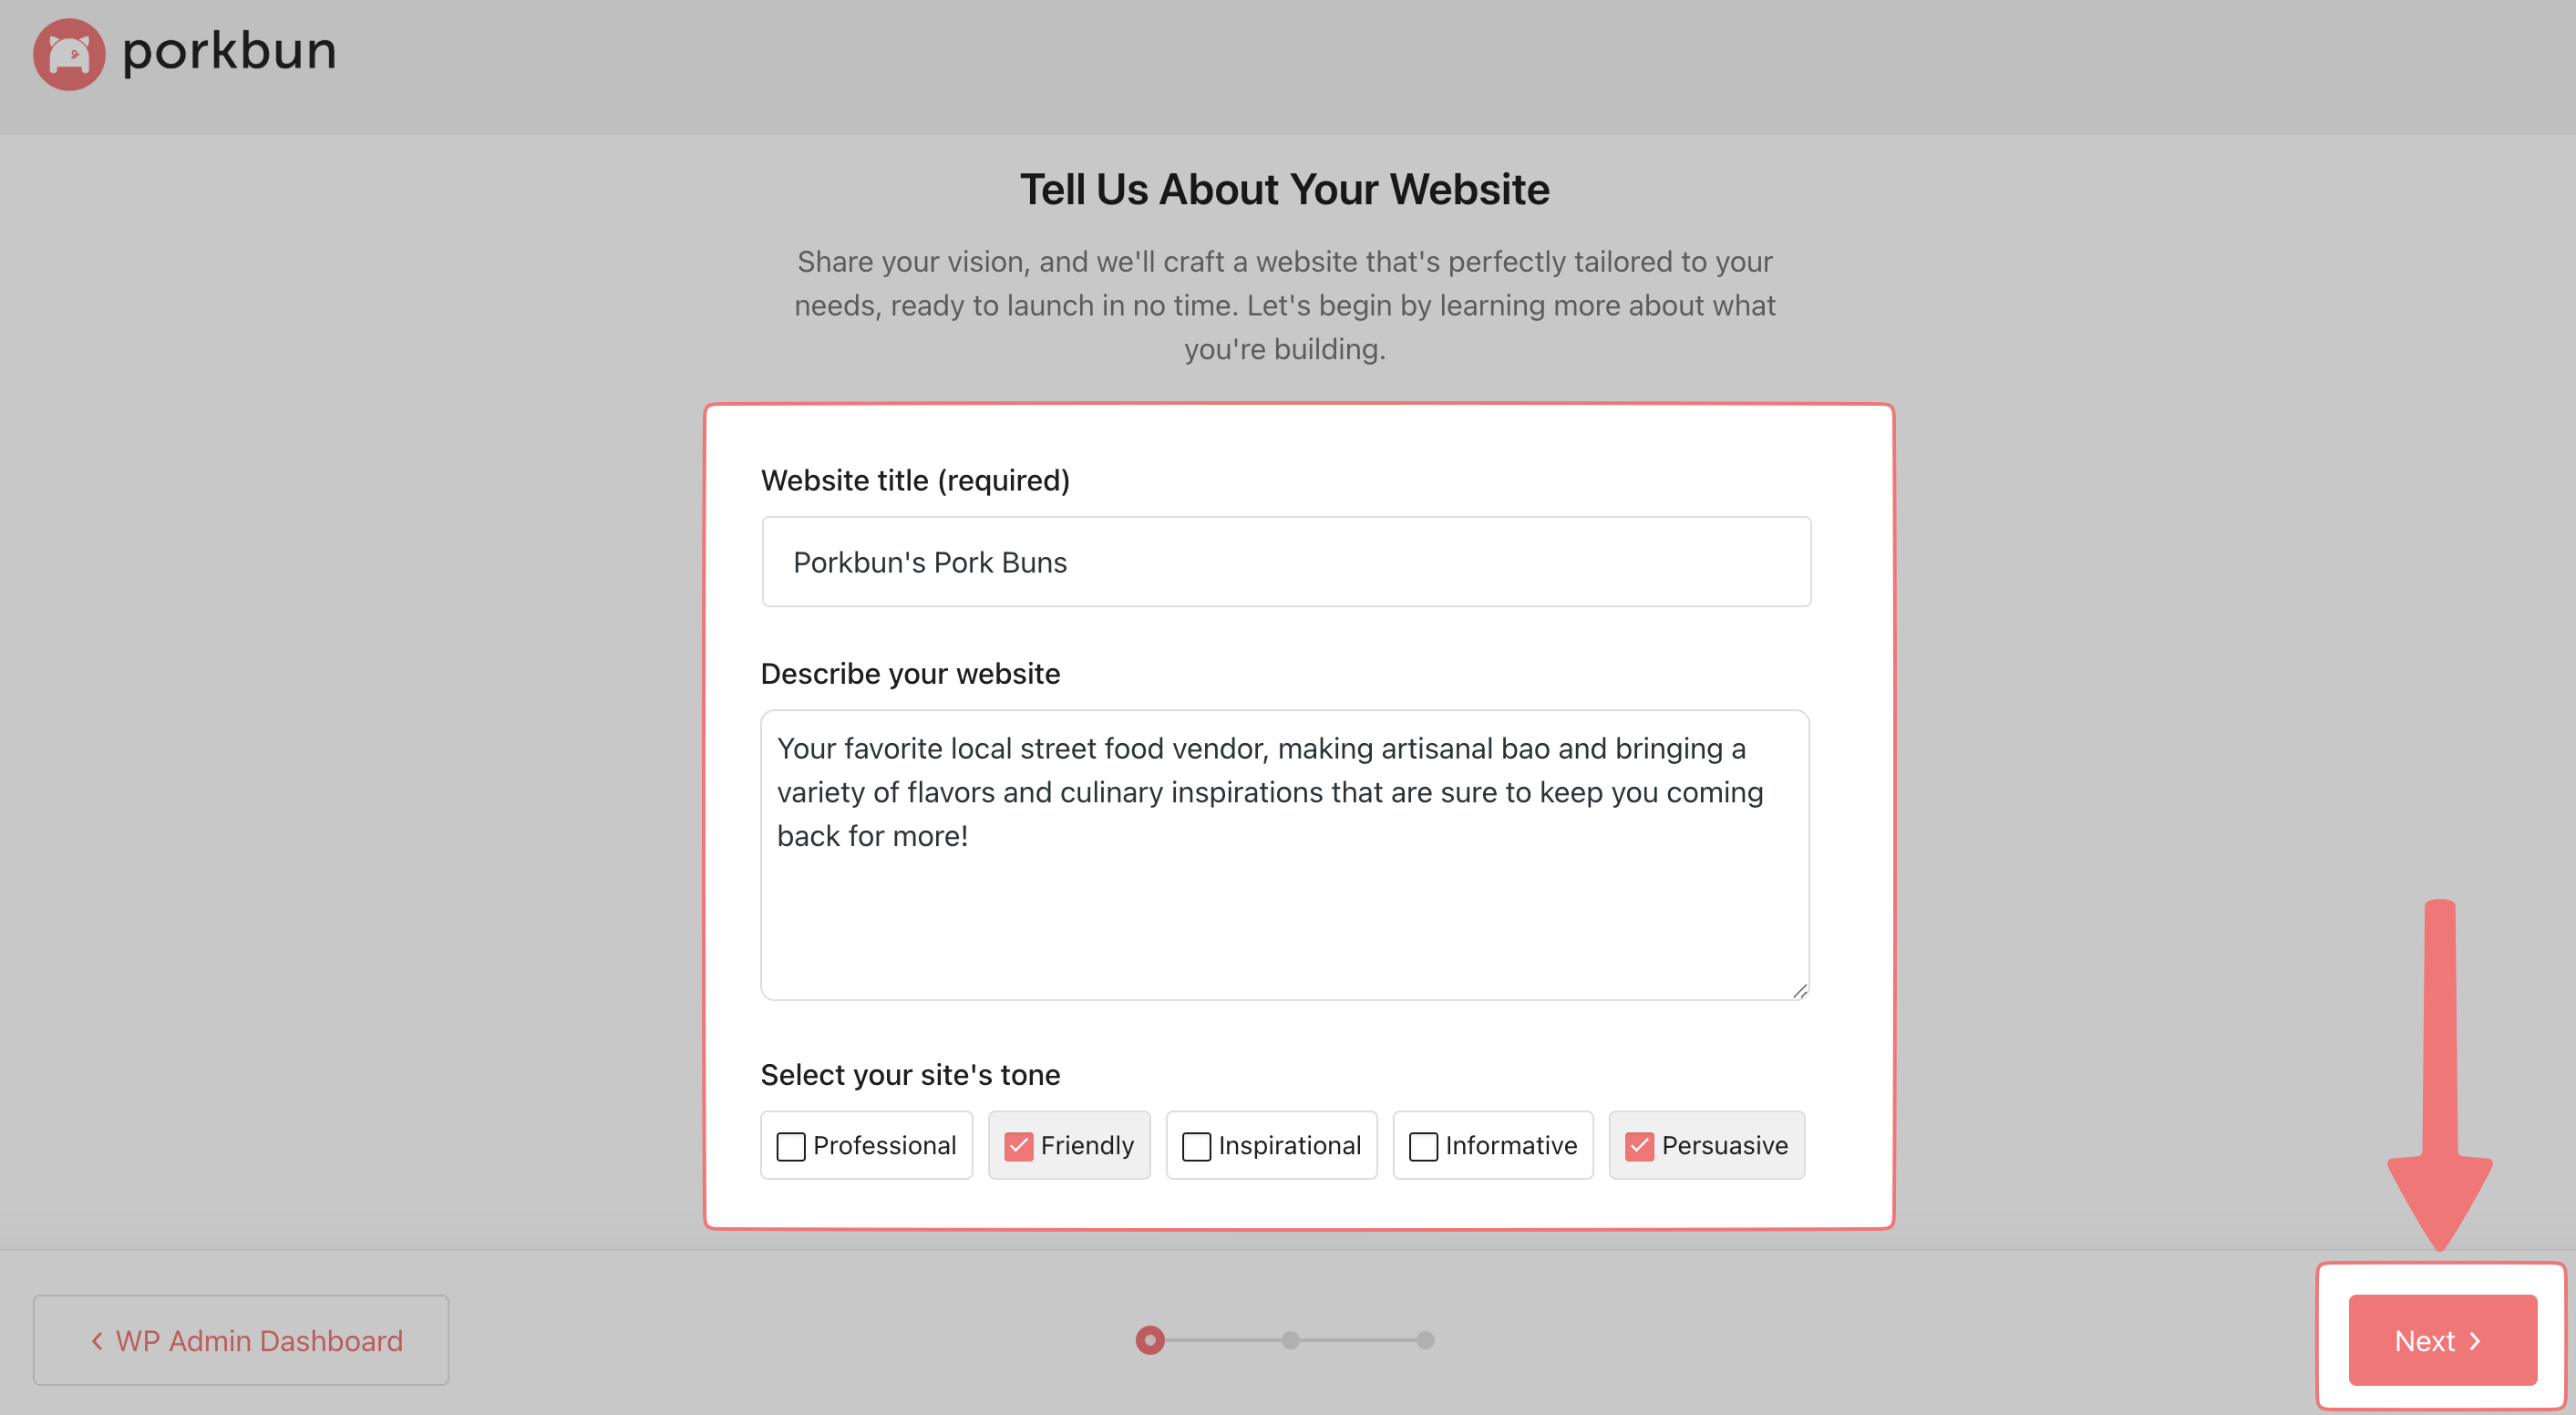
On the first screen, you can enter the title of your website, and a description of the type of site you're creating. You can also choose some options for the tone of the website, which will have an effect on how the website ends up looking. Once you've entered the info for your site, click on "Next" to continue.
2
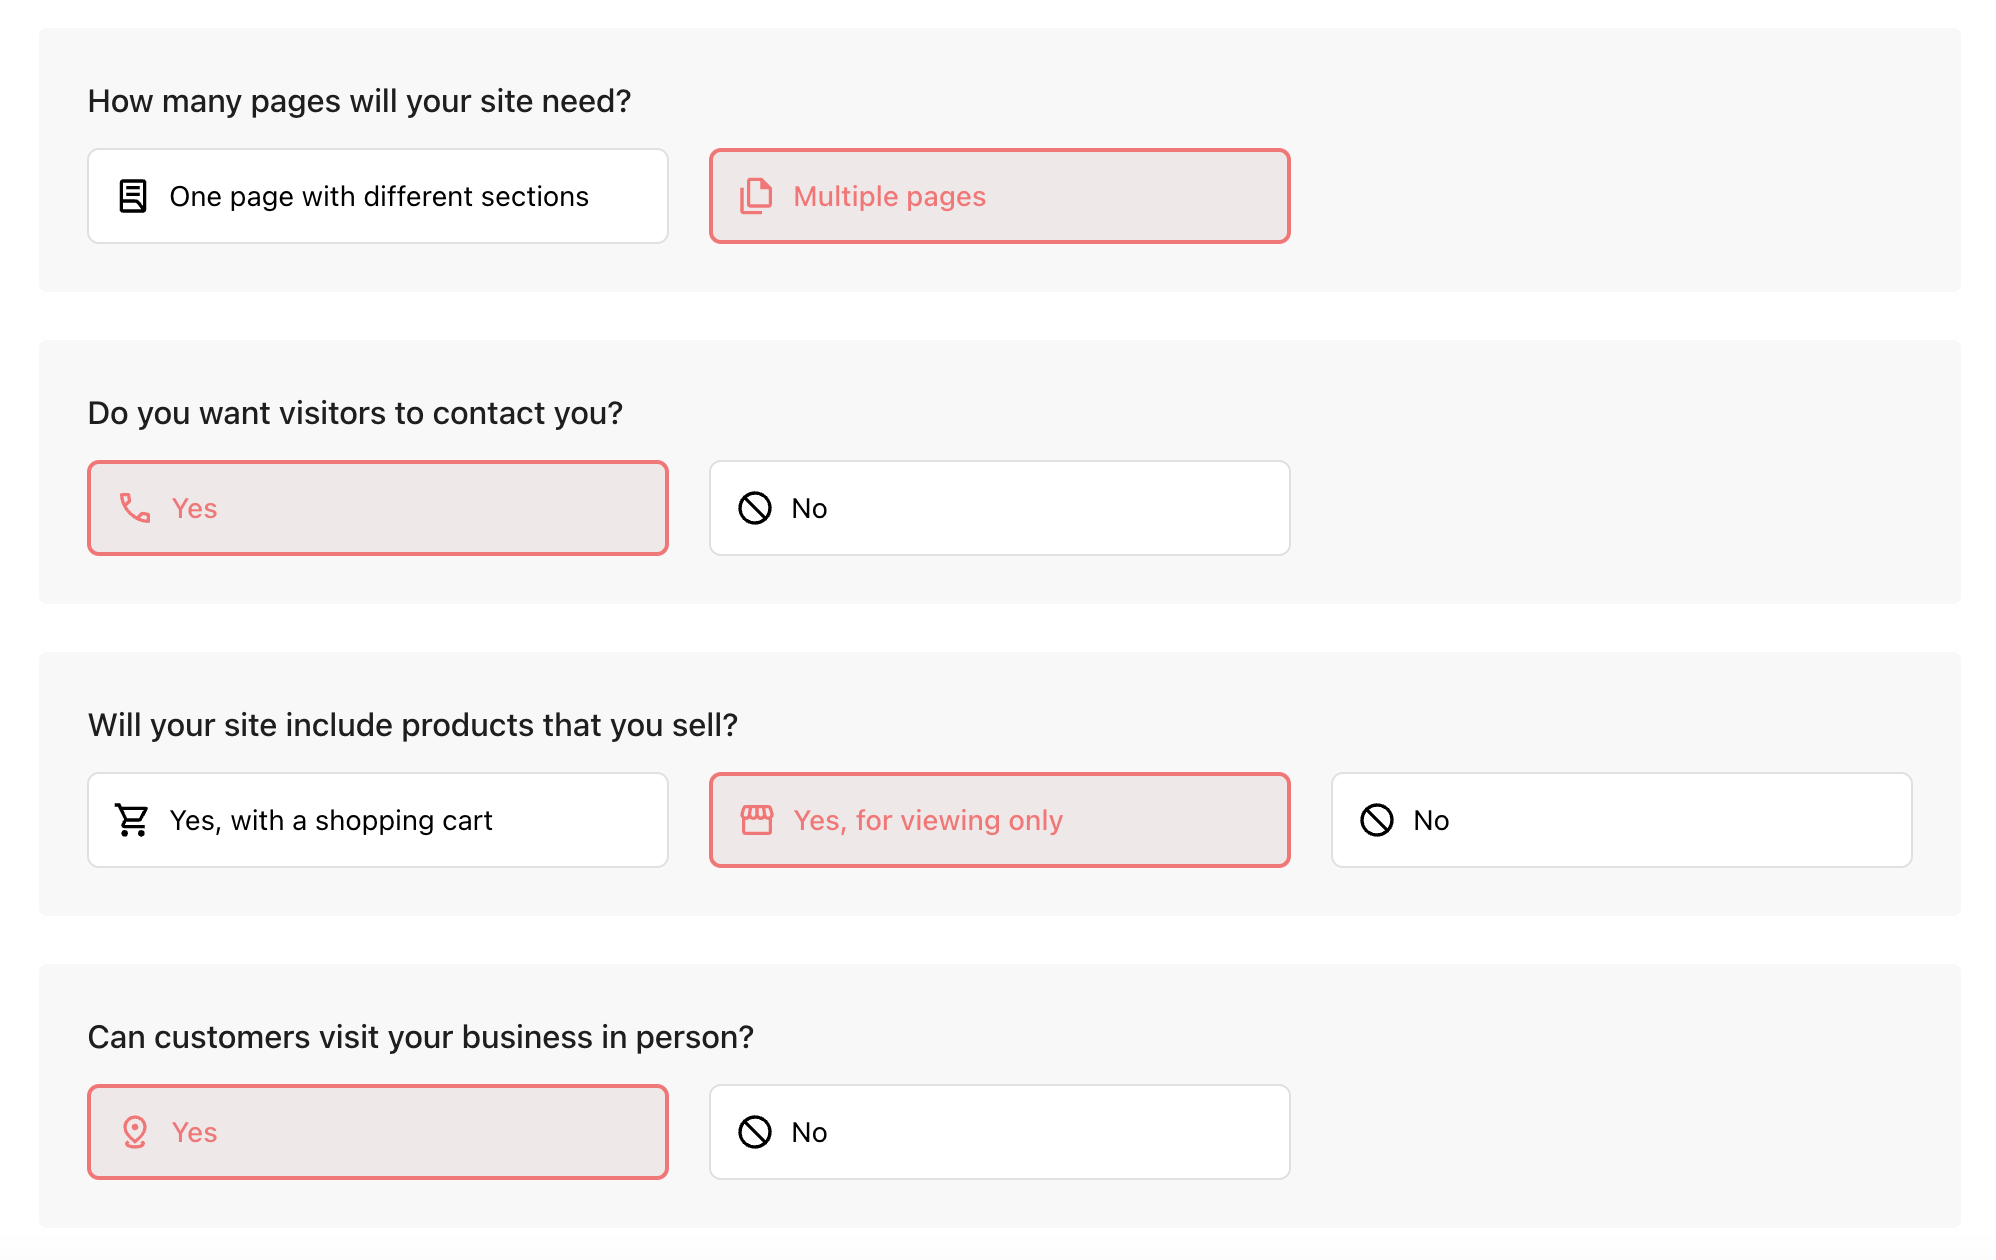
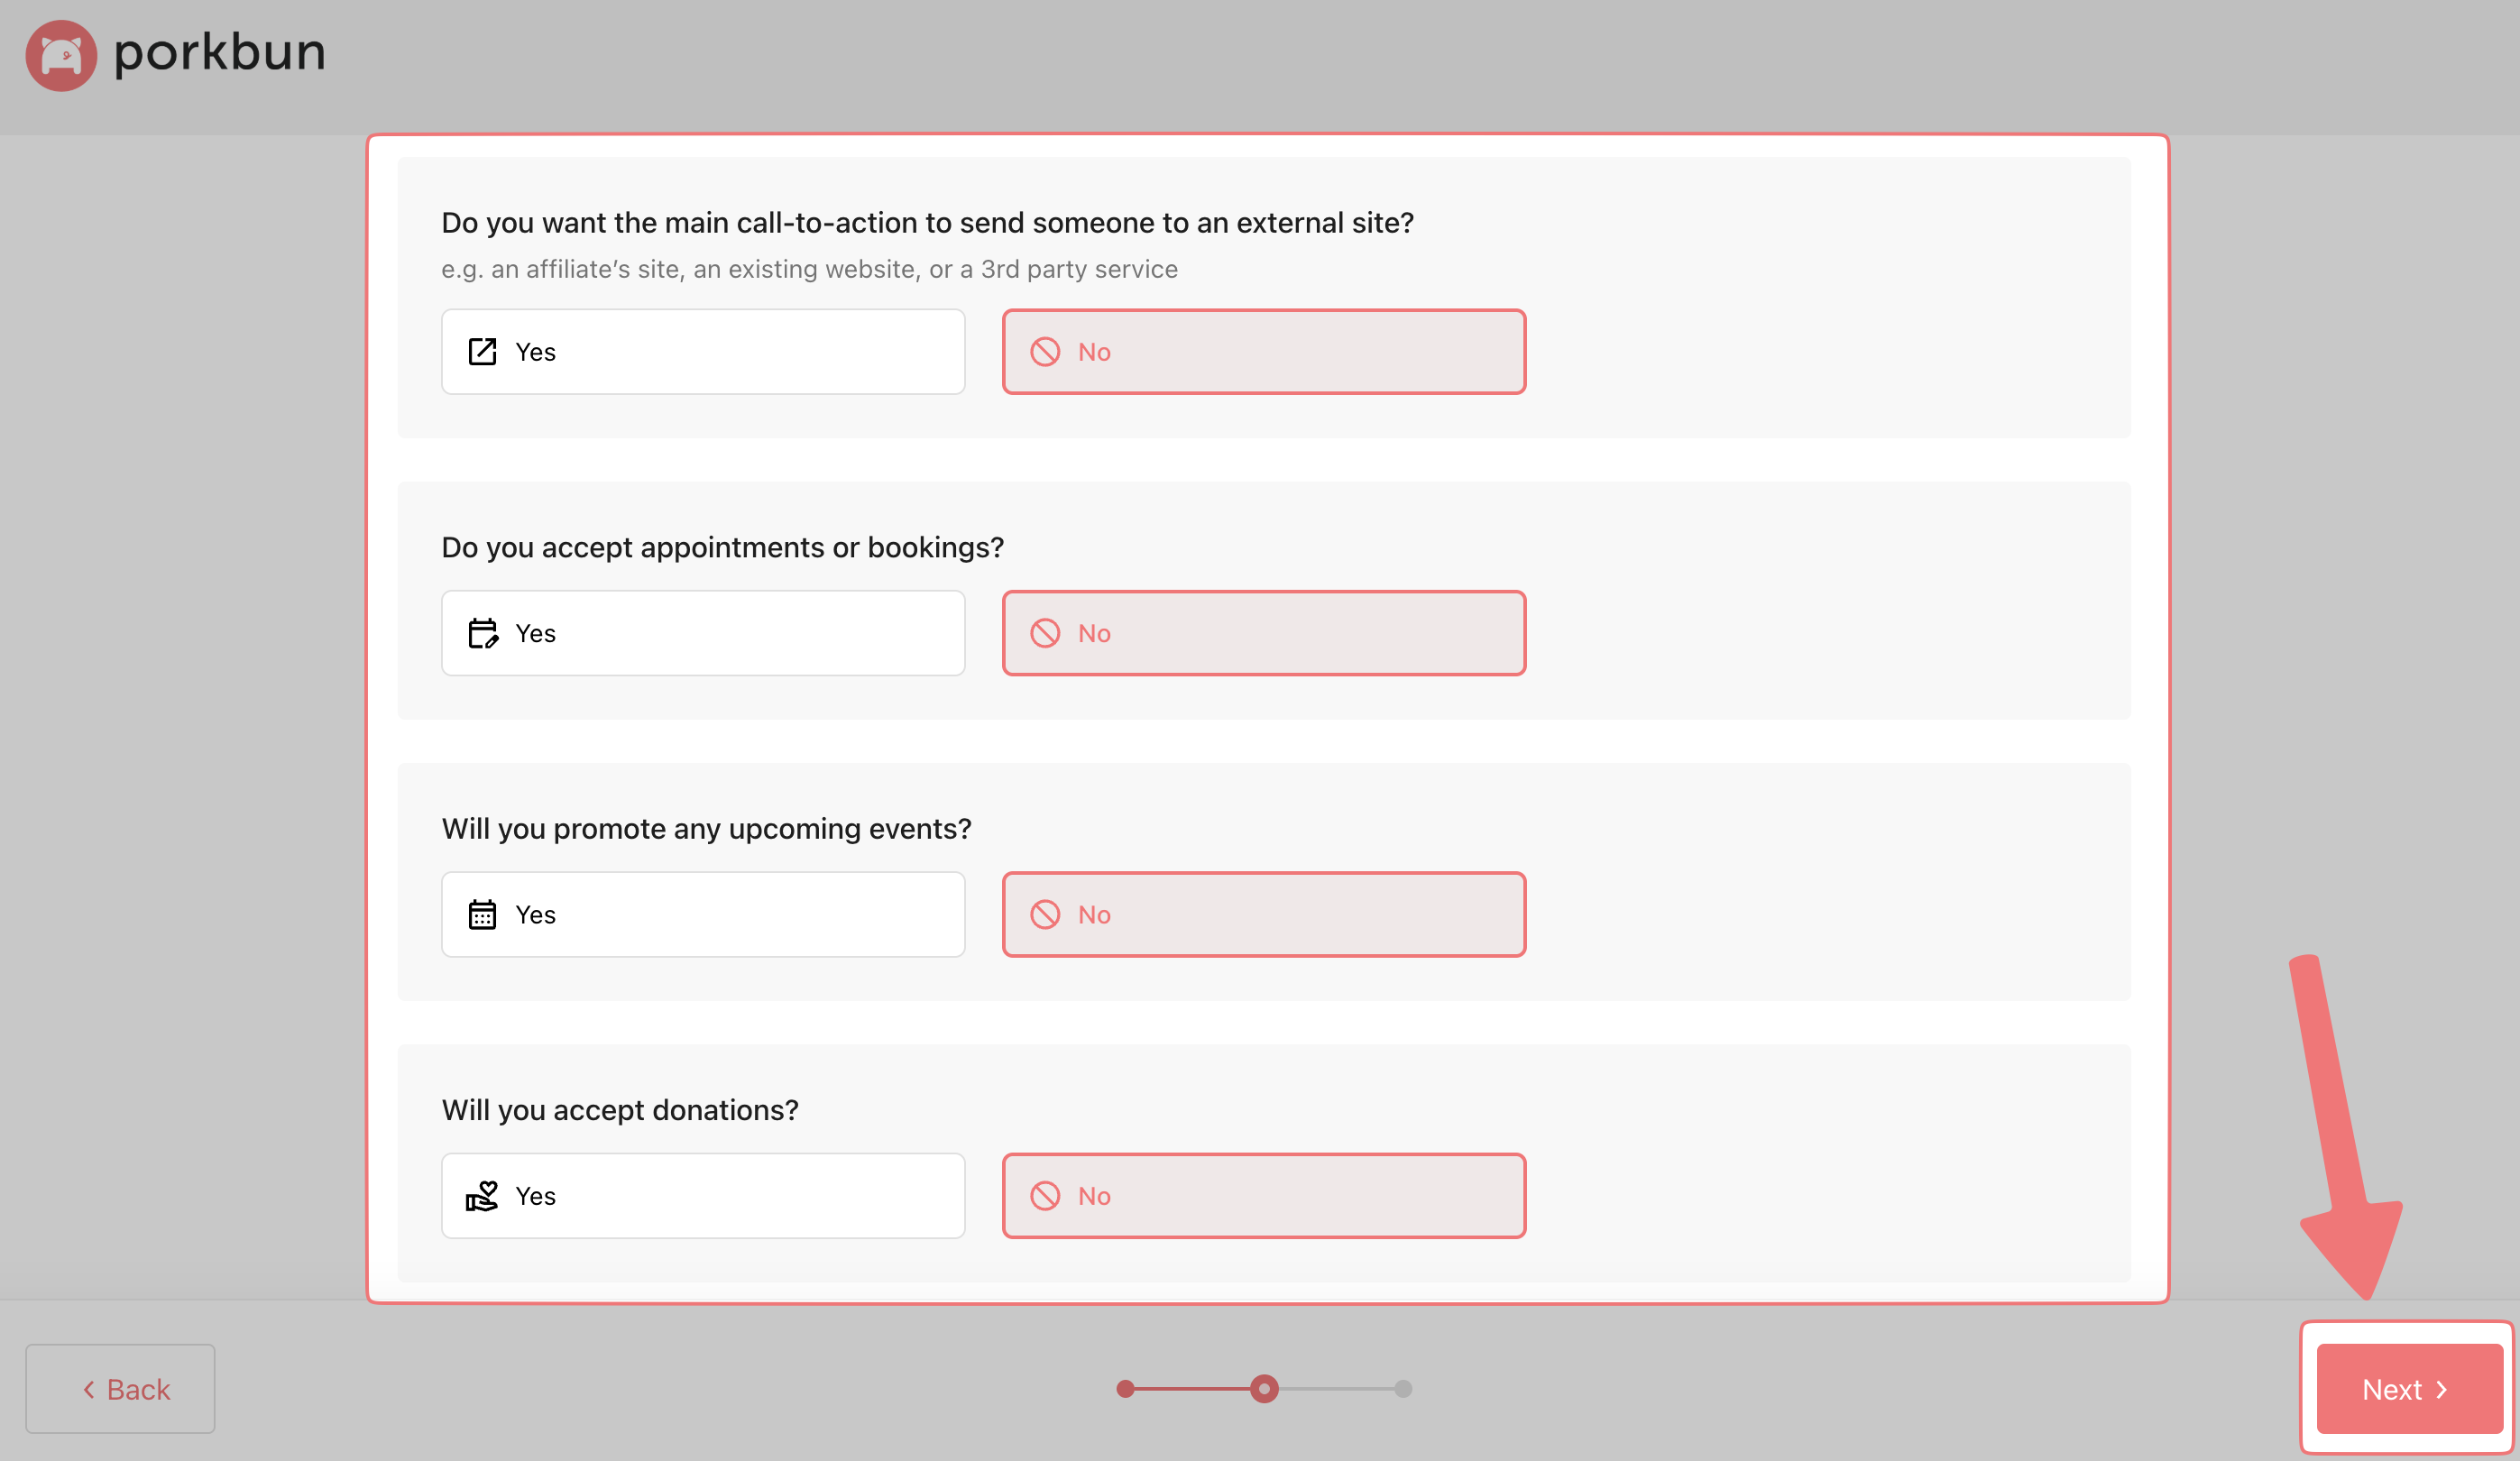
You'll see a loading screen for a moment while your site is being set up. On the next page, you can choose some additional options to control how the site will function, including how many pages the site has, whether visitors can contact you, whether your site has products that can be purchased online, and if customers are able to visit your business in person.
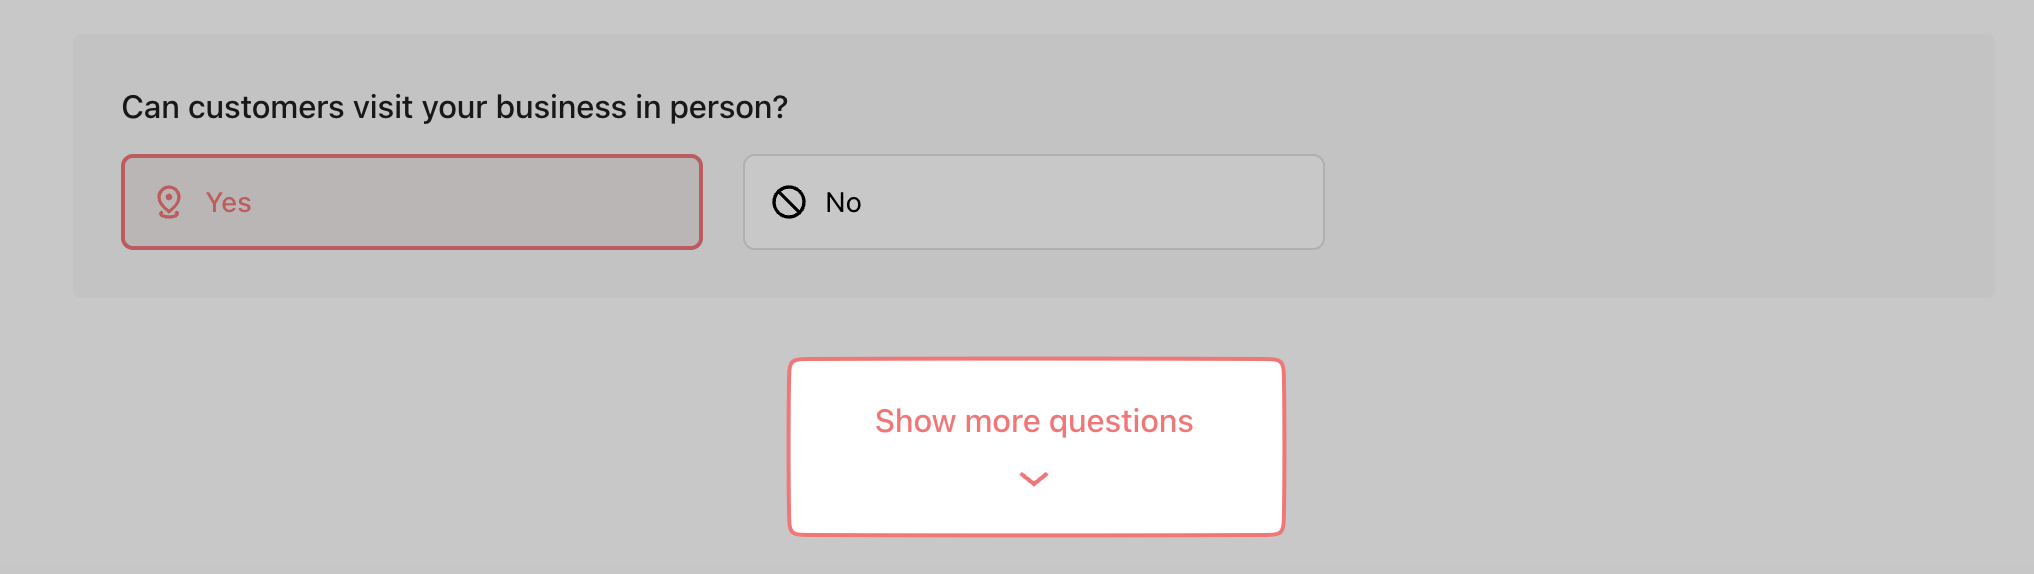
If you want even more control over the site, click on the "Show more questions" option. Select the options according to the type of site you're building, and when you're ready to move on, click on "Next".
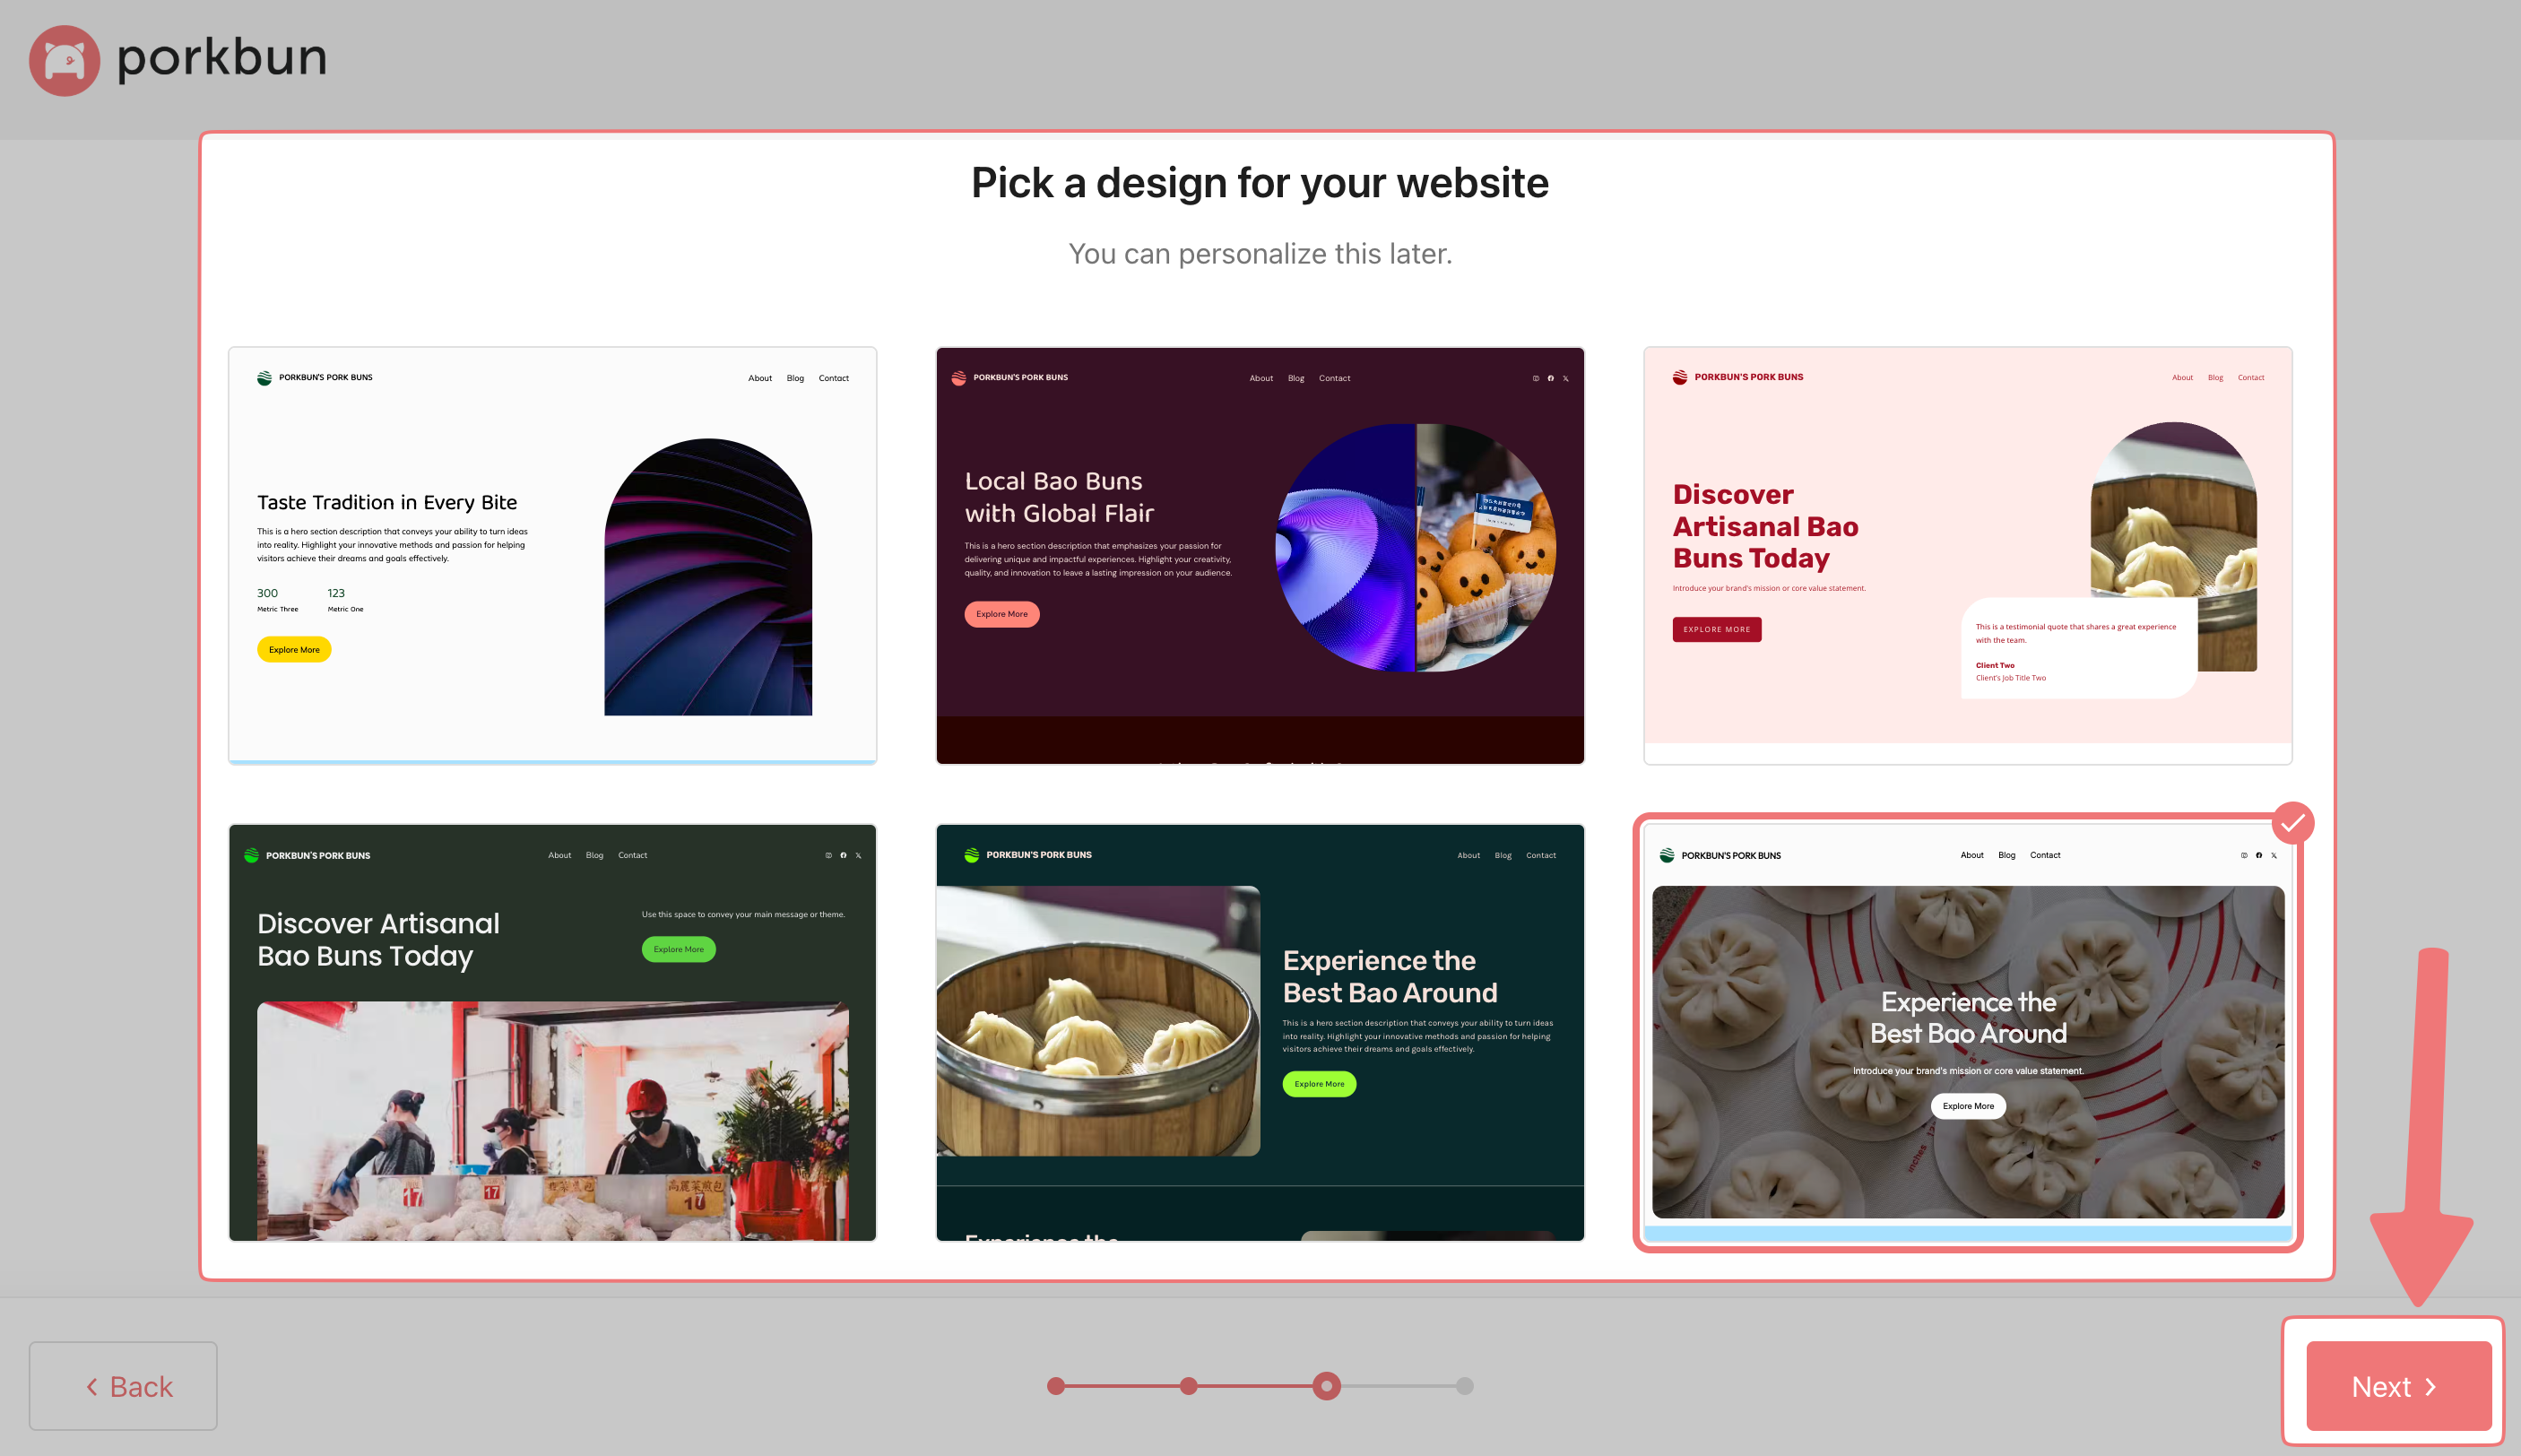
3
Here's the fun part! You'll be presented with a list of designs that have been generated for your website. This can be personalized later if needed, but for now, choose an option that you like and that will work for your particular needs, then click "Next".
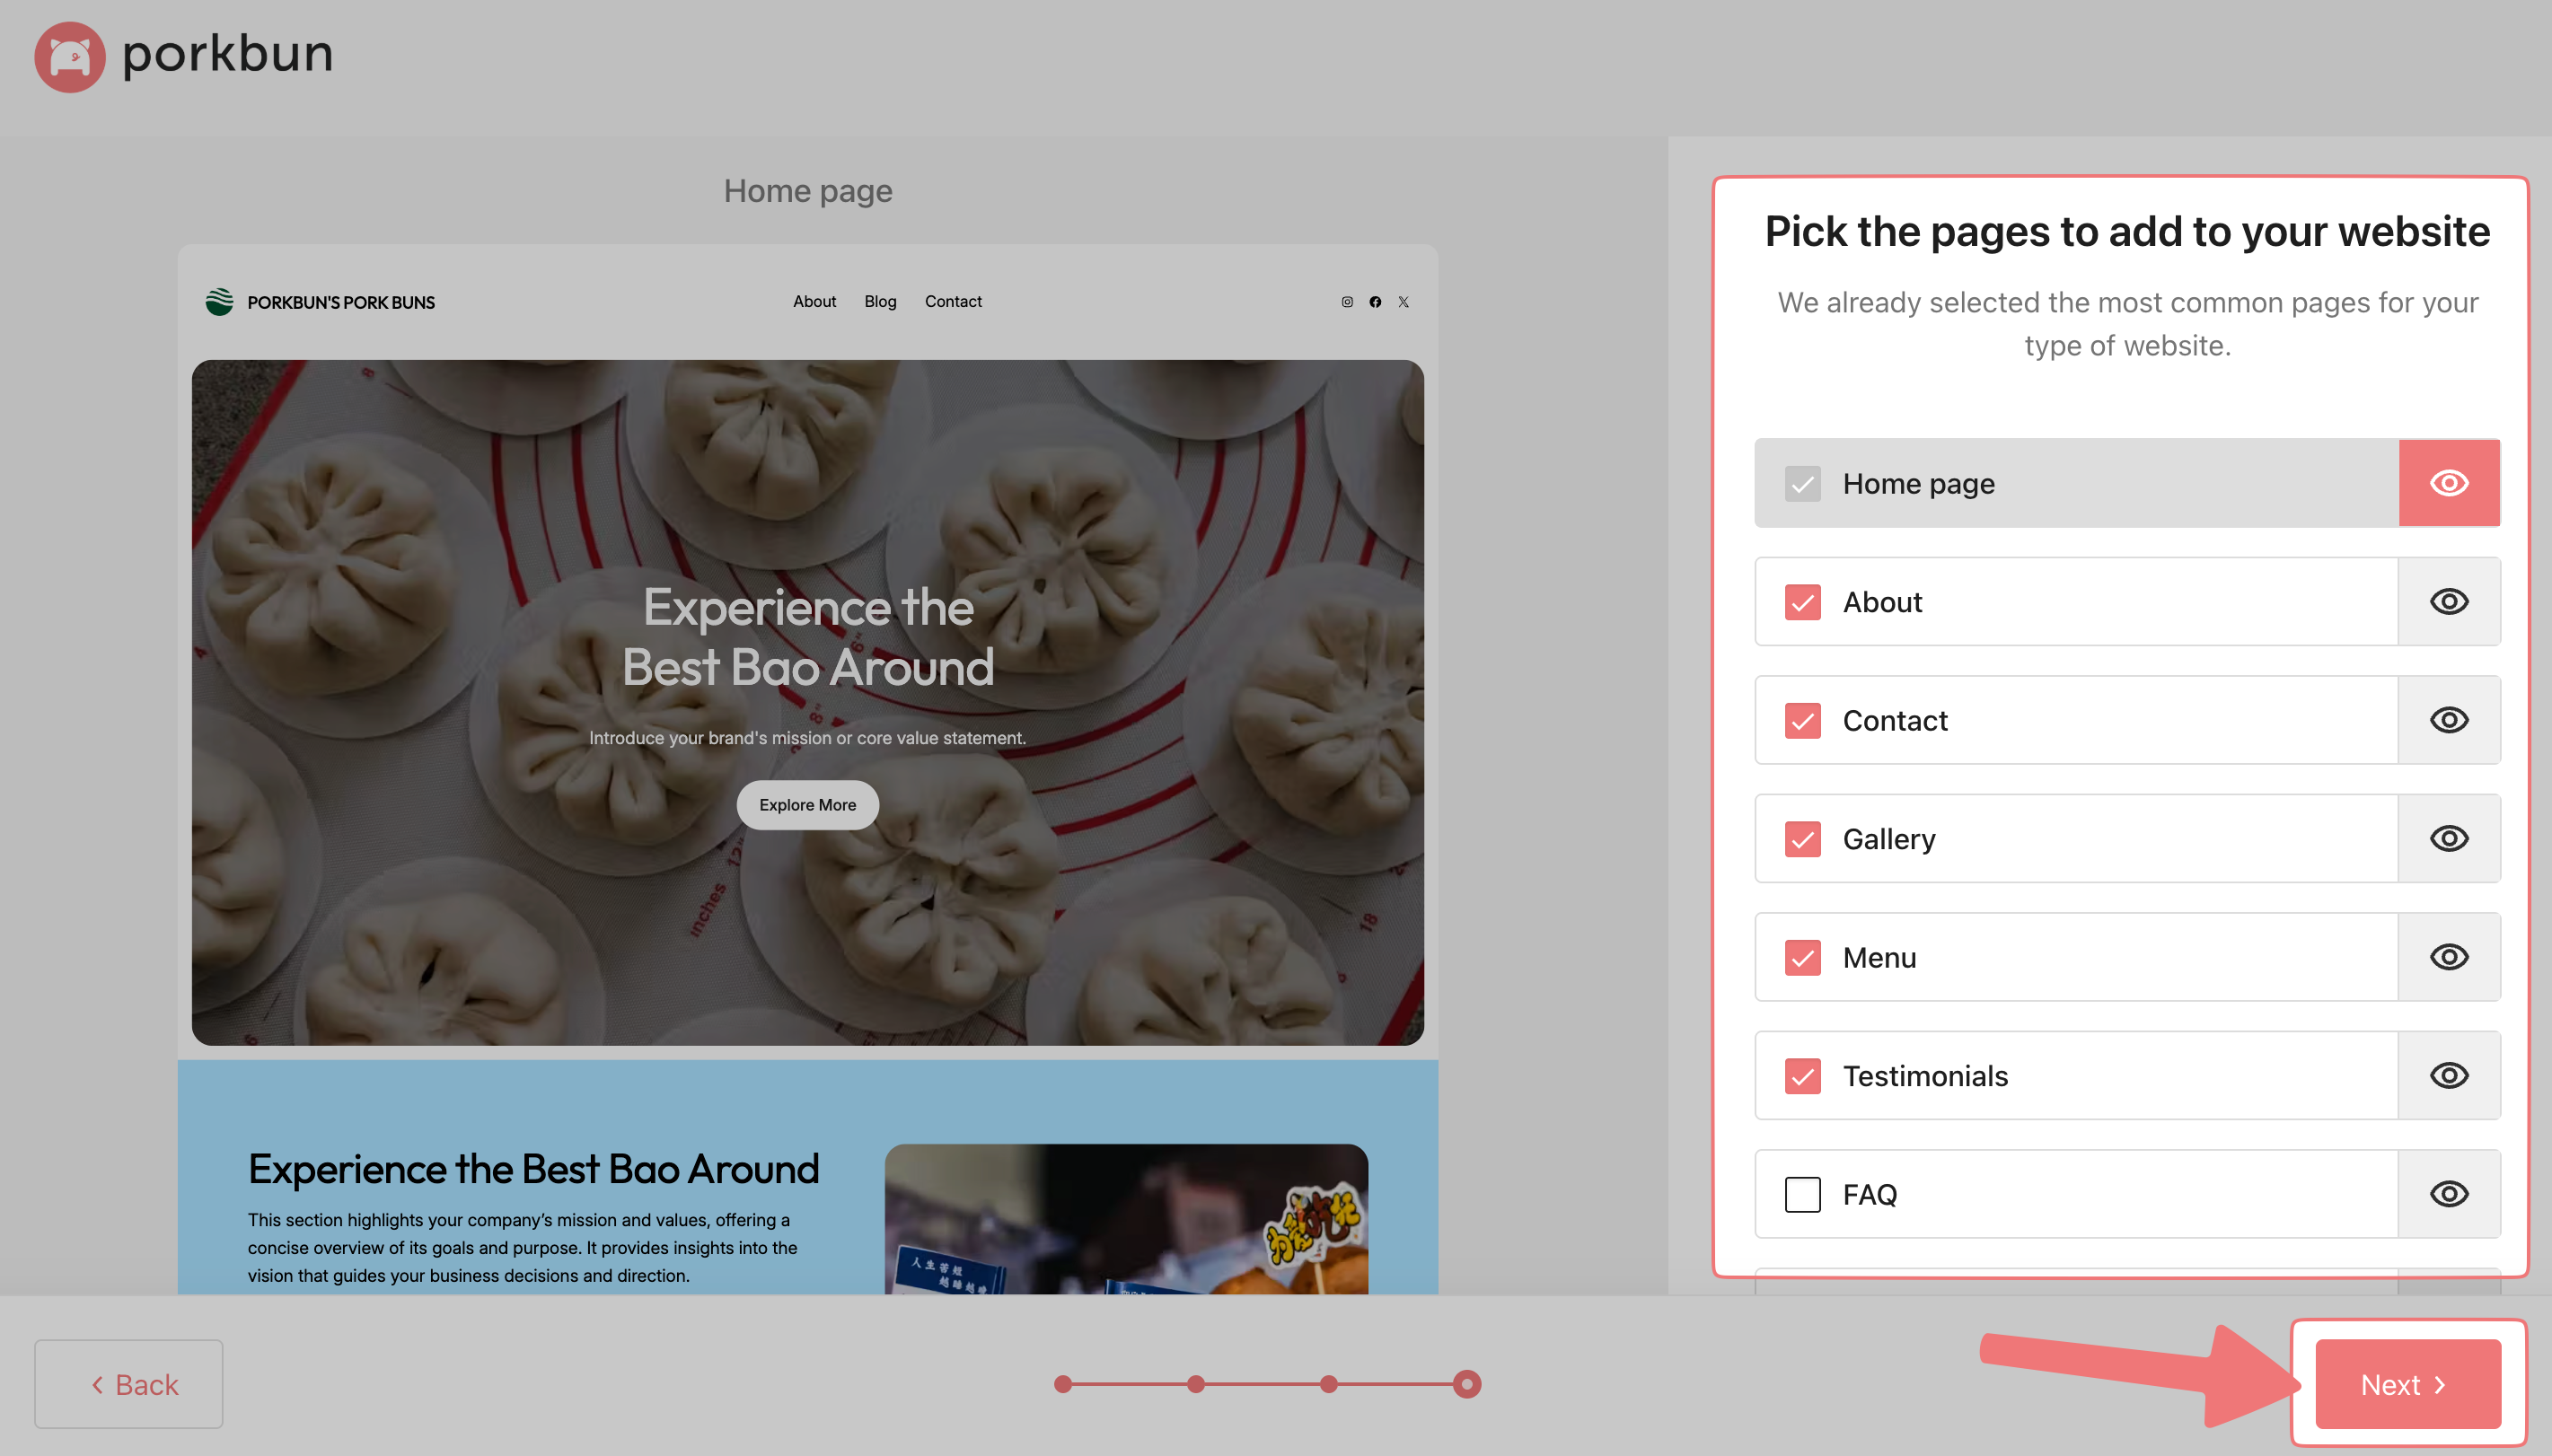
4
If you chose to build a website with multiple pages earlier, you'll now see an additional screen that lets you specify the exact pages you want to create. These can always be adjusted later as needed. Choose the pages you want, then click "Next".
5
You'll see a loading screen for a minute or two while Extendify builds your website. After that's finished, you'll see a success message and then you'll be redirected to your new website.
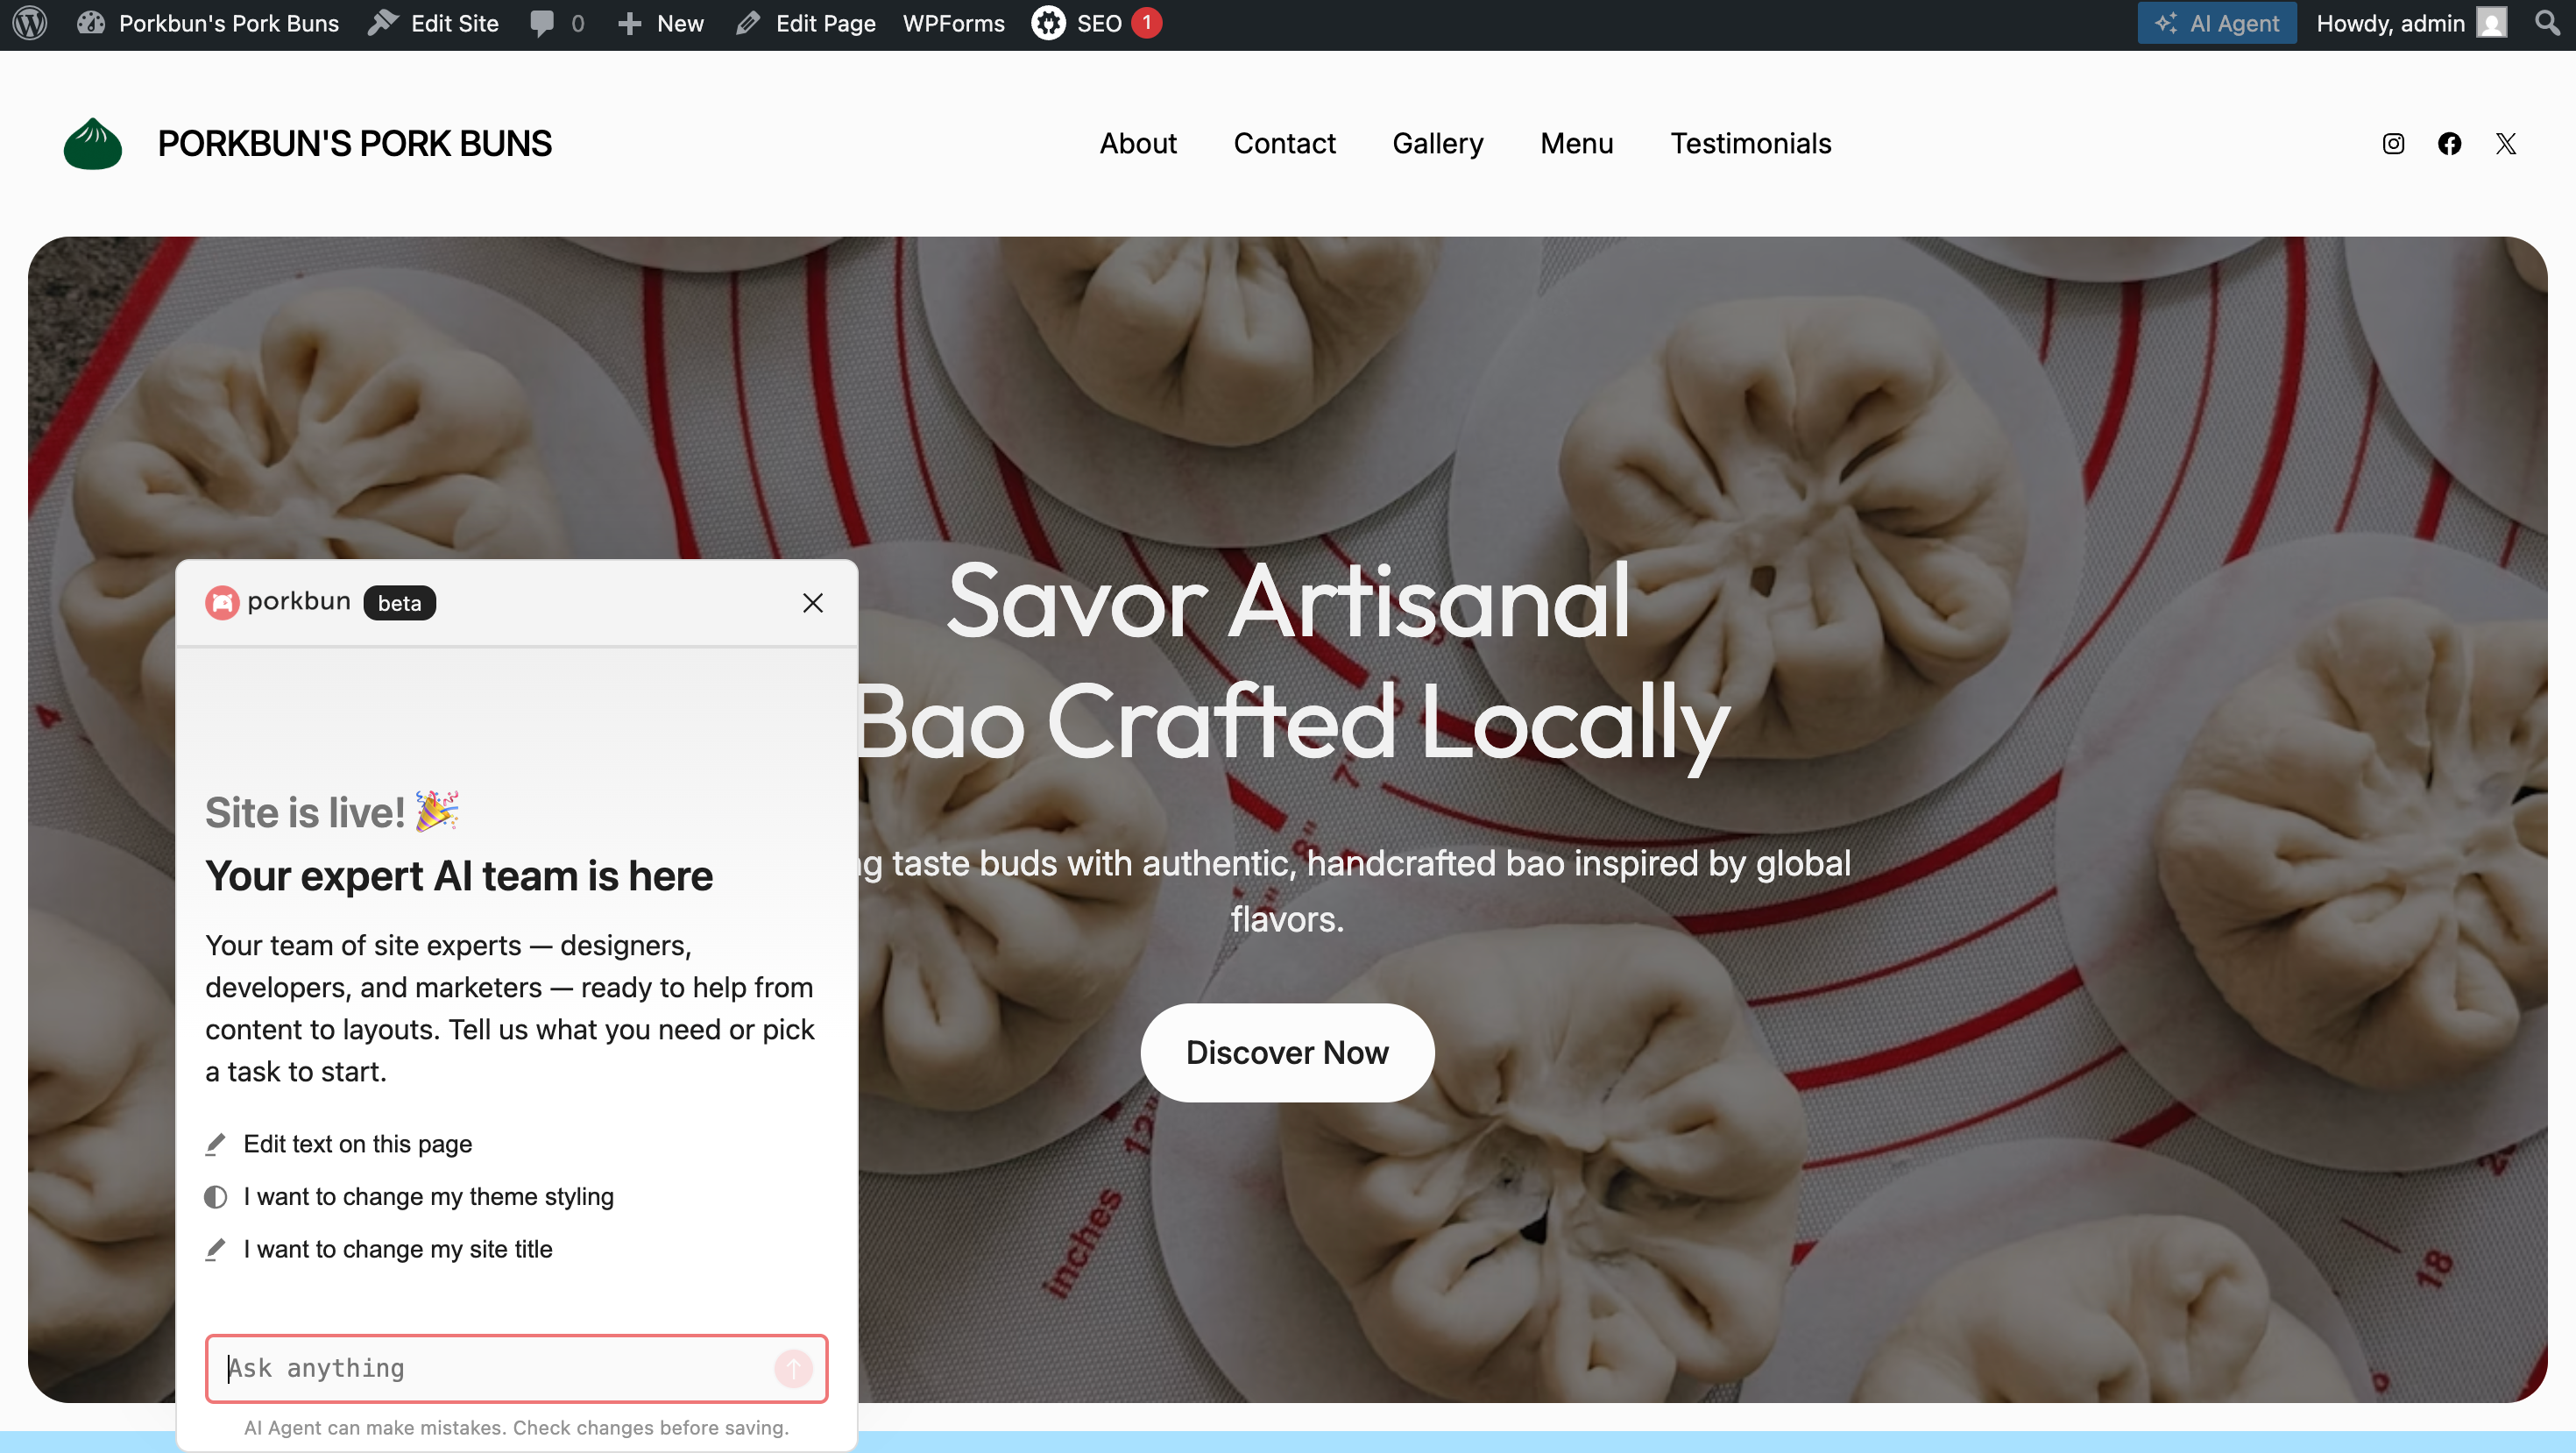
6
Congratulations! You have a brand new website built through Extendify. You can click around on the site to see what was built and then start making changes as necessary. If you've used WordPress before, you can manage these pages like any other standard WordPress pages. You can also continue to use Extendify to make changes to your website.
7
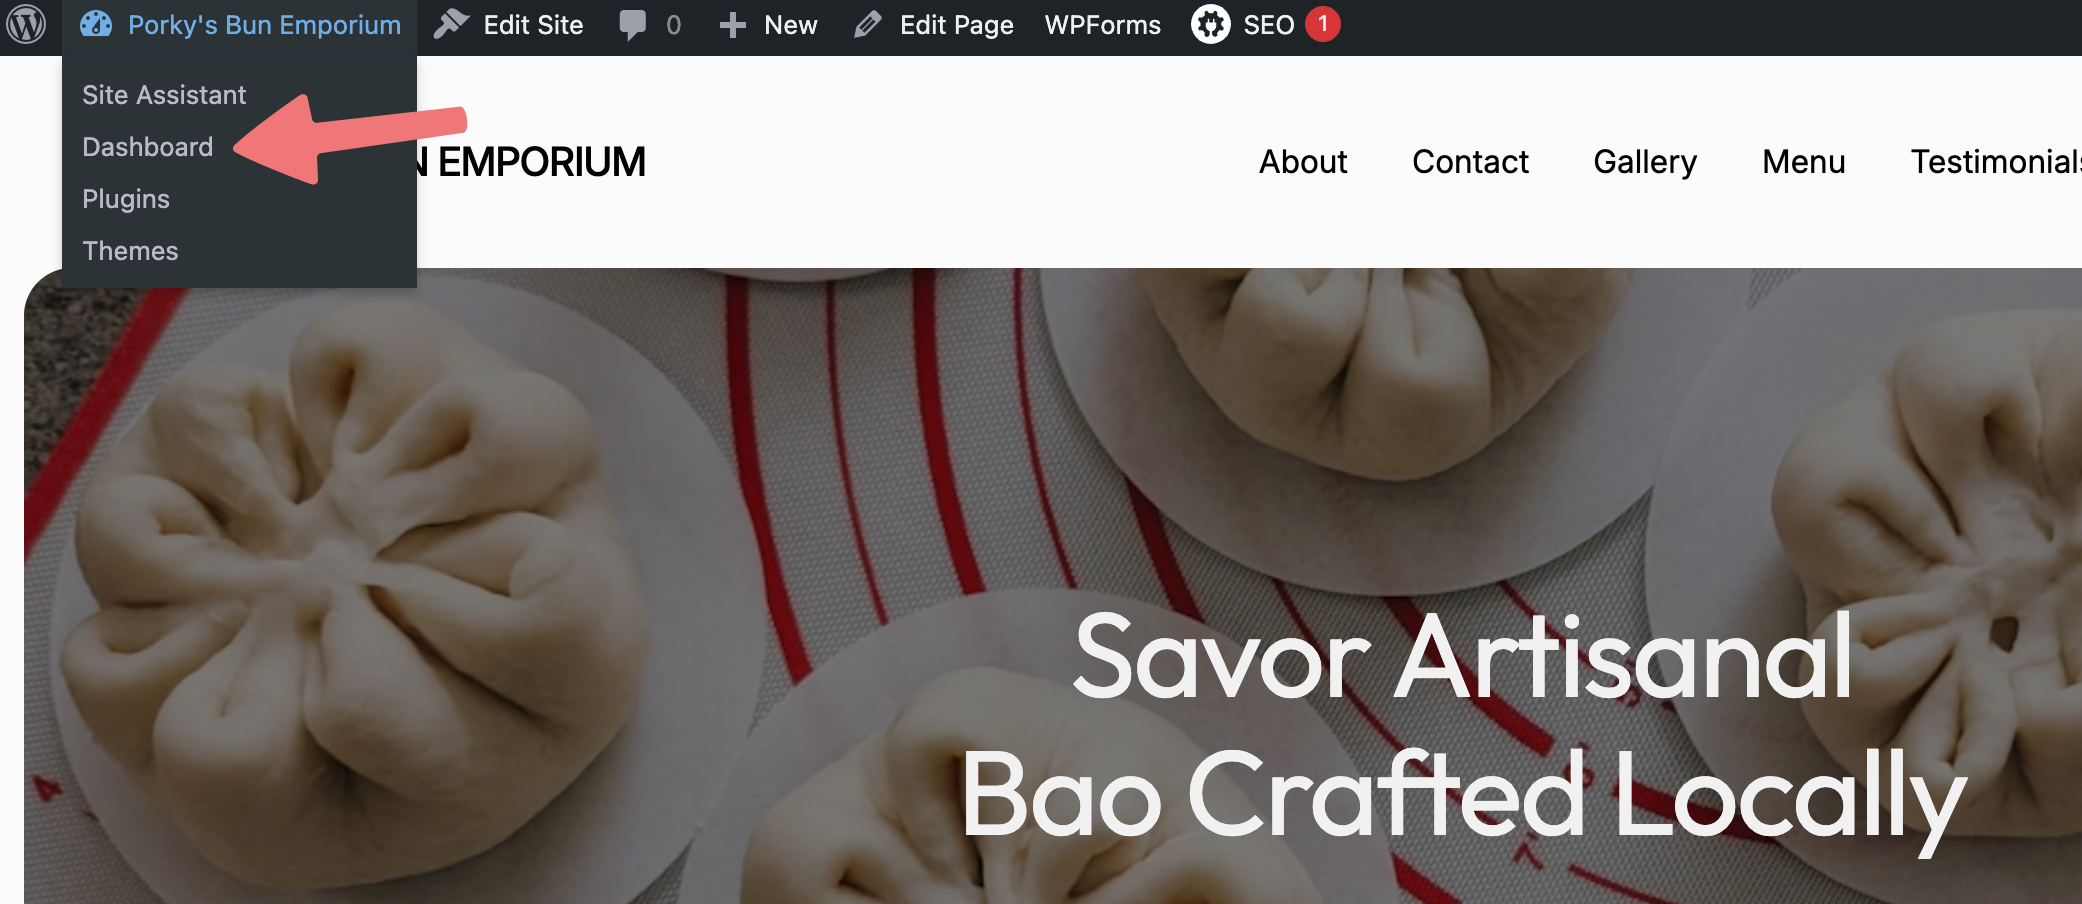
You can navigate back to your main WordPress admin panel by hovering over your site title in the upper-left corner and clicking on "Dashboard".
8
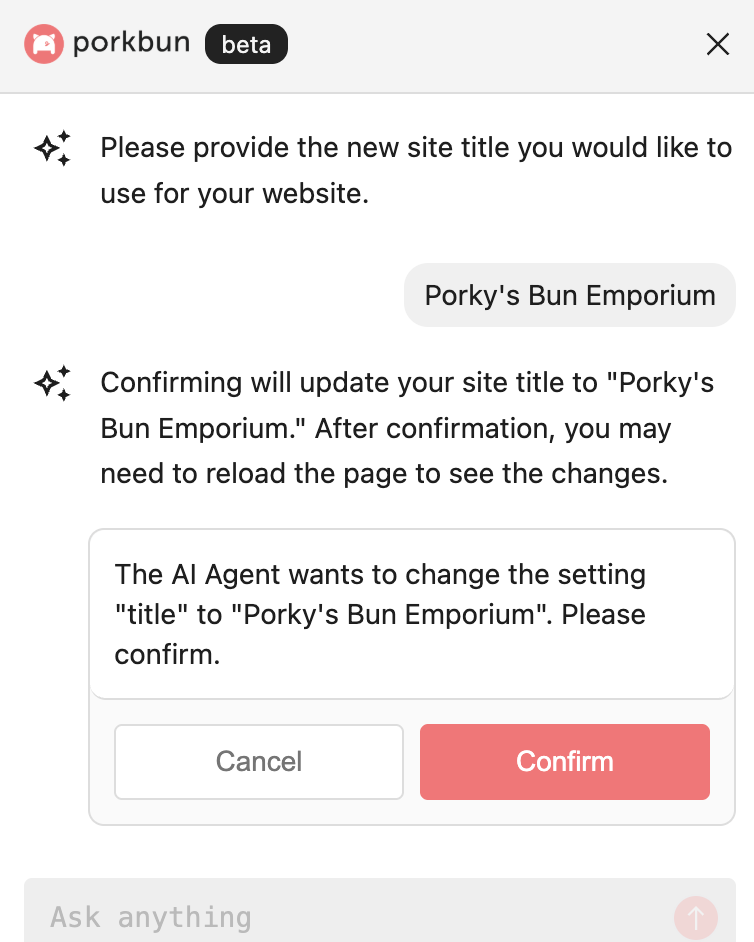
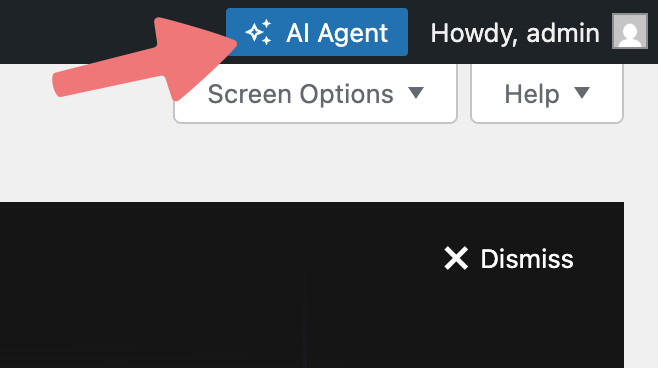
From the main WordPress admin panel, you can work on your site manually and make edits like you would with any other WordPress site. You can also use the "AI Agent" button in the upper-right corner, which will open the chat window that allows you to make changes to your website with Extendify.
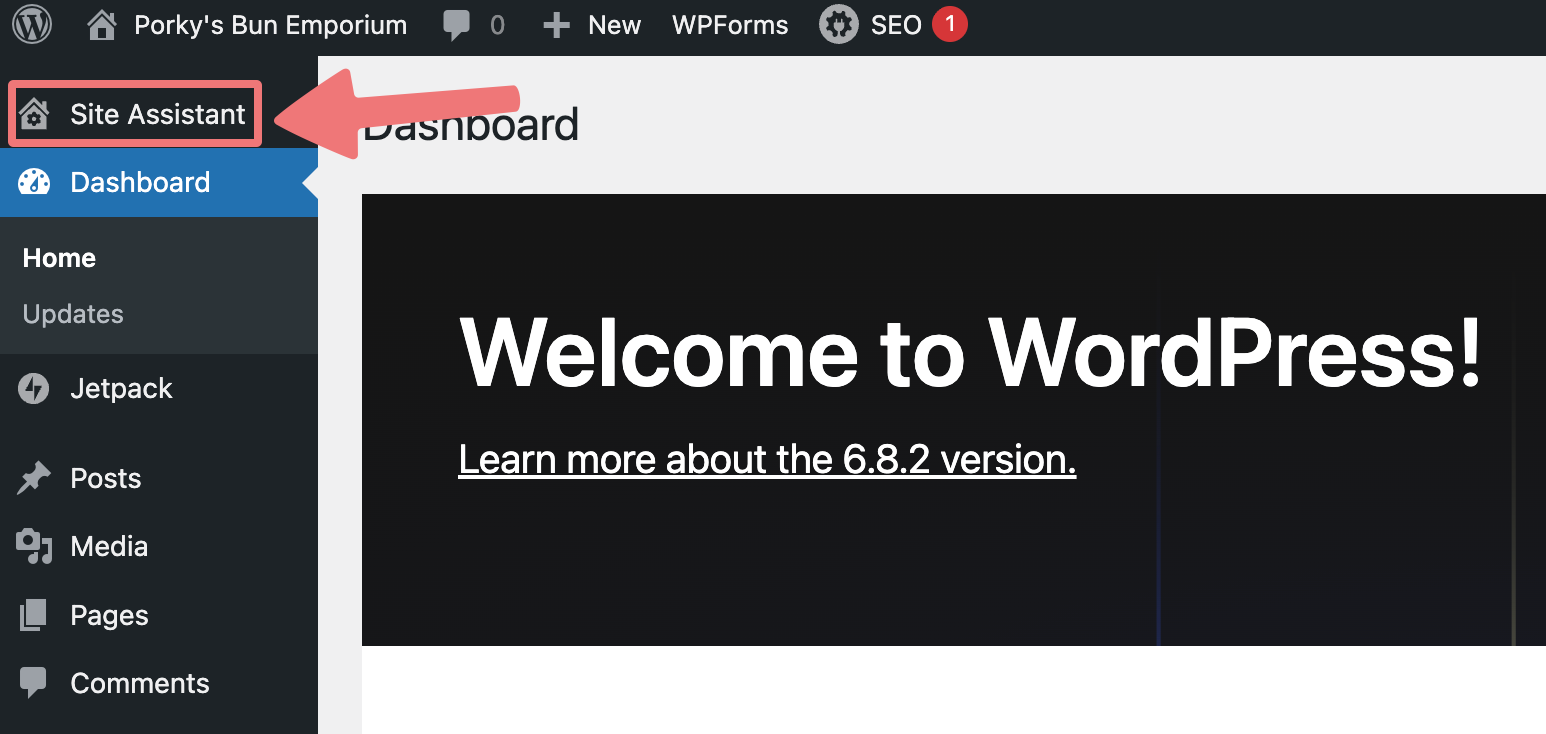
Click on the "Site Assistant" option in the left-hand menu to open more options in Extendify, allowing you to create new pages, edit the style of your site, and more!
That's it! We make it easy to get up and running with a WordPress website tailored to your particular needs. If you have any questions or concerns about setting up Cloud for WordPress or building the website of your dreams, feel free to get in touch with our support team.