How to set up your email address in the Gmail app for Android
At Porkbun, we understand the convenience of accessing all of your email accounts from one app, and we take pride in supporting a wide variety of email clients. The following guide walks through using your Porkbun hosted email account in the Gmail app for Android. If you haven't set up a hosted email address through Porkbun yet, review this guide first.
1
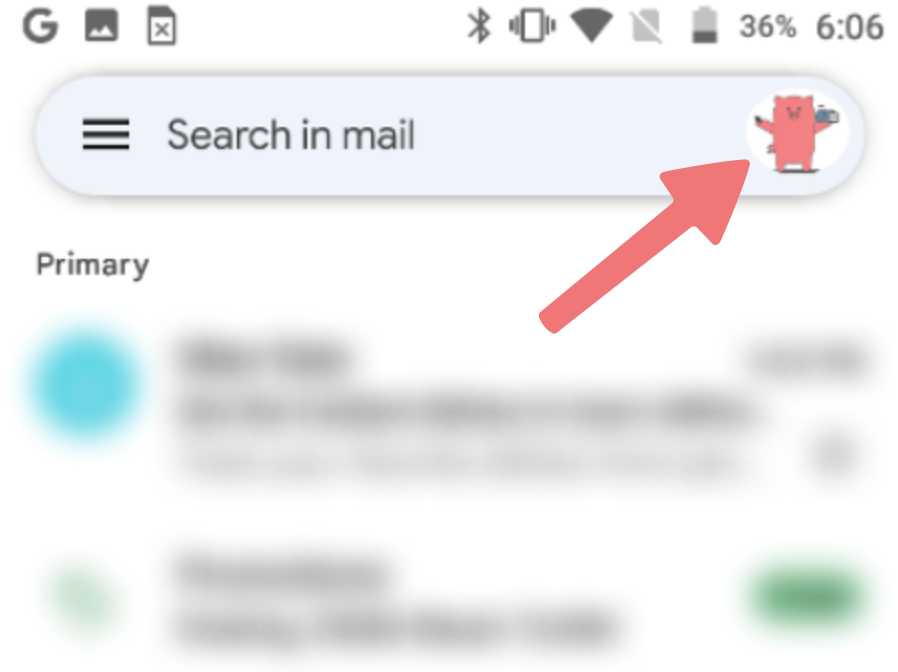
Open the Gmail app and then tap on your Gmail profile picture in the top-right.
2
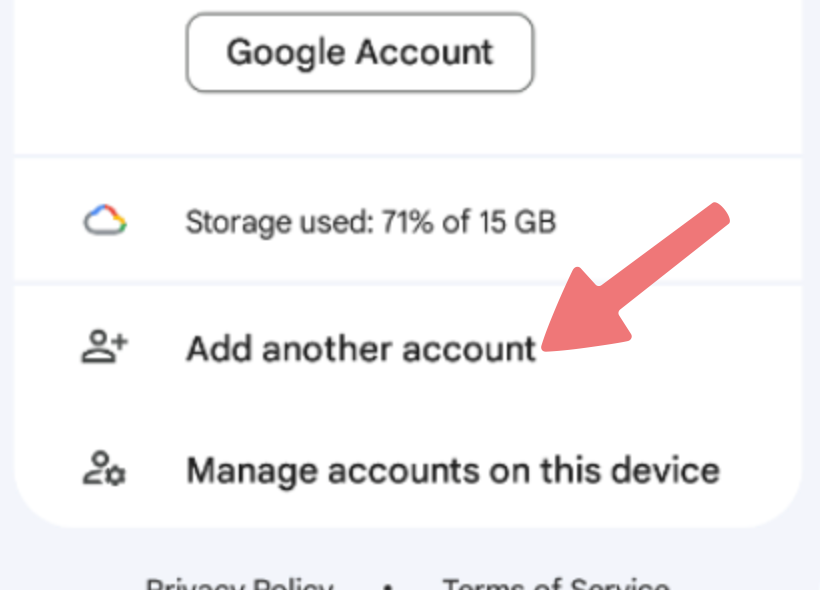
In the options that pop up, select the option to "Add another account".
3
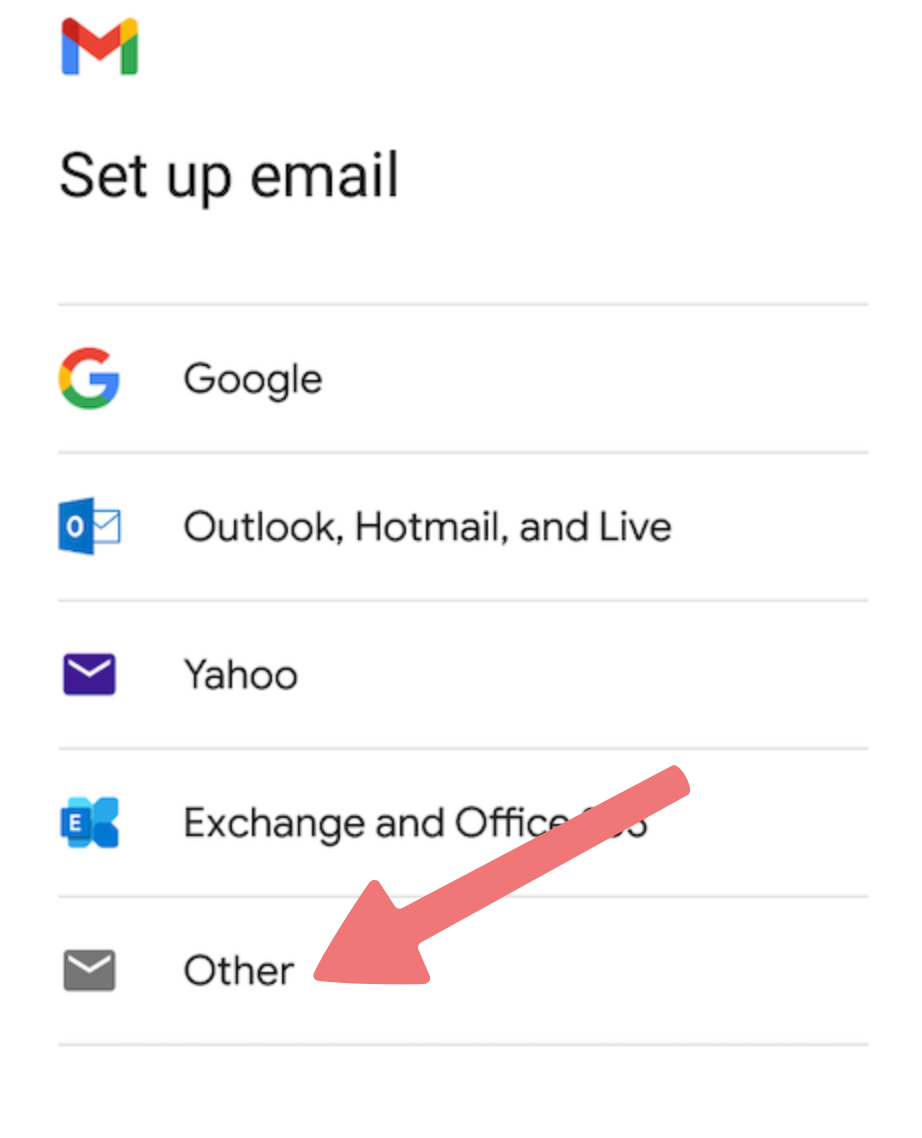
You'll be taken to the "Set up email" page showing a list of email providers. Select the "Other" option.
4
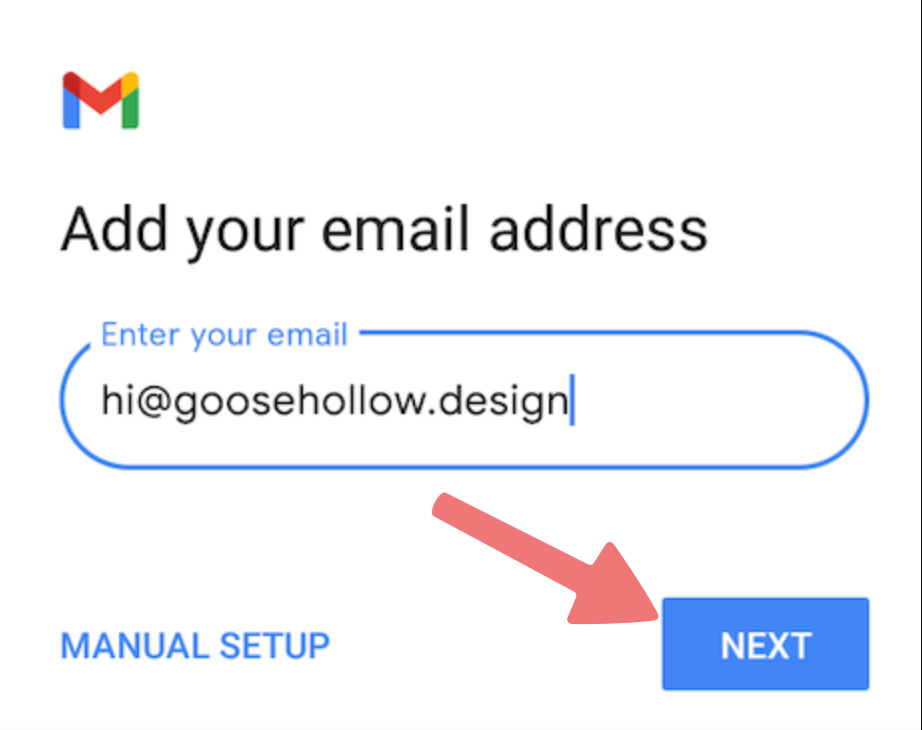
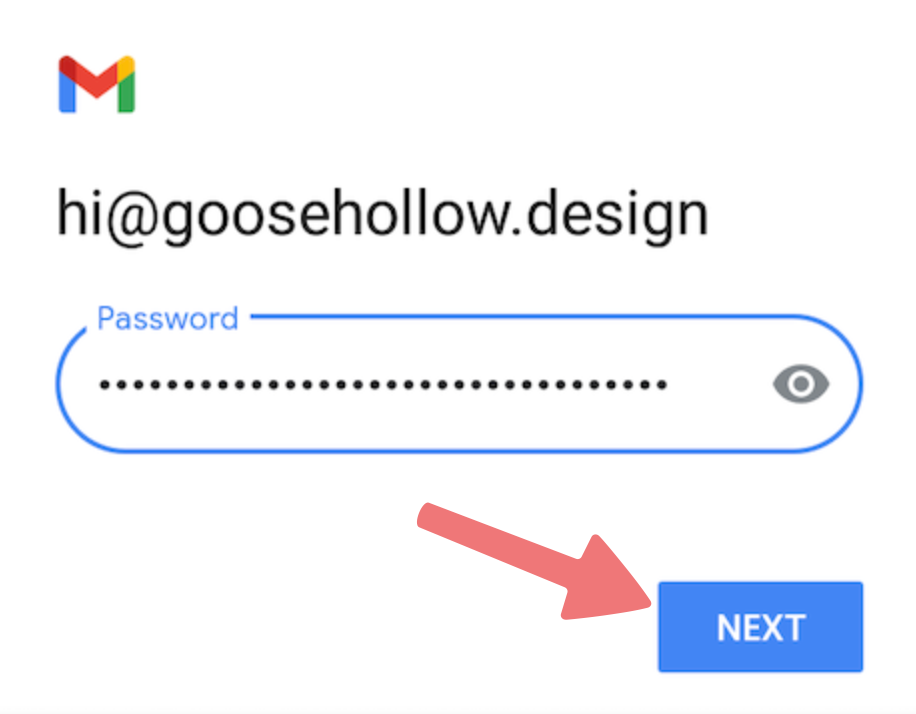
On the next page, enter your full hosted email address you purchased from Porkbun, then select "Next".
5
On the following page, input the password you created for your Porkbun hosted email address, then select "Next".
Note
If you can't remember the password you created for your hosted email address, you can always reset it by following this guide.
6
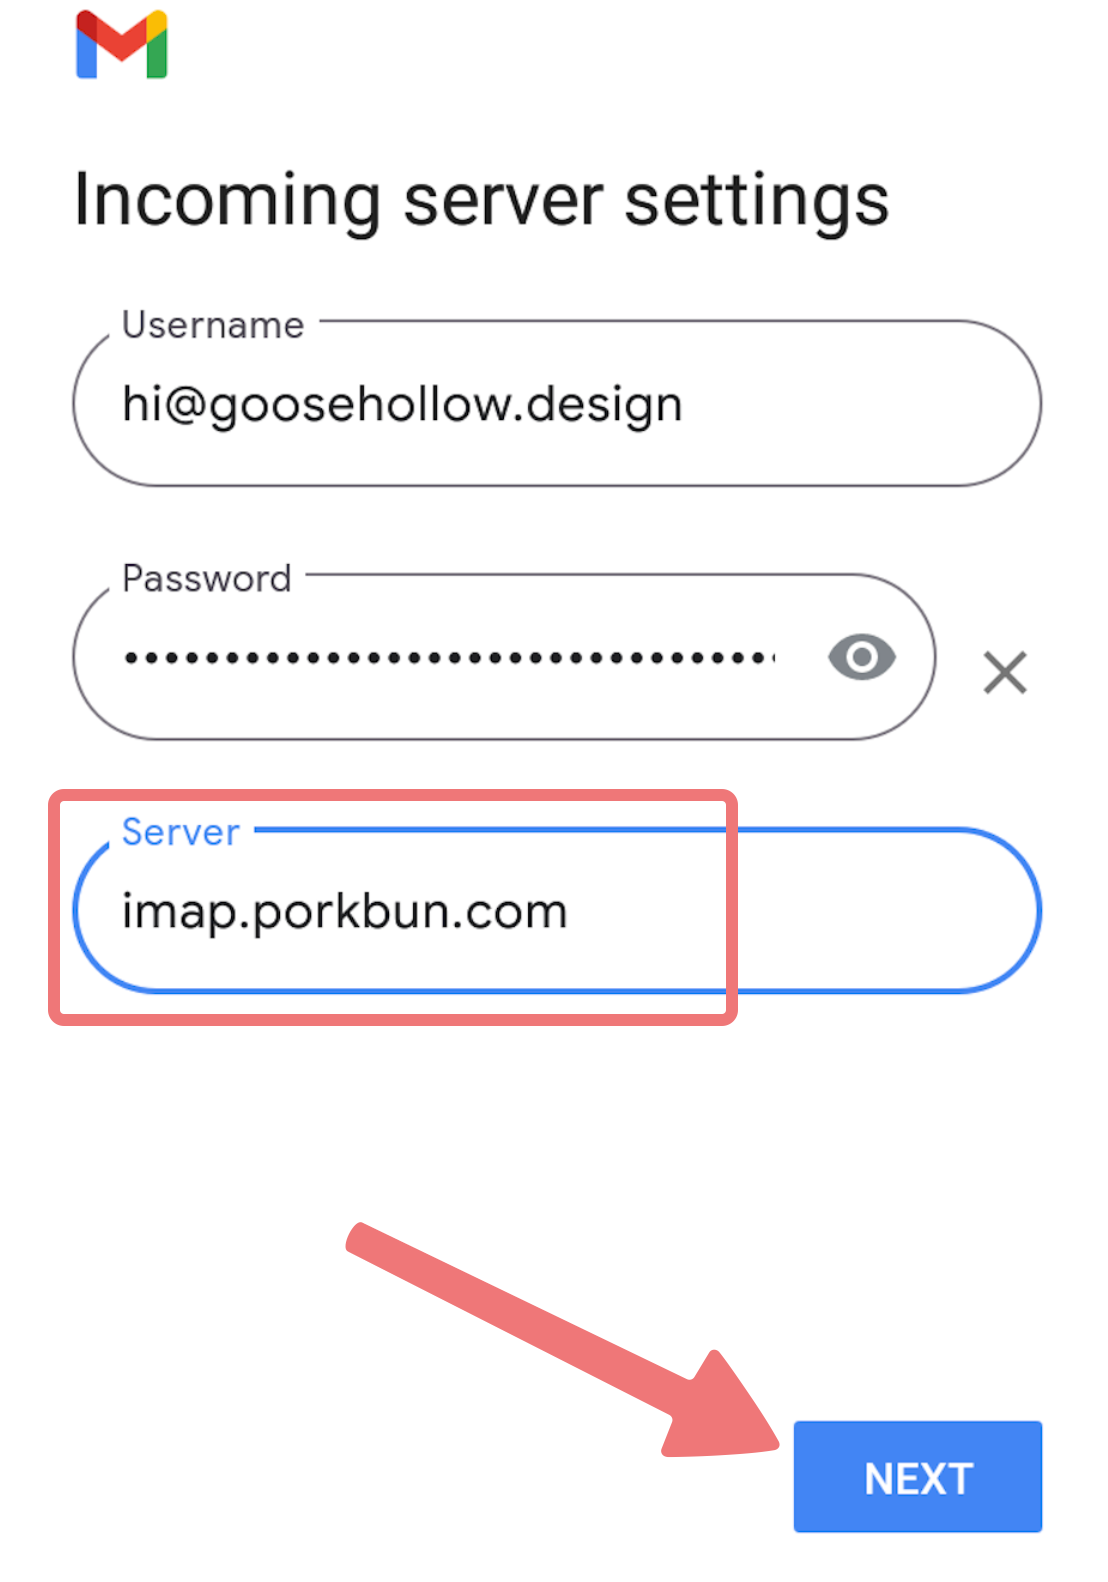
On the "Incoming server settings" page, make sure the Username field contains your full hosted email address, and that the "Password" field is filled. In the "Server" field, type in imap.porkbun.com as shown in the screenshot below, then tap "Next".
7
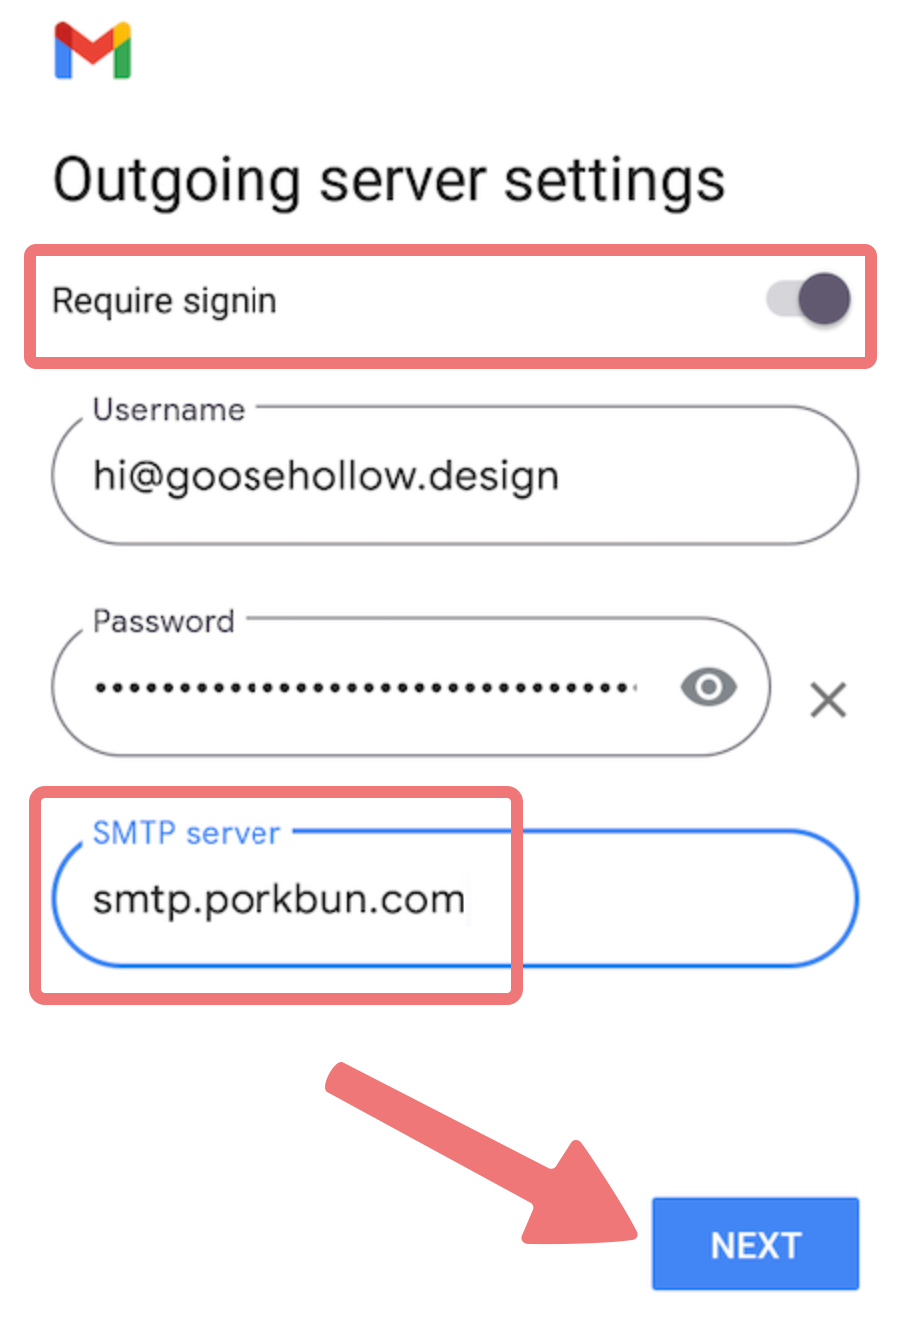
On the "Outgoing server settings" page, make sure the "Require signin" option is enabled, and that the "Username" and "Password" fields still match what you entered previously.
In the "SMTP server" field, type in smtp.porkbun.com as shown in the screenshot below, then select "Next".
8
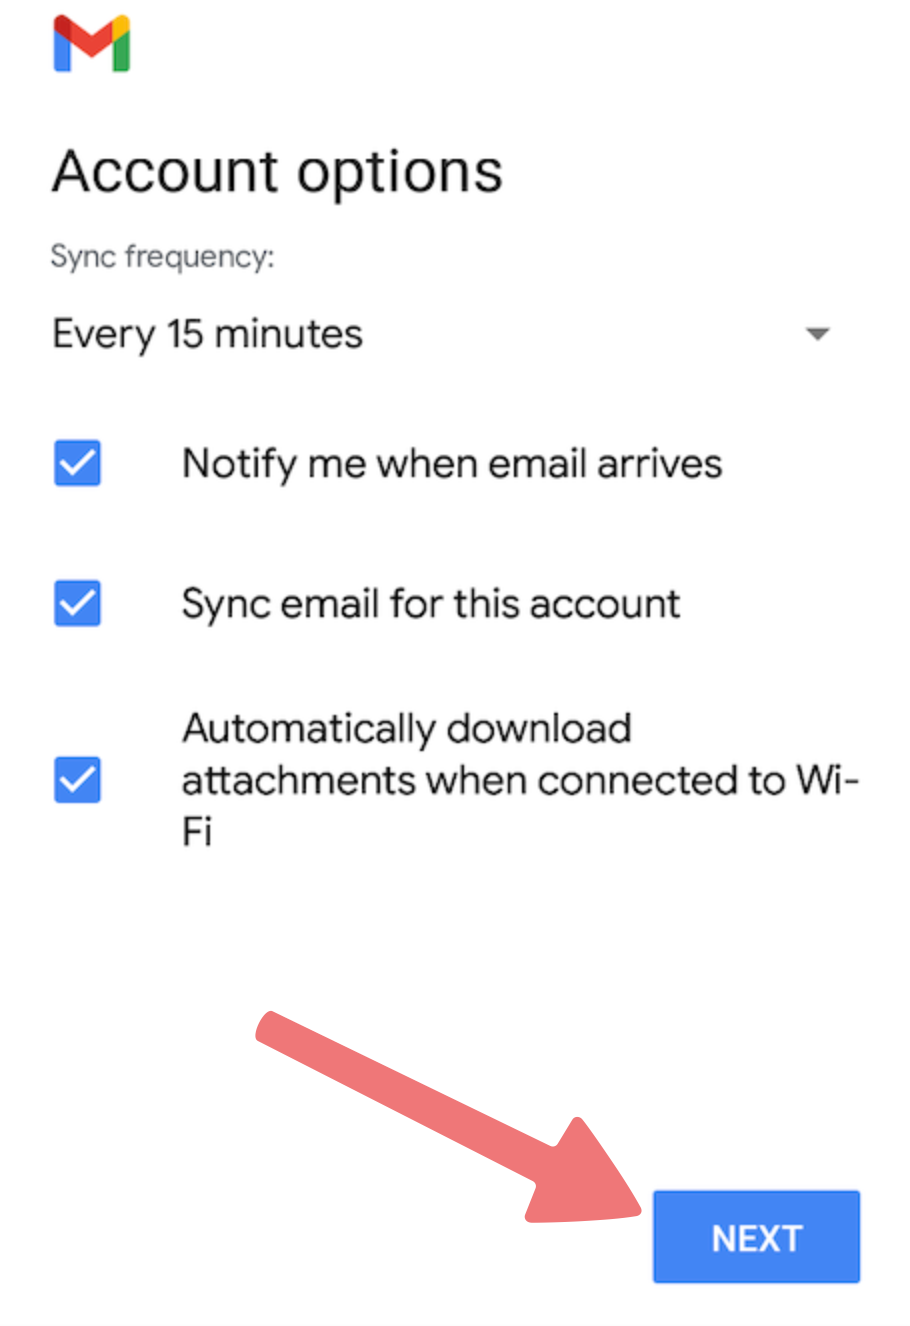
You'll be taken to the "Account options" page. All of the Account options on this page are optional, but you'll want to enable "Sync email for this account" in order to get things working as expected. Once you've made your selections, tap "Next".
9
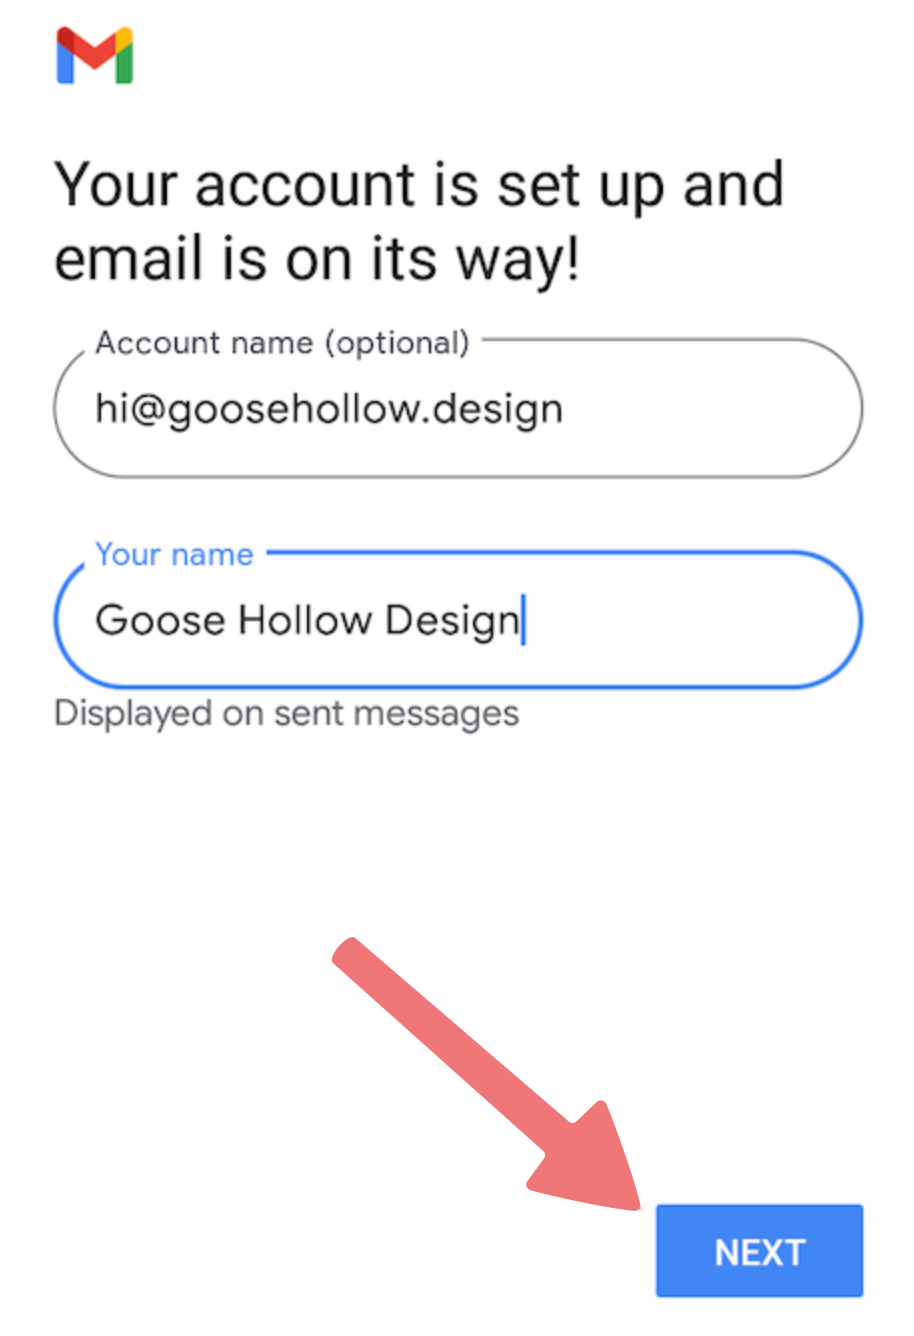
On this final page of the setup, you can enter the name you wish to be displayed when sending emails. This name will be shown in your recipient's inbox, and can be whatever you want it to be. Once that is set, click on the "Next" button to complete setup.
Congratulations! Your Porkbun hosted email address will now synchronize with your Gmail for Android app, allowing you to send and receive messages from that app directly. If you have any questions or need any help with this process, don't hesitate to reach out to our support team.


