How to update your cPanel-hosted website via FTP
Porkbun's cPanel hosting offers the ability to update your site's files via FTP. You can use any FTP client you prefer, but if you haven't chosen one yet, we recommend FileZilla. Once you have an FTP client, follow this guide to connect it to your cPanel site!
1
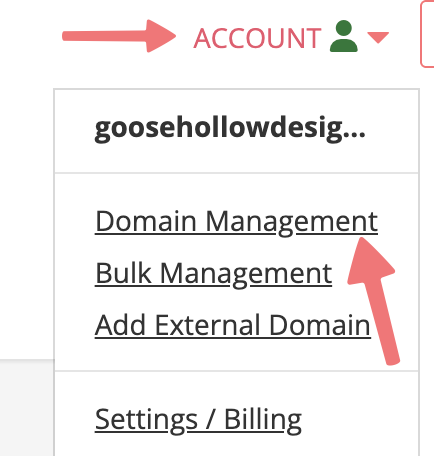
Log in. You should arrive at the Domain Management screen. If you're already logged in, click on ACCOUNT in the top-right corner and select Domain Management.
2
Locate the domain with the cPanel hosting plan you're uploading content to. If you haven't set up cPanel hosting on your domain yet, this guide will show you how.
Click on the cPanel icon to the right of the domain name, under the "WEBSITE" column.

3
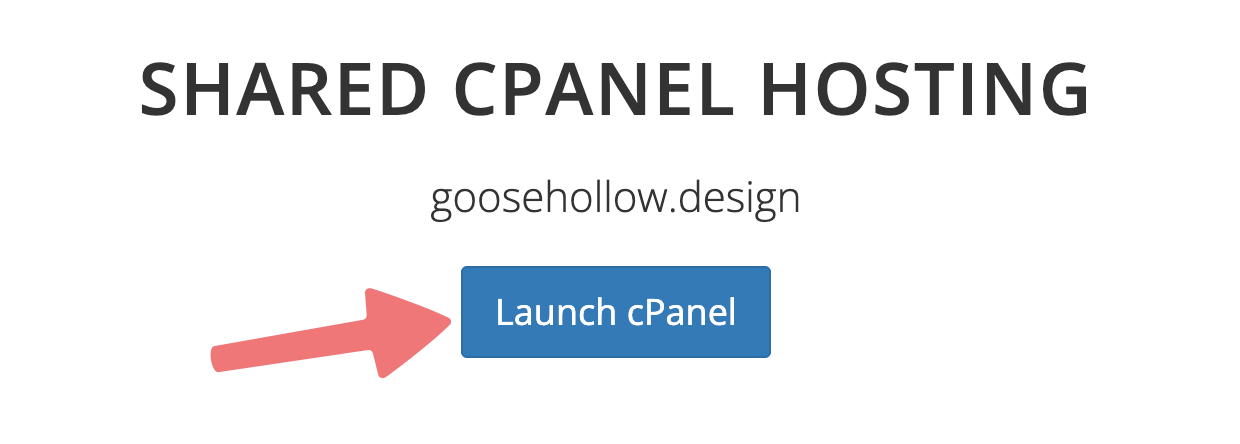
You'll be taken to the cPanel hosting page for your domain. Click on "Launch cPanel" to open cPanel in a new tab.
4
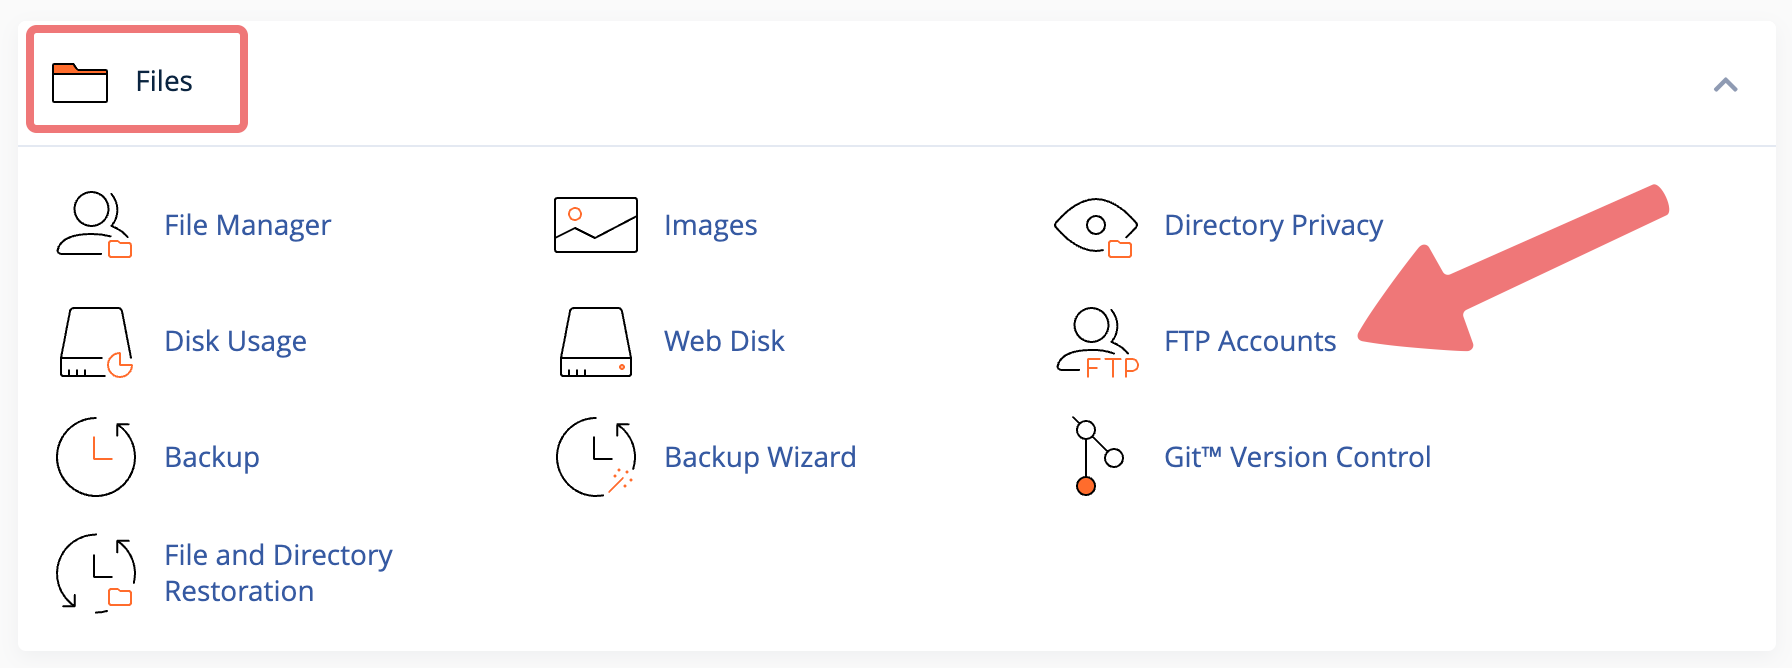
In the cPanel dashboard, locate the "Files" section and click on the "FTP Accounts" option.
5
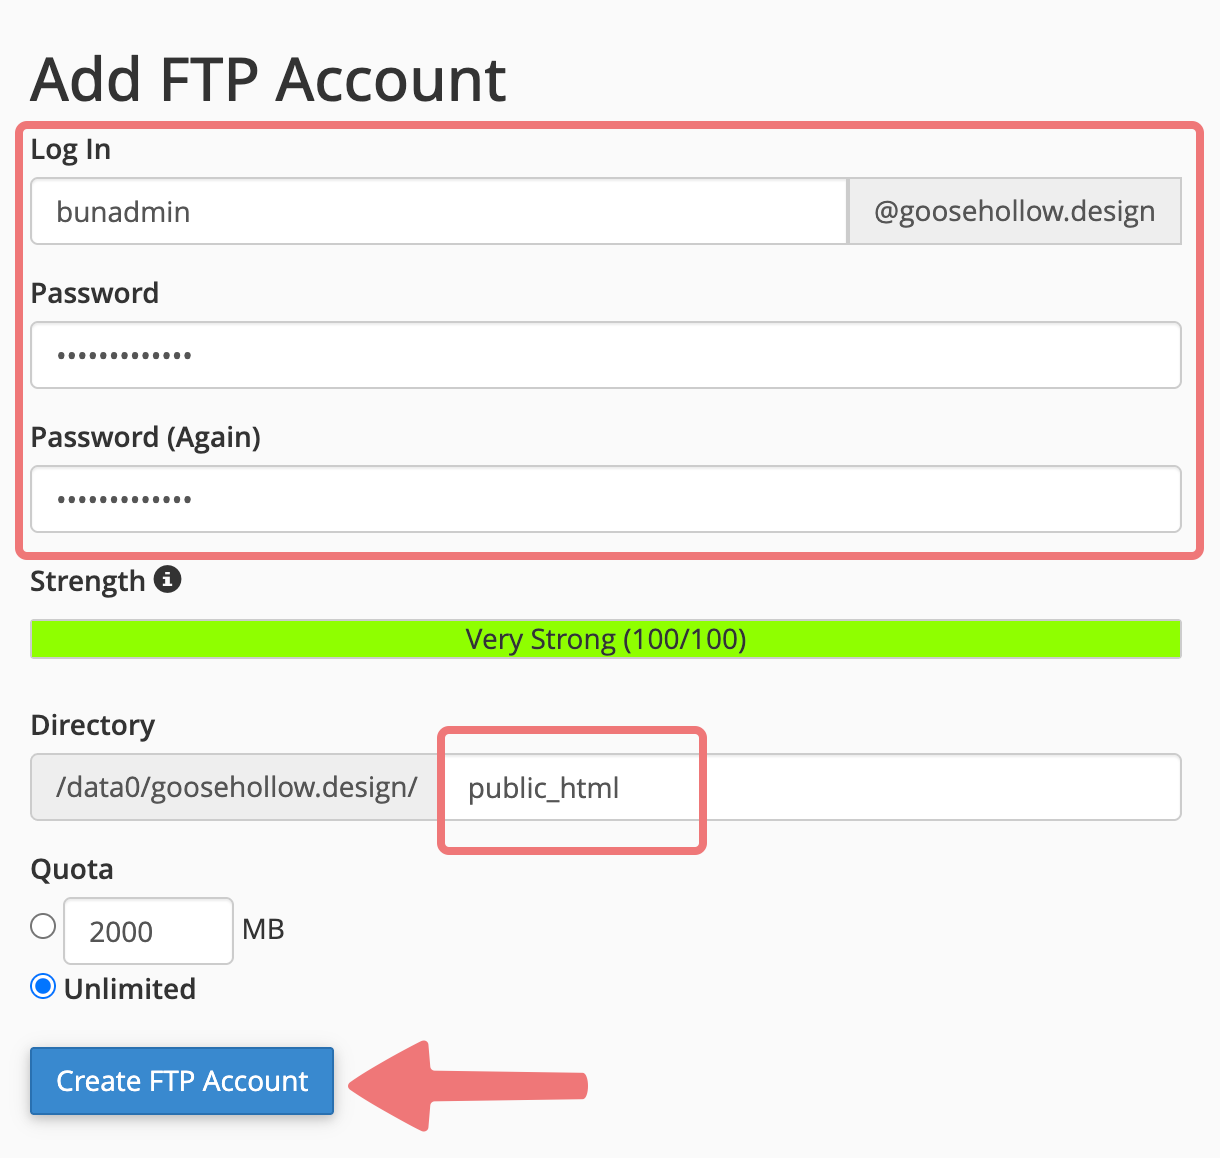
On the FTP Accounts settings page, you can configure the FTP connection that you'll use to update your website. Here's what you'll need to fill out:
- Log In: Type the username you’ll use to log in over FTP. Some examples are: admin, webmaster, etc.
- Password: Type the password you wish to use for the above account. It can be the same as your account password, or a different password.
- Directory: Enter public_html to give this FTP login access to your entire website. If you’d like to restrict access to a subfolder of your website, you can instead enter public_html/subfolder
- Quota: Leave "Unlimited" checked unless you need to limit the amount of data this account can upload to your website.
Note
The directory field must be set to public_html (or public_html/exampledirectory) and nothing else as indicated in the above image. If you don't clear out the field and replace it with public_html then uploads won't go to the right directory and you'll have to delete the FTP account and repeat these steps.
6
Once you have everything configured correctly, click on "Create FTP Account" to finish creating the account. You're now ready to log in!
7
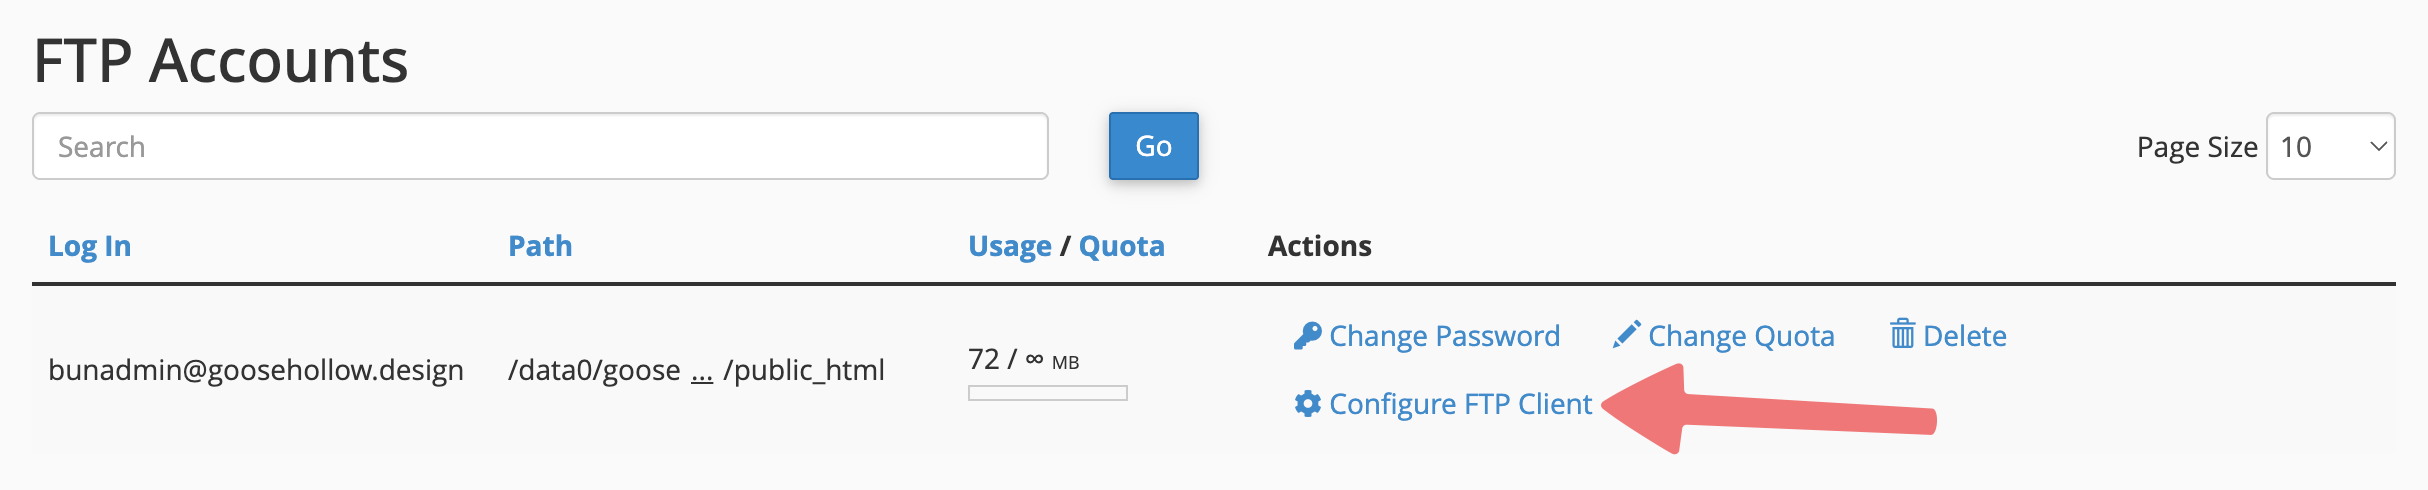
To set up your FTP client with your login credentials, scroll down on the same page to the "FTP Accounts" section, then click on the option labeled "Configure FTP Client".
8
You'll be presented with the FTP credentials for your account. You can now enter these credentials into whatever FTP client you use (if you don't have one yet, we recommend FileZilla) and once the connection is made successfully, you can update your site's files via FTP!
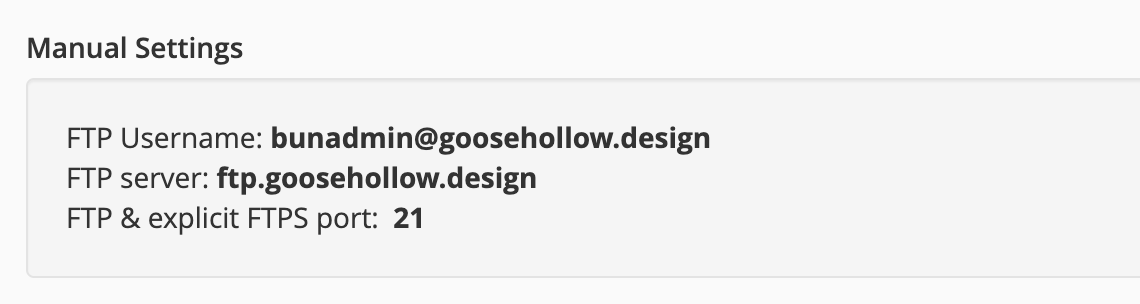
Note that the "Log In" name you created earlier is the same as the "FTP Username", but your domain name is included at the end now. Be sure to use the entire FTP Username displayed here when connecting to the account with your FTP client.
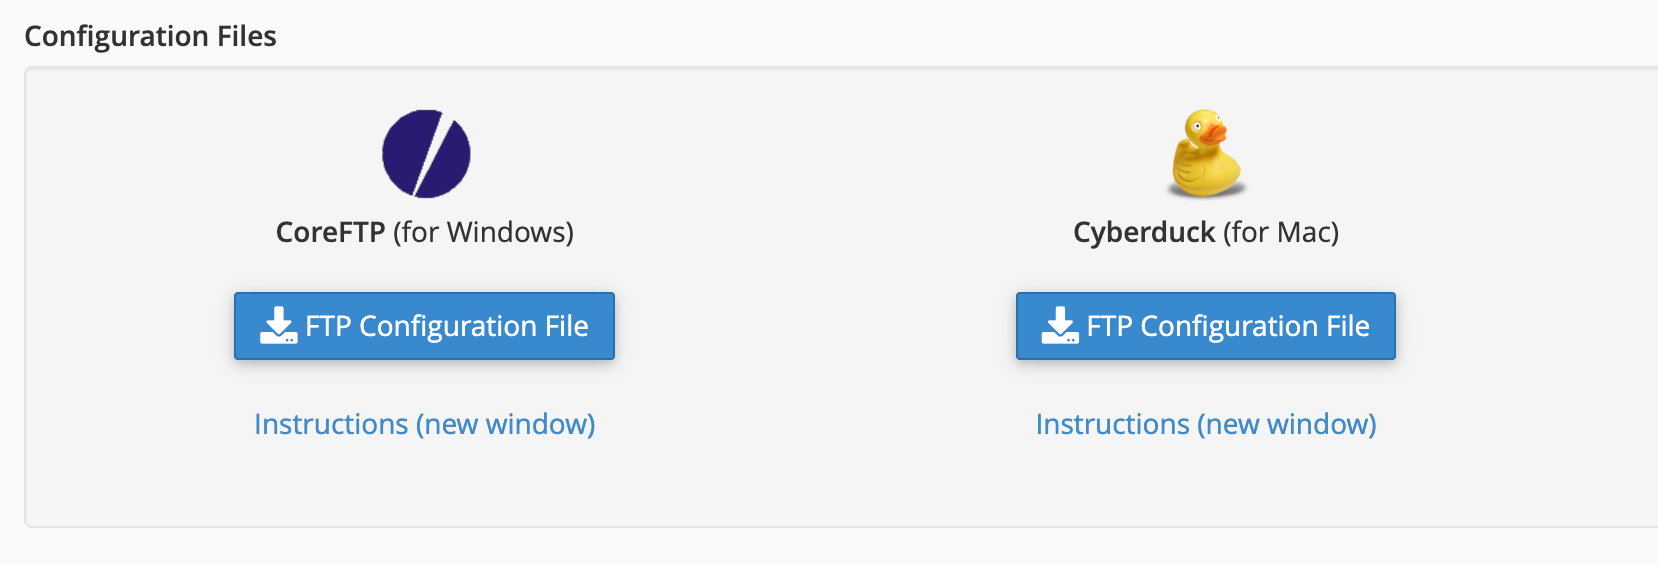
You can use the manual settings to connect to the account with your FTP client, or if you're using a compatible FTP client, you can download a pre-built FTP configuration file in the section below labeled "Configuration Files".
That's it! You've connected your FTP client to the account you created in your cPanel dashboard. Feel free to reach out to our support team if you need any assistance with this process.


