How to set up WordPress in cPanel
If you've purchased cPanel hosting you can use Softaculous to install common web applications without having to do a bunch of manual configuration. You can use Softaculous for a lot of things, but this guide will show you how to set up a WordPress website within your cPanel hosting. Let's get started!
Note
If you want to build a WordPress website and you don't specifically need the functionality that cPanel offers, you may want to consider switching to our Cloud for WordPress hosting plan instead, which is an upgraded and modernized hosting environment for WordPress websites. If you do need cPanel functionality for your site, read on!
1
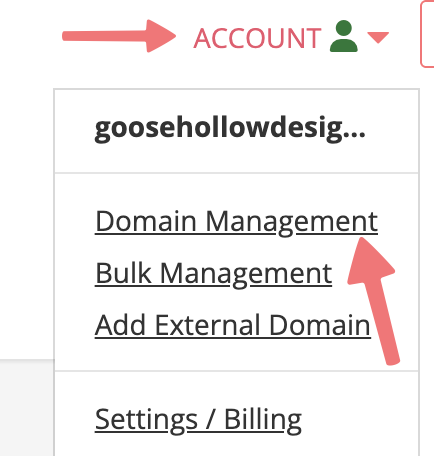
Log in. You should arrive at the Domain Management screen. If you're already logged in, click on ACCOUNT in the top-right corner and select Domain Management.
2
Locate the domain with cPanel hosting that you're adding a WordPress website to. To the right of the domain is a row of icons. Click on the "cPanel" icon under the "WEBSITE" column.

3
You'll be taken to the "Shared cPanel Hosting" page. Click on the "Launch cPanel" button to open cPanel in a new tab.

4
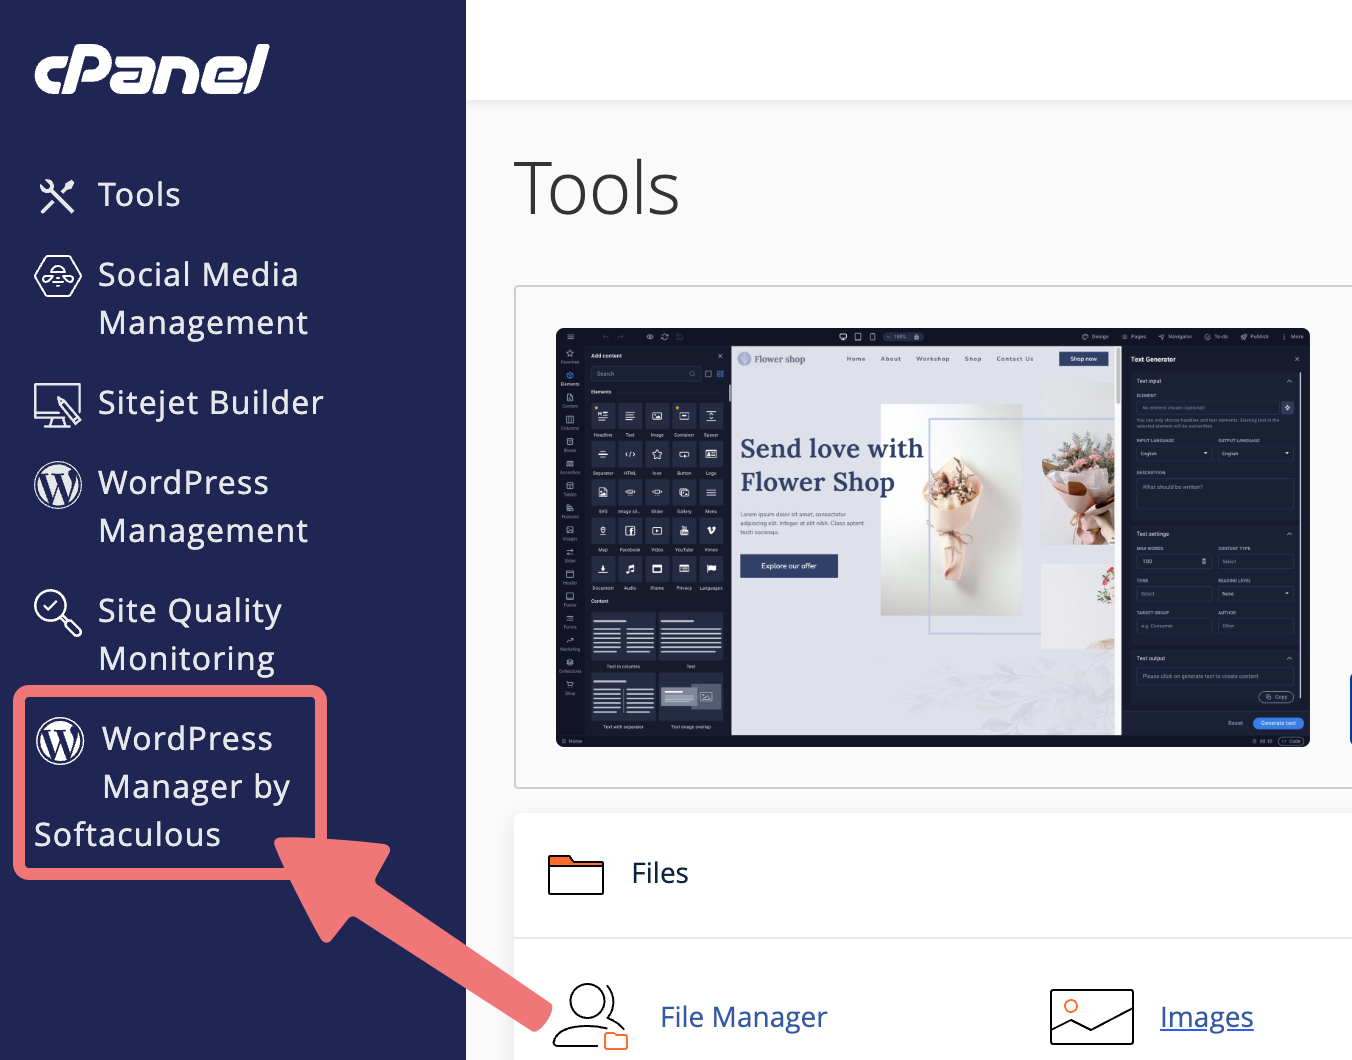
You'll be taken to the main control panel for cPanel. On the left side of the page is a menu with a number of options. Click on the "WordPress Manager by Softaculous" option.
5
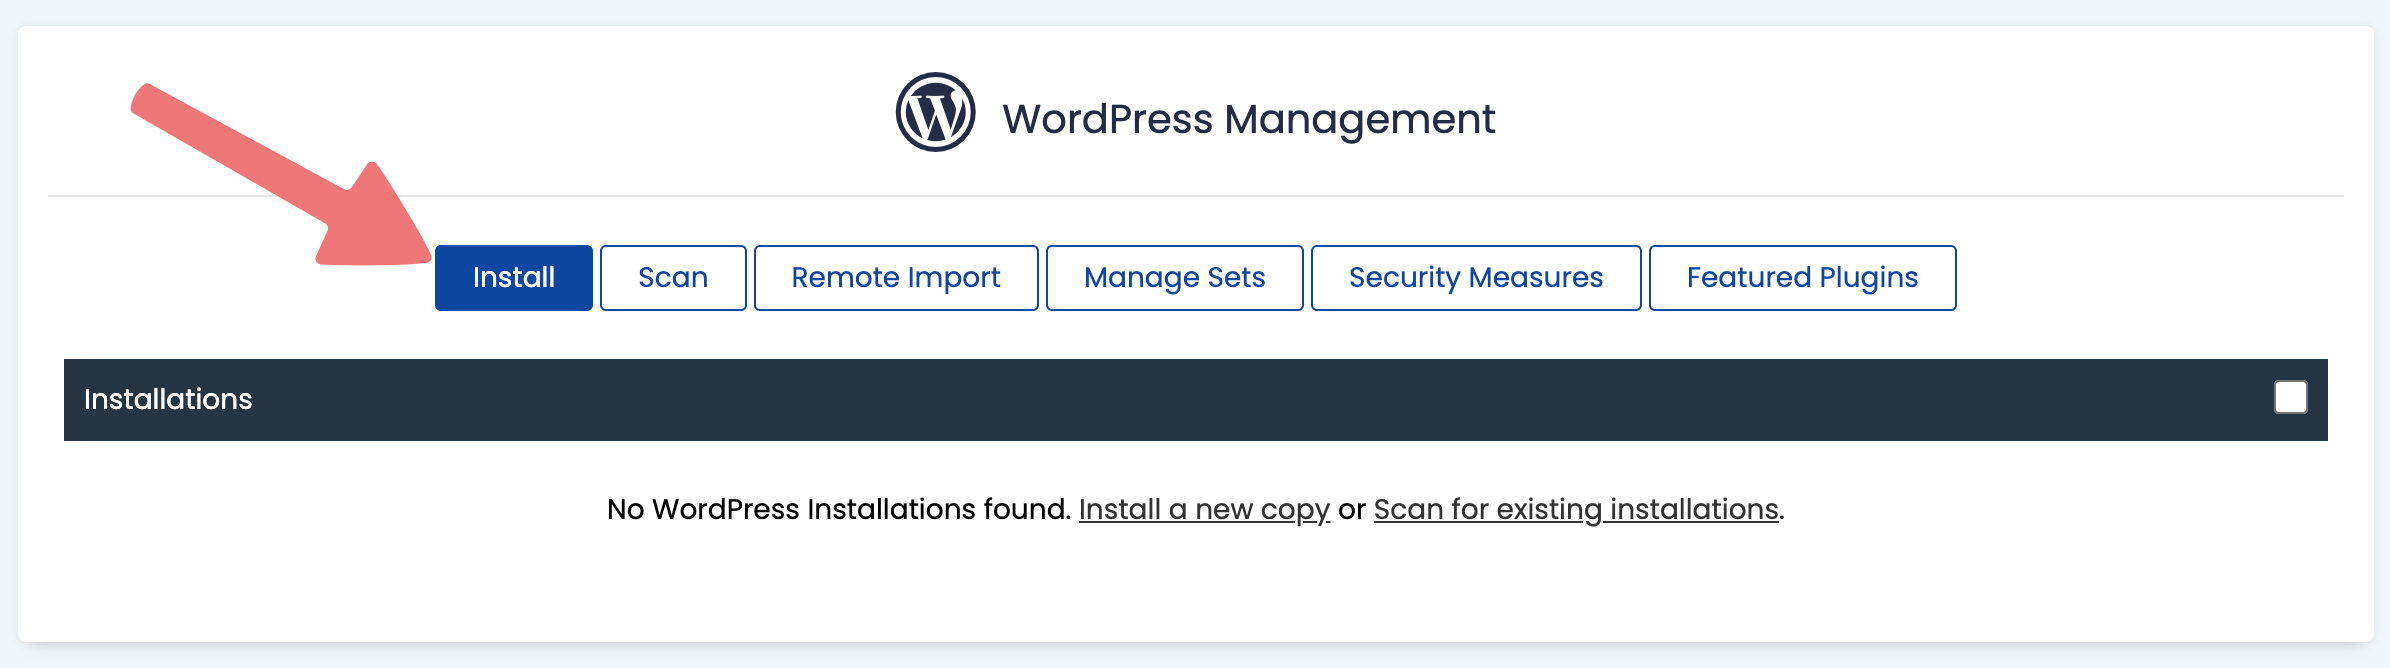
On the next page, click the "Install" button contained in the "WordPress Management" section.
6
You'll be taken to a screen with some configuration settings for your new site. Make sure the "Choose Protocol" option is set to "https://" rather than "http://".
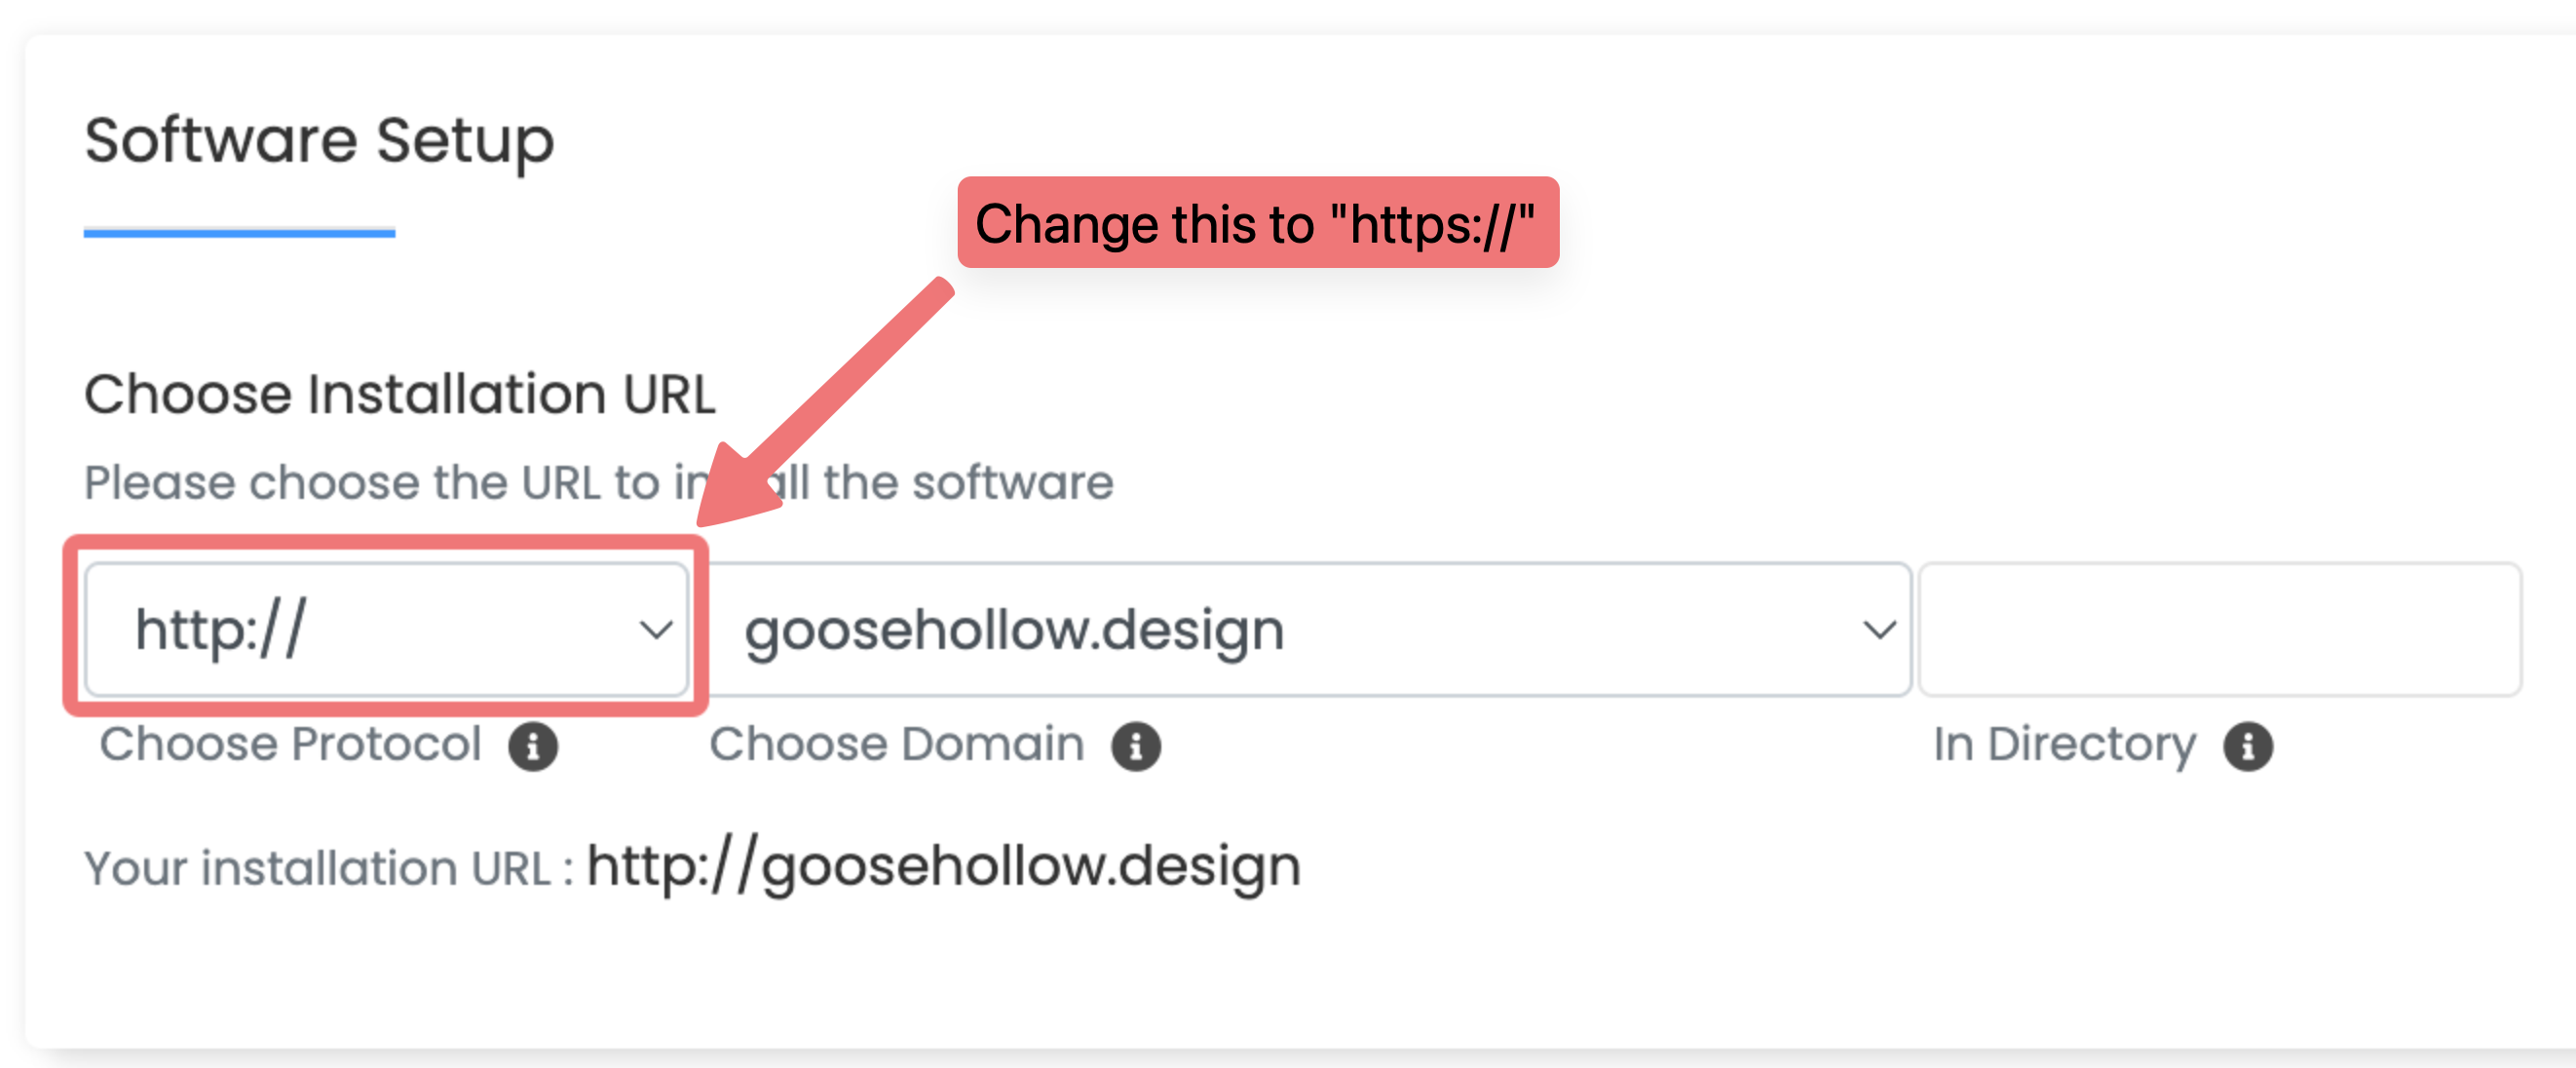
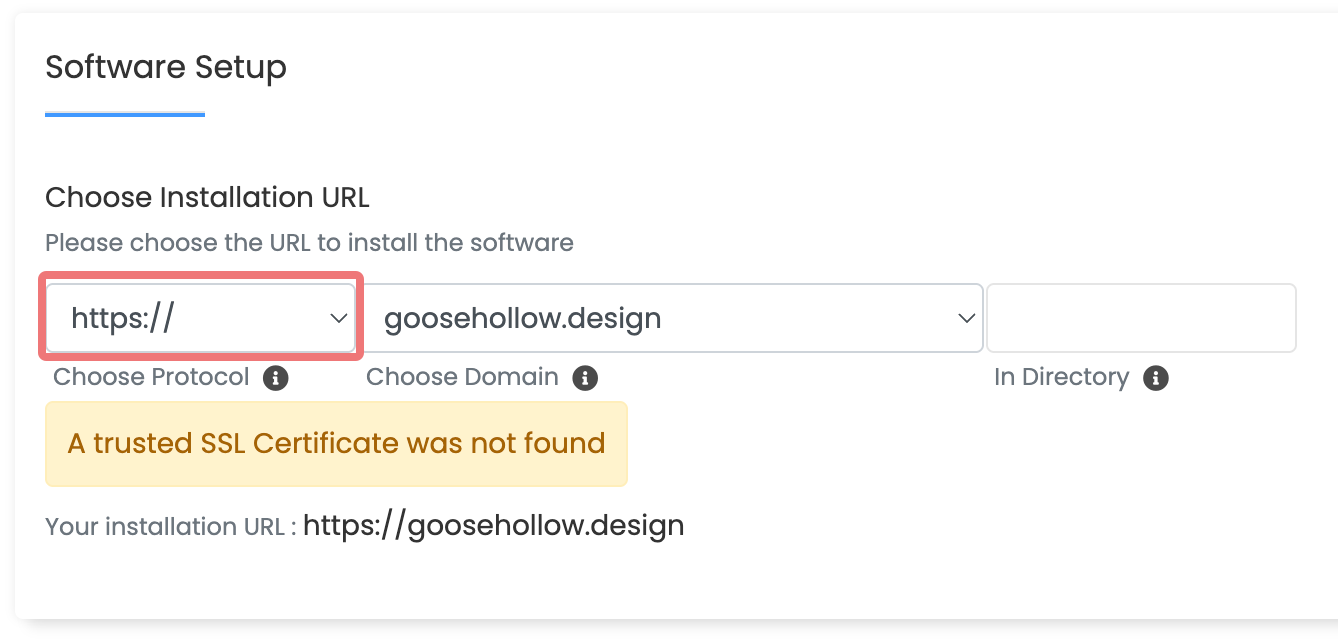
If you see a notice stating that a trusted SSL certificate was not found, you can ignore it for now and leave the "https://" option selected. Also, be sure to leave the "In Directory" field blank, so your website will be accessible at the "root" directory.
7
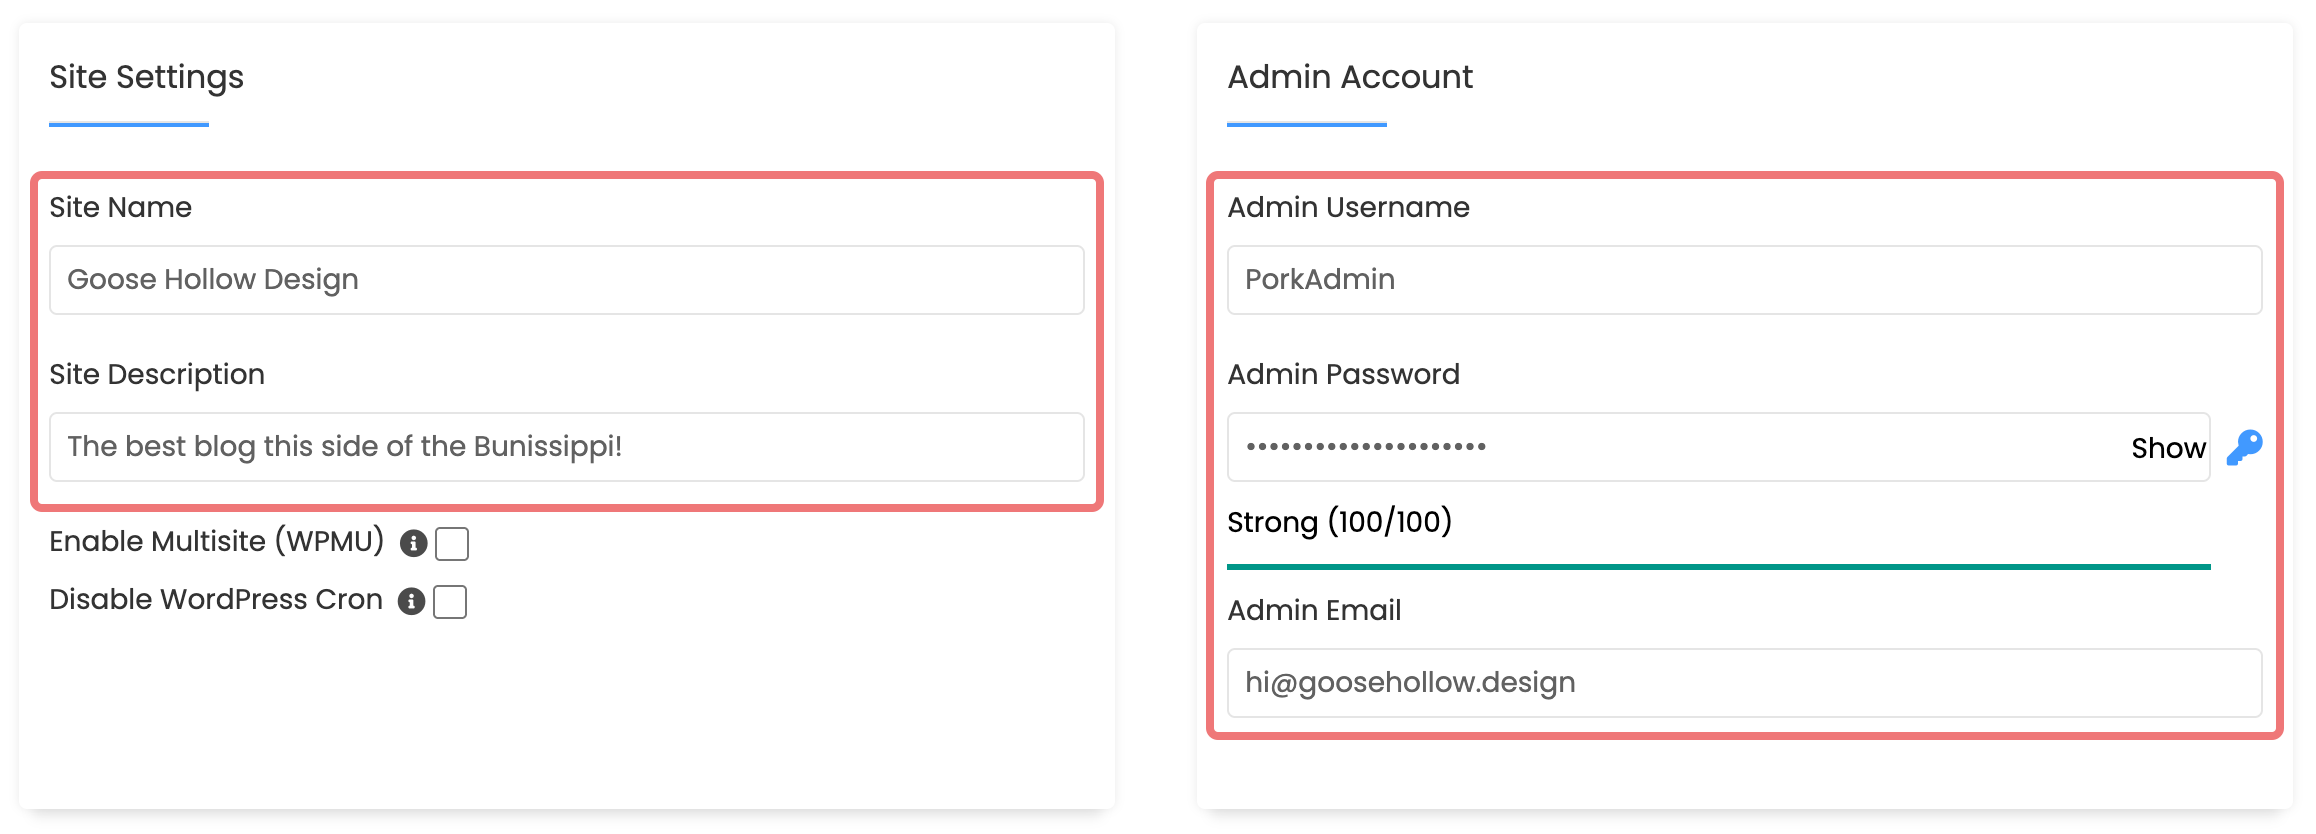
Scroll down to see additional settings for your WordPress site. Unless you need to configure things otherwise, we recommend leaving most of the default settings alone. However, you can fill out the "Site Name" and "Site Description" fields as desired.
You can also change the default admin username, password, and email address as needed, and those credentials can be used in the future for quicker access to your WordPress admin panel.
8
As soon as everything looks correct, scroll down to the bottom of the page and click "Install".

9
You may be presented with an error message saying some of the files already exist on your site. If so, click the checkbox labeled "Select the checkbox to overwrite all files and continue". After enabling that checkbox, scroll down to the bottom of the page and click the "Install" button one more time.

10
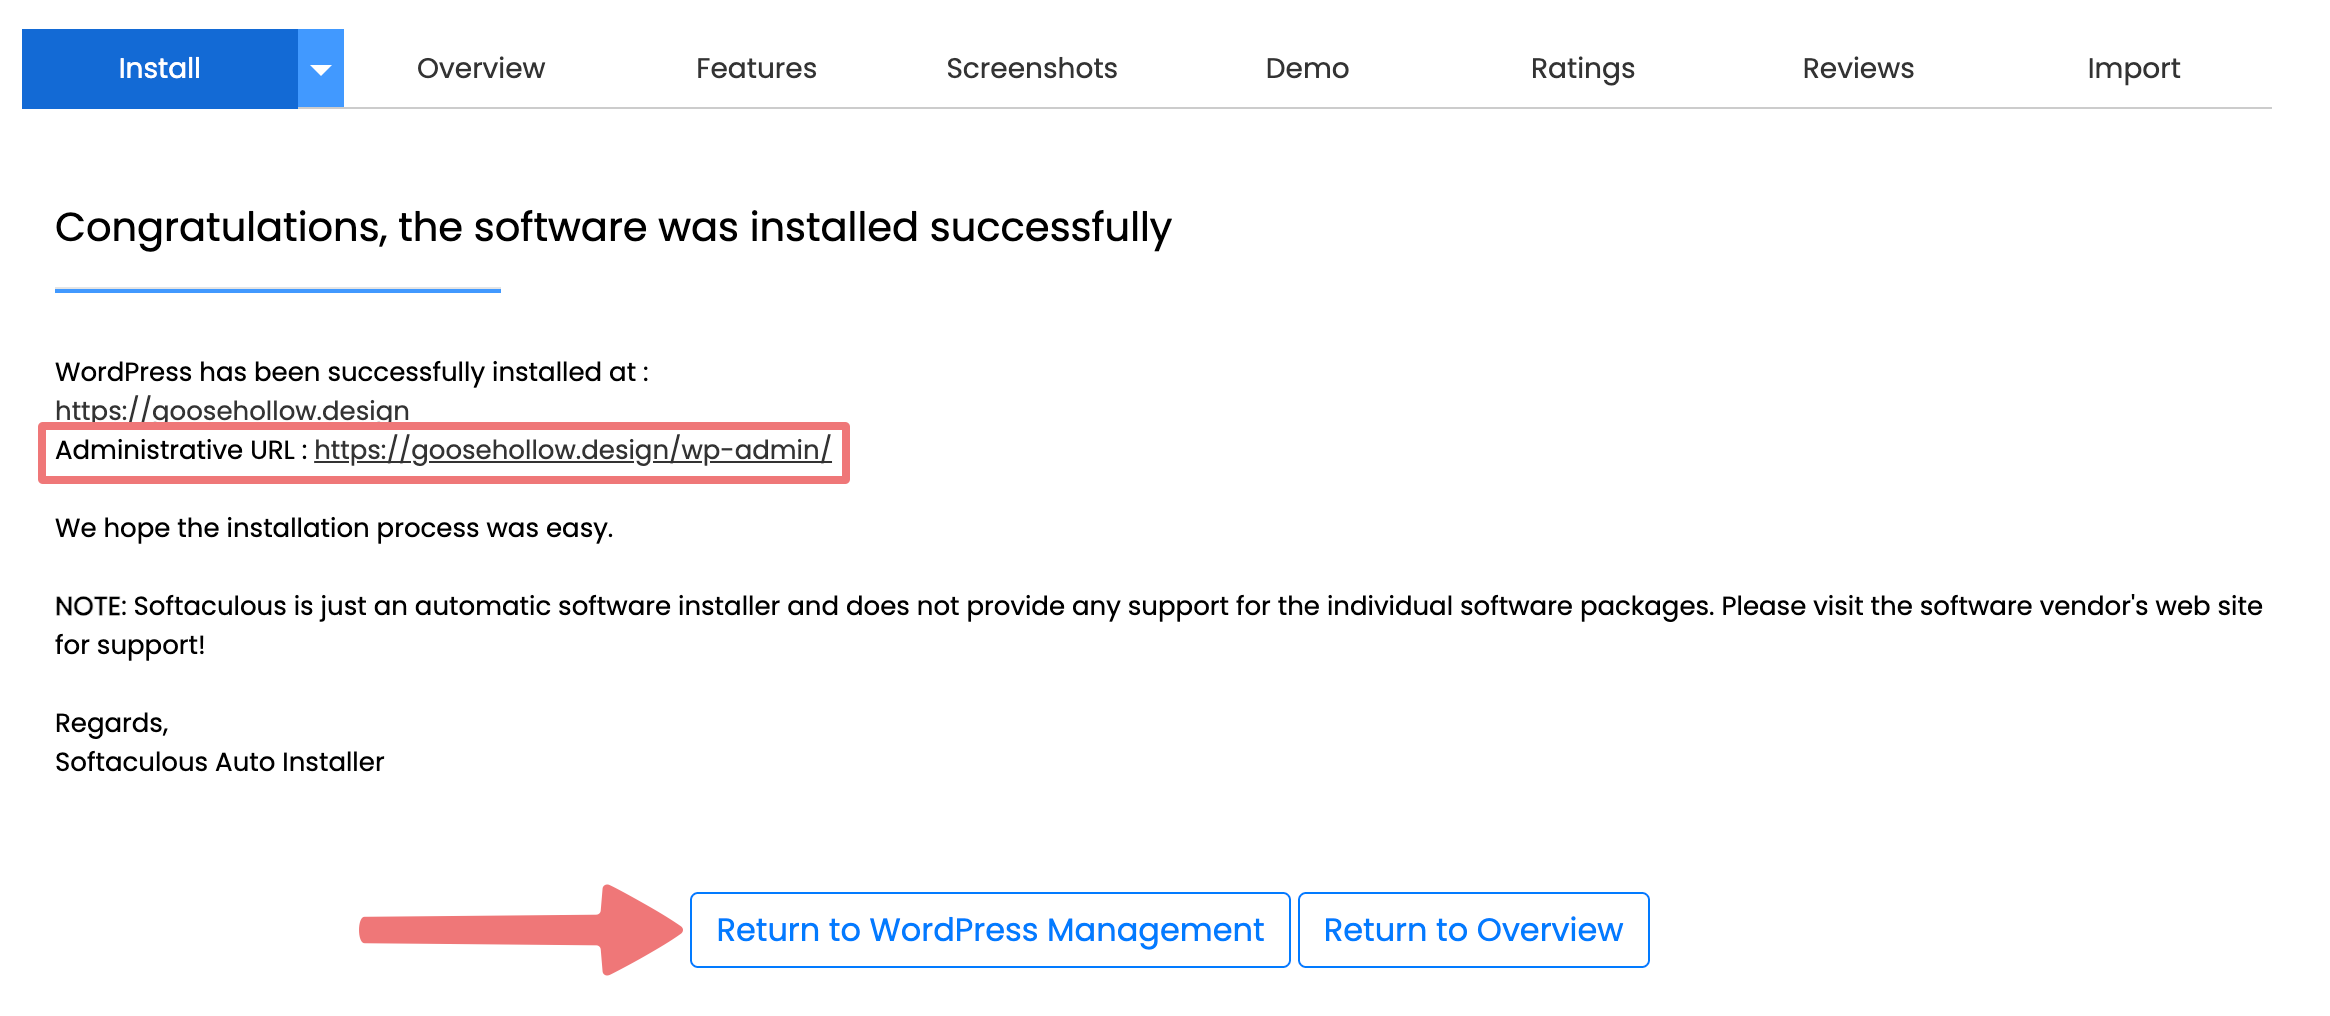
After a moment, you should see a message indicating WordPress was successfully installed. The "Administrative URL" that is displayed can be used to log in directly to WordPress (with the credentials you set up in step 7) if you want to access your site without having to log in to cPanel first in the future.
Click on "Return to WordPress Management" to go back to the page where you can manage your new WordPress site.
11
The WordPress Management page will allow you to make configuration changes to your site from Softaculous directly if you want to. To access the standard WordPress admin panel and begin working on your new website, click on "Login".
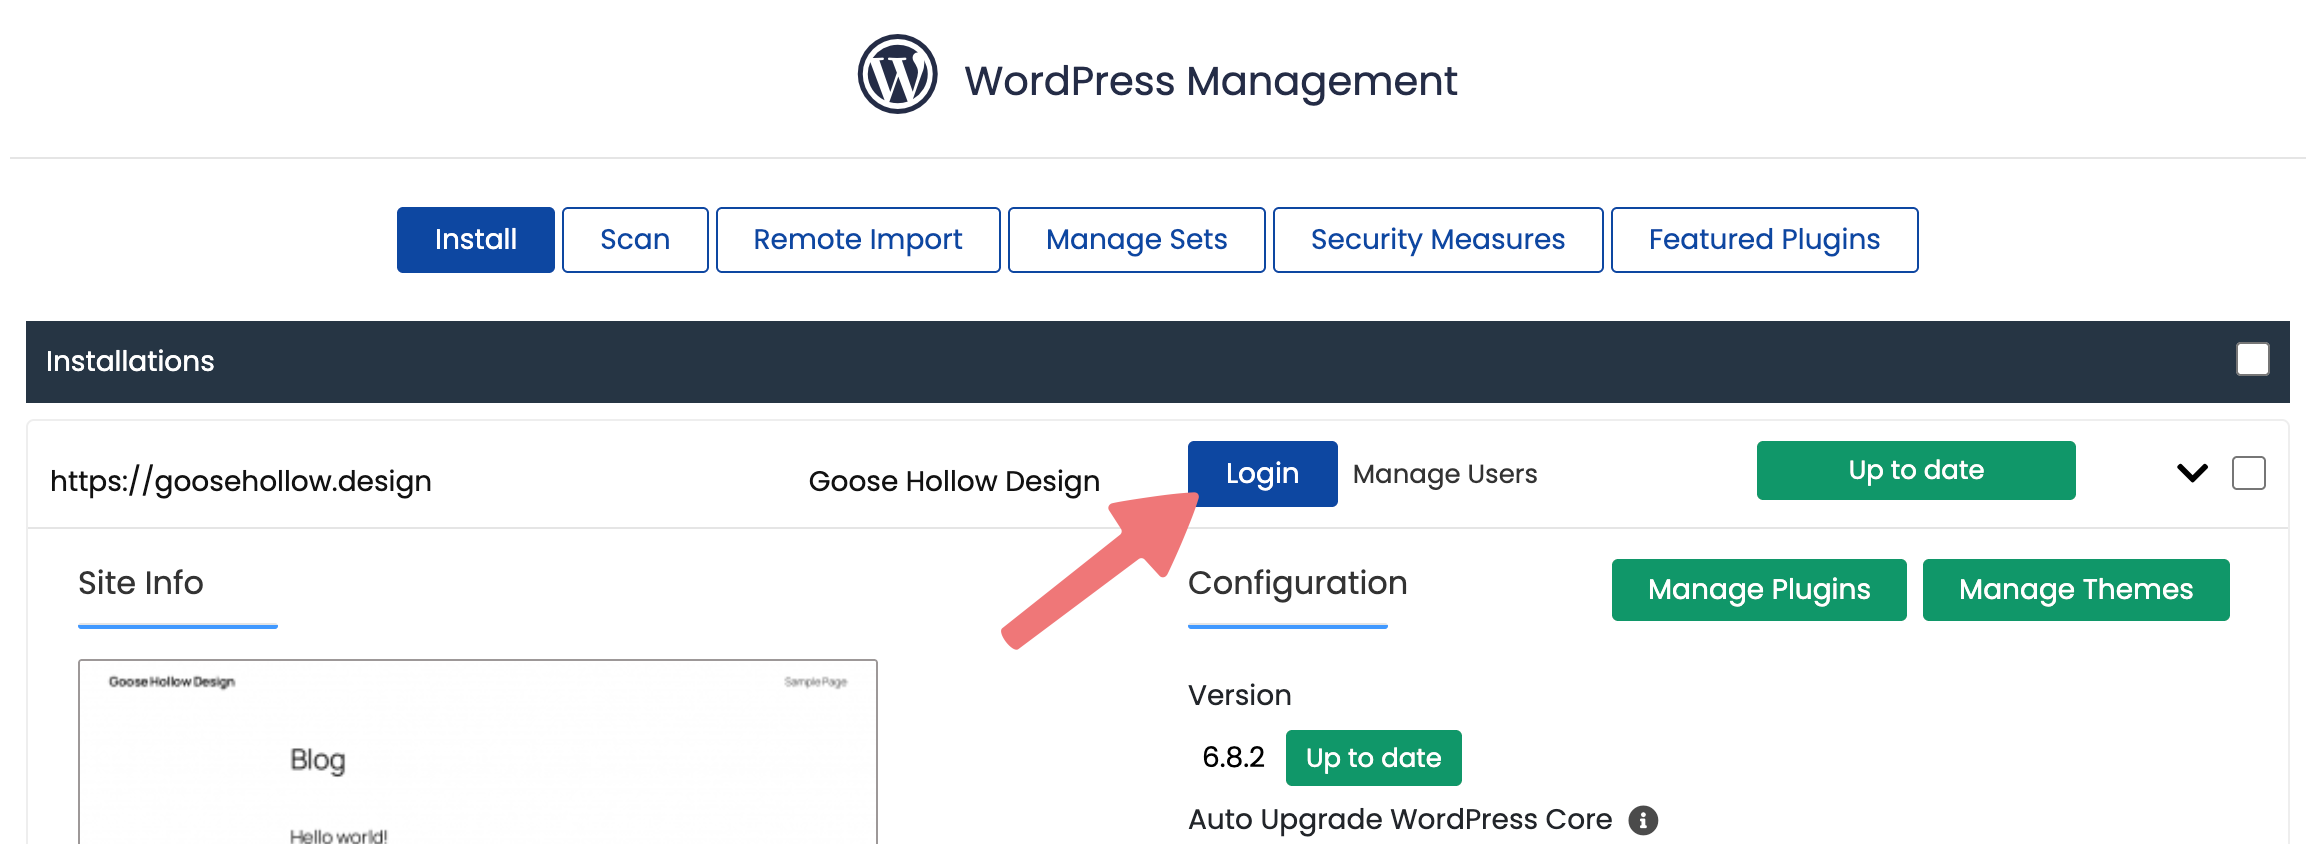
After doing so, a new tab will open up that logs you directly in to your WordPress admin panel, where you can now begin working on your site.
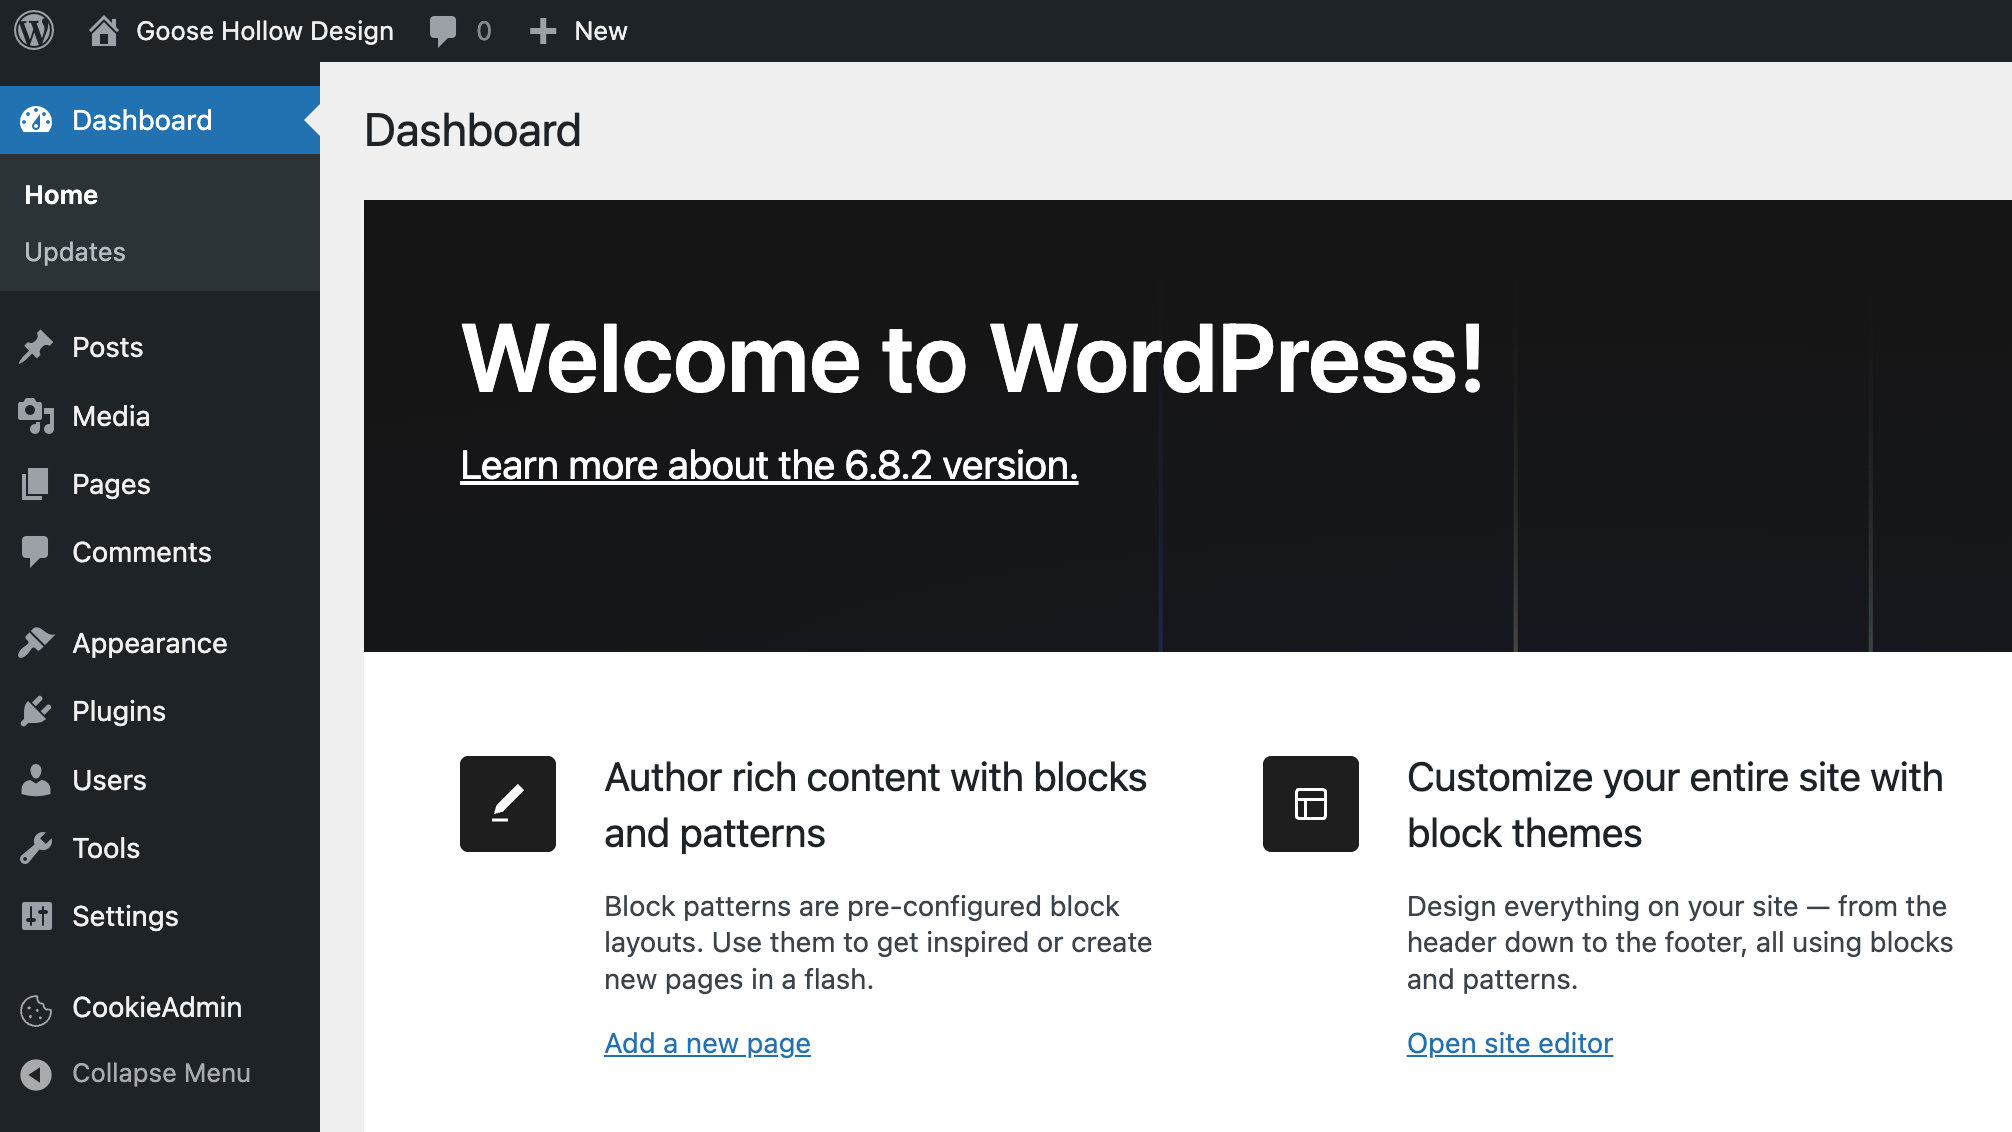
That's it! You now have a WordPress website up and running via the Softaculous installer that comes packaged with cPanel hosting. Any changes you make to your site and save will be published to your domain automatically.
If you need any further guidance on using WordPress to build your website, we'd recommend checking out https://learn.wordpress.org/ for some great tutorials.
Feel free to reach out to our support team if you need any further assistance.


